
I saw some little clothes pins a couple of days ago, and had an immediate epiphany. A box card with onesies hanging from clothes lines!!!

For this card I did not use any inking techniques, this is just embossing folders, glue and ATG gun.

The base card does not have any scoring lines, instead, there's small cut lines that help fold the panels easier. It also has a couple of holes in the back and side panels that you can use to pass another Baker's Twine or ribbon through. If you feel like not using it, like I did, you can hide it in Design Space, using the HIDE feature.
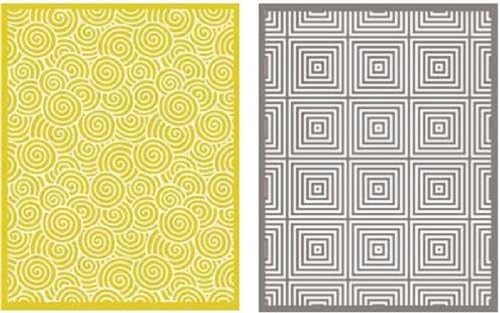
I used the Sizzix Butterflies and Flowers #9 folder for the inner and outer panels, except the back panel that I left unembossed to write a message later.

The cloud was embossed using my favourite folder for clouds: We R Memory Keepers Twirl. I added a Dark Pink base for the cloud, because after making the card, I felt like it needed more support, so you'll get the base on the file.

All the faux stitches were done by the Explore using a Pilot Choose white get pen with a technique explained here. It takes a little longer to cut, but the final result is so sharp an neat it is totally worth the wait. I should be getting new American Crafts chalk markers, so I'll keep you posted on how they perform once they get here.

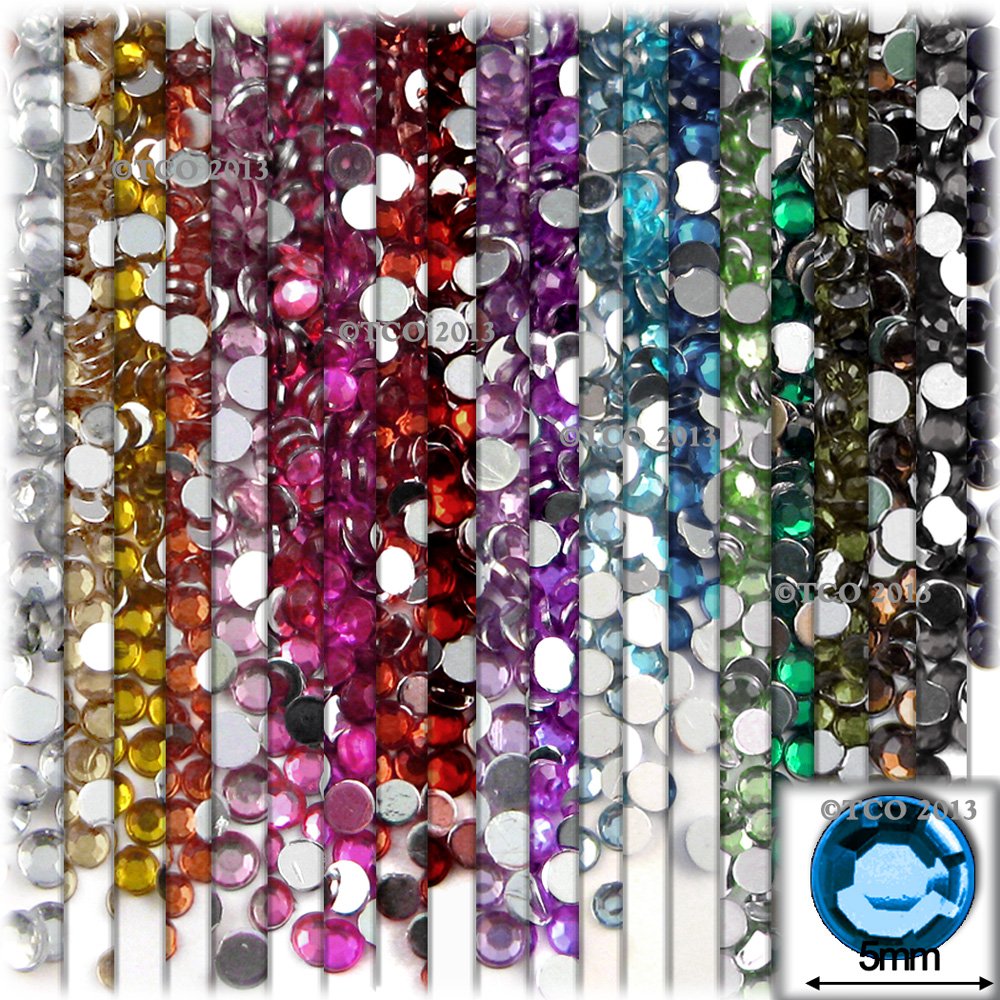
Relying on Cricut Explore ability to sharply cut very small designs I took a chance and tried a very thin font, Even though the i point and the explanation point cut well, I decided to use rhinestones to bling it up a bit (Check the deal on the rhinestones below!)
The card folds flat, so you can put it in an envelope and mail it.

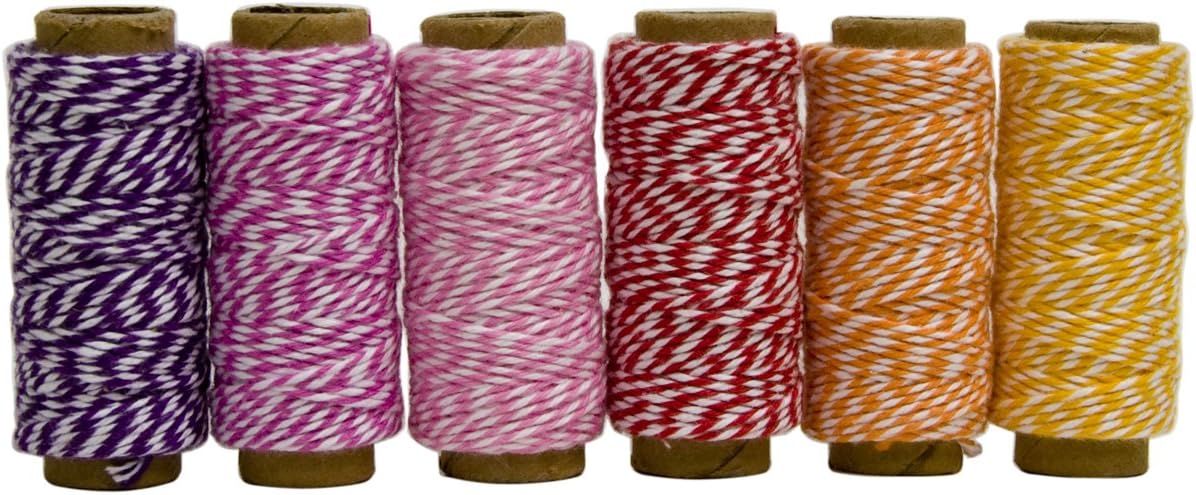
I used pink Baker's Twine for the clothes line and tied it to the trees, then hung the onesie using those tiny clothes pins.

Hope you like it, and if you feel like getting any supplies, please use the list below.
Enjoy!
PS: I'm putting together a tutorial for the importing in Design Space and assembling of the card.
Please Remember, Share the link to my blog, not the file, support the hard work and subscribe!
Video Tutorial on how to import, arrange, resize and attach layers.
Dimension for resizing in Design Space


Main Body: 11.4 x 6.42 in


Inner Panels: 9.54 x 5.54 in


Outter Panels: 9.56 x 5.84 in


Embellishments Base: 11.36 x 8.04

Embellishments: 9.93 x 9.14 this layer is common to both designs
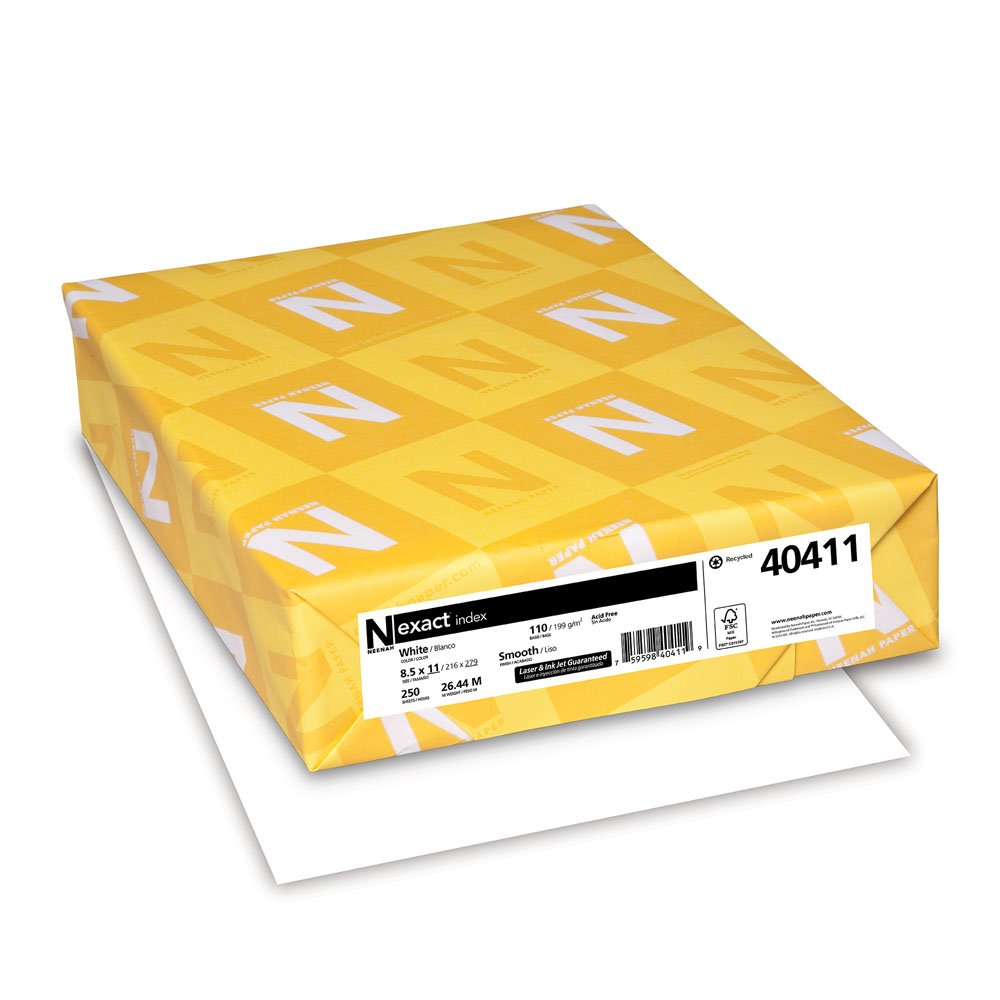
Supplies List
 |  |  |  |  |
 |  |  |  |  |
 |  |  |  |  |
 |
So adorable! Cannot wait to get my Explore to try this! :)
ReplyDeleteThanks. Feel free to post a photo of it on the "You" section when you do.
Deleteyou are AWESOME Omar xoxoxox marie
ReplyDeleteThanks!
DeleteVery cute card. TFS...will be following your blog!
ReplyDeleteThanks. I promise to keep stuff coming
Delete