I went to see Star Wars The Force Awakens a couple of weeks ago. I don't know if you guys have that technology in your movie theaters, but 4DX show rooms are the best! (moving seats, water, smell, lights and so much more, it is like a Disney ride every time)
Rant apart, I was so moved by it that I wanted to create a card with a Star Wars theme and I wanted it to POP, so I designed this Kirigami (pop up) Star Destroyer card. If you don't know what a Star Destroyer is... congratulations, you are not a geek like me... lol!
This is going to be a long post, so let's start with the front panel.
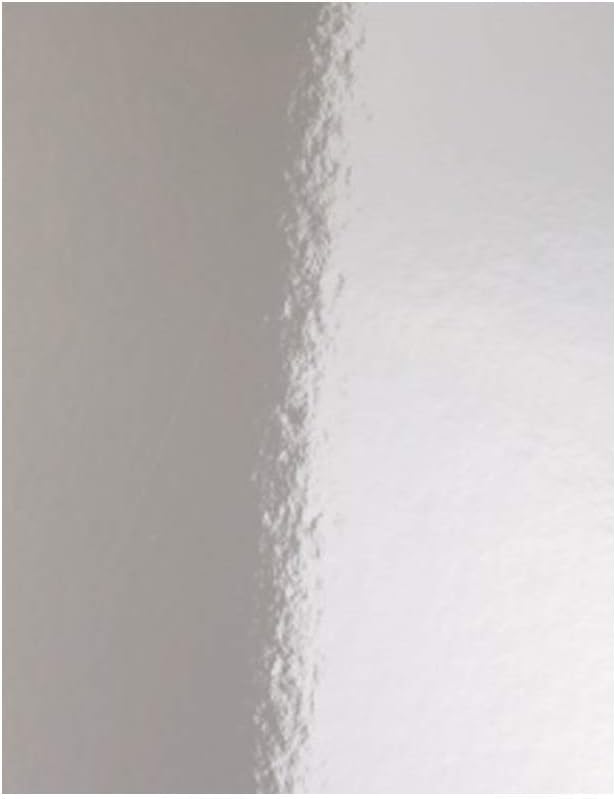
As soon as I saw this Higloss Mirror Board I fell in love and knew I had to make something cool with it. This is a 110 lb cardstock with a white side and a very reflective metallic surface on the other side.
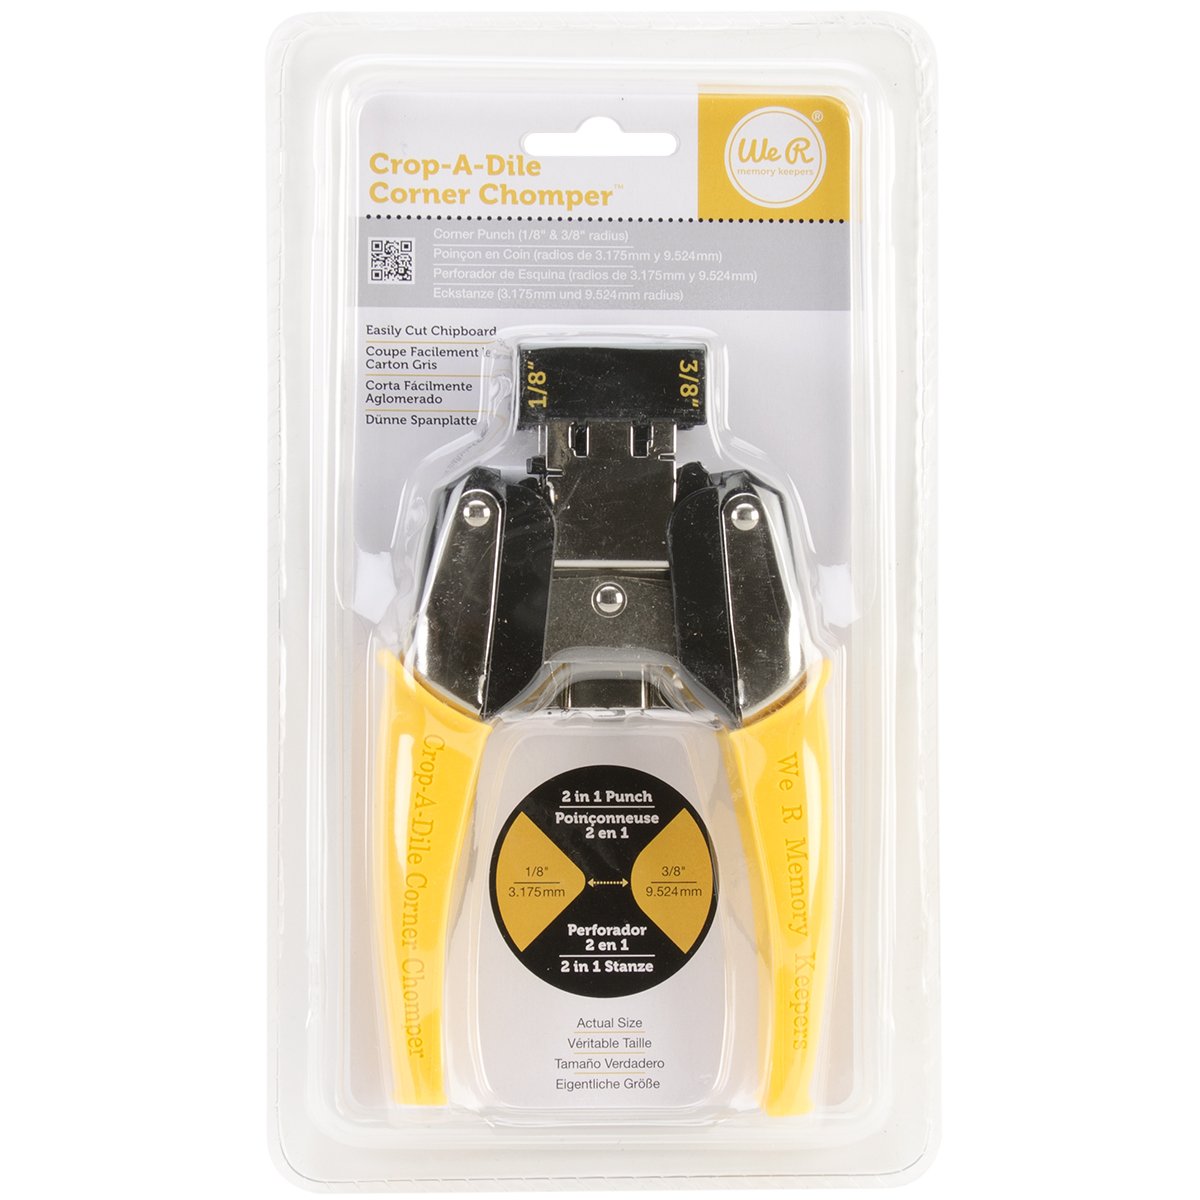
I cut it length wise, folded it in half and rounded the bottom right corners with my We R Memory Keepers Crop-A-Dile Corner Chomper Tool and I cut the slits on the corners by hand. The SVG file includes this base card, but I realized I could not cut the 8.5" x 11" cardstock using my Explore without losing some length, so I decided to do it manually. For that I cut a scrap piece of regular printer paper and used it as a template.
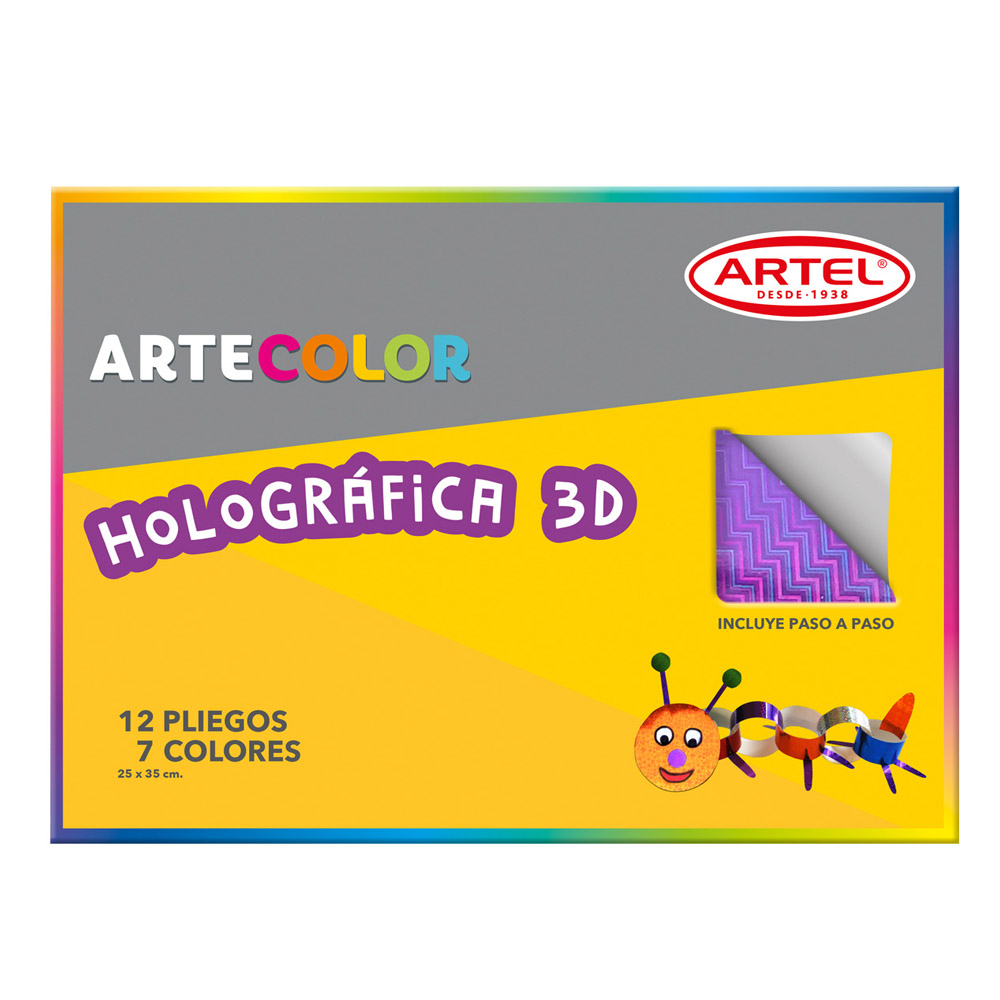
Now for the front panel. The backing is a very inexpensive Silver Hologram Cardstock sold here in Chile. It gives beautiful reflections when light hits it, and it is always a different color.
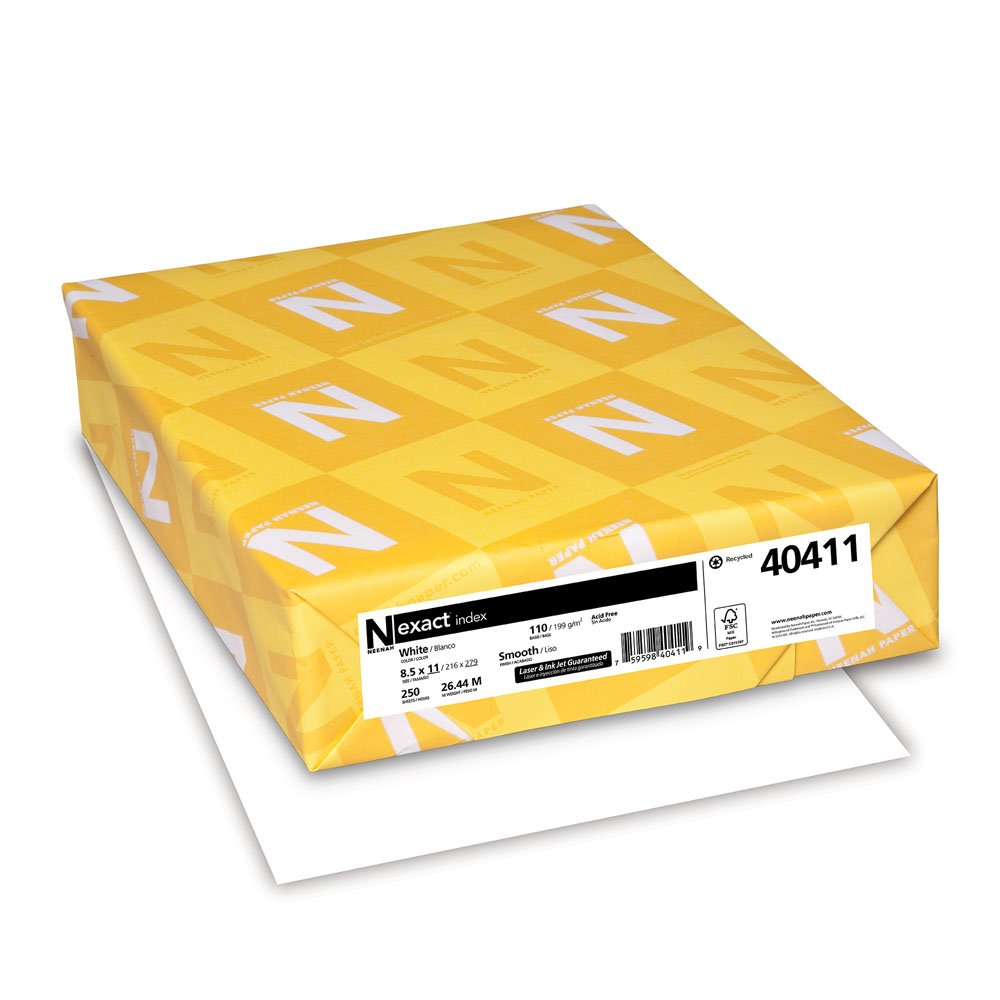
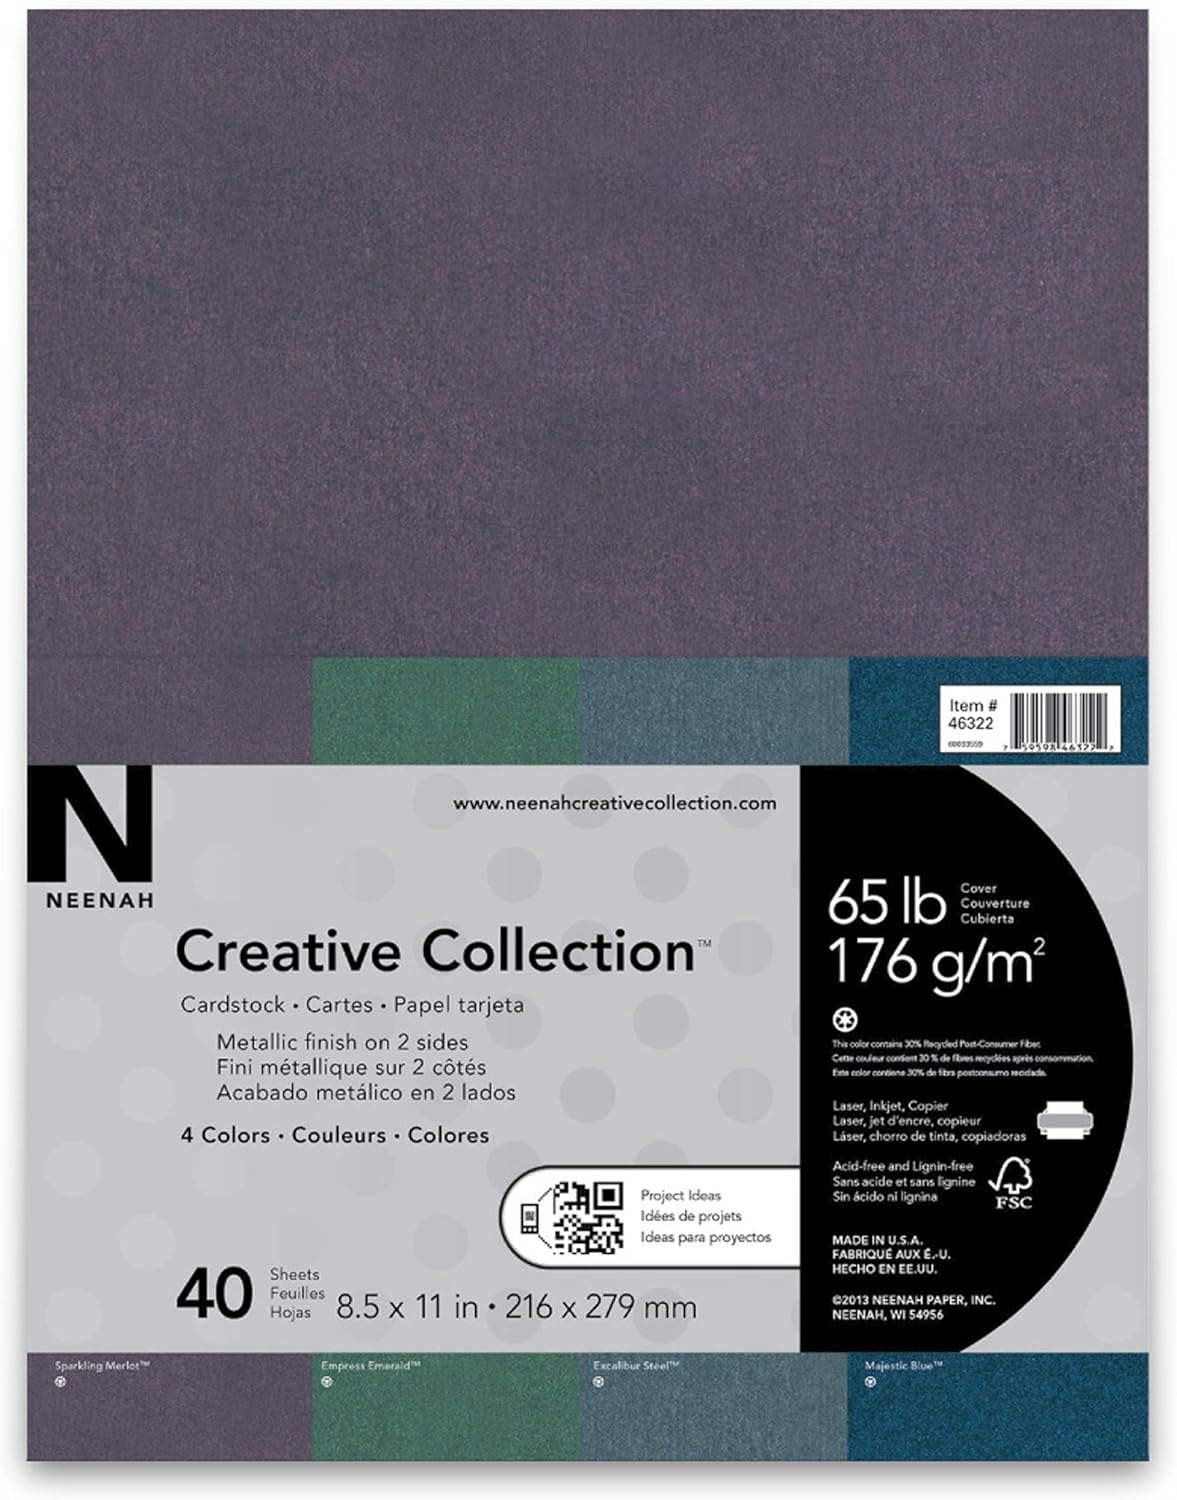
On top of that there's a blue Neenah Metallic Finish Cardstock.
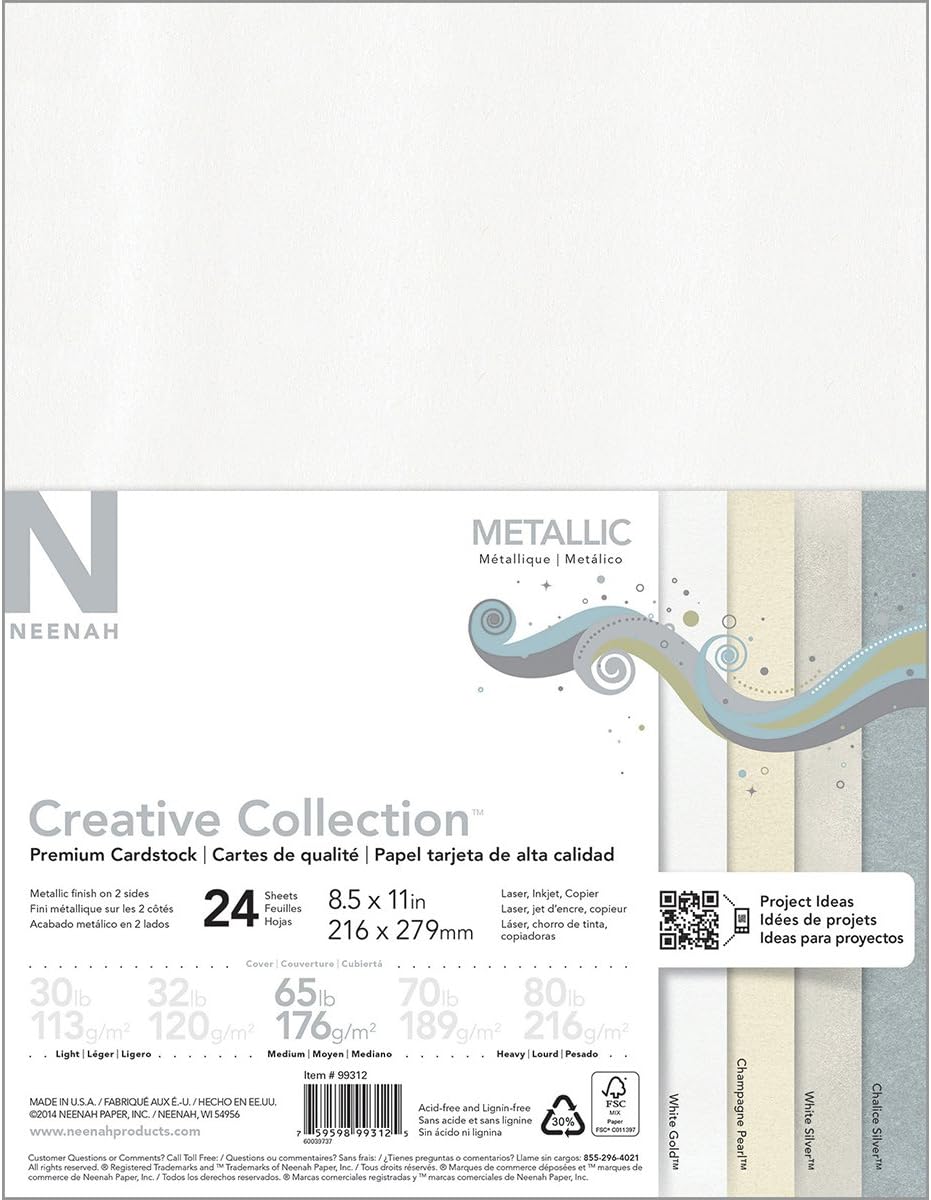
Finally, on top of that last blue panel, I placed a gray offset panel made out of Silver Metallic Neenah Cardstock, embossed using the Sizzix Riveted Metal folder, a great texture for metallic cardstock. I popped up this last panel using a lot of foam tape to give it support
Now for the inside of the card:
This is the difficult part. The ship is very intricate and has many levels, so you must be very careful when folding it.
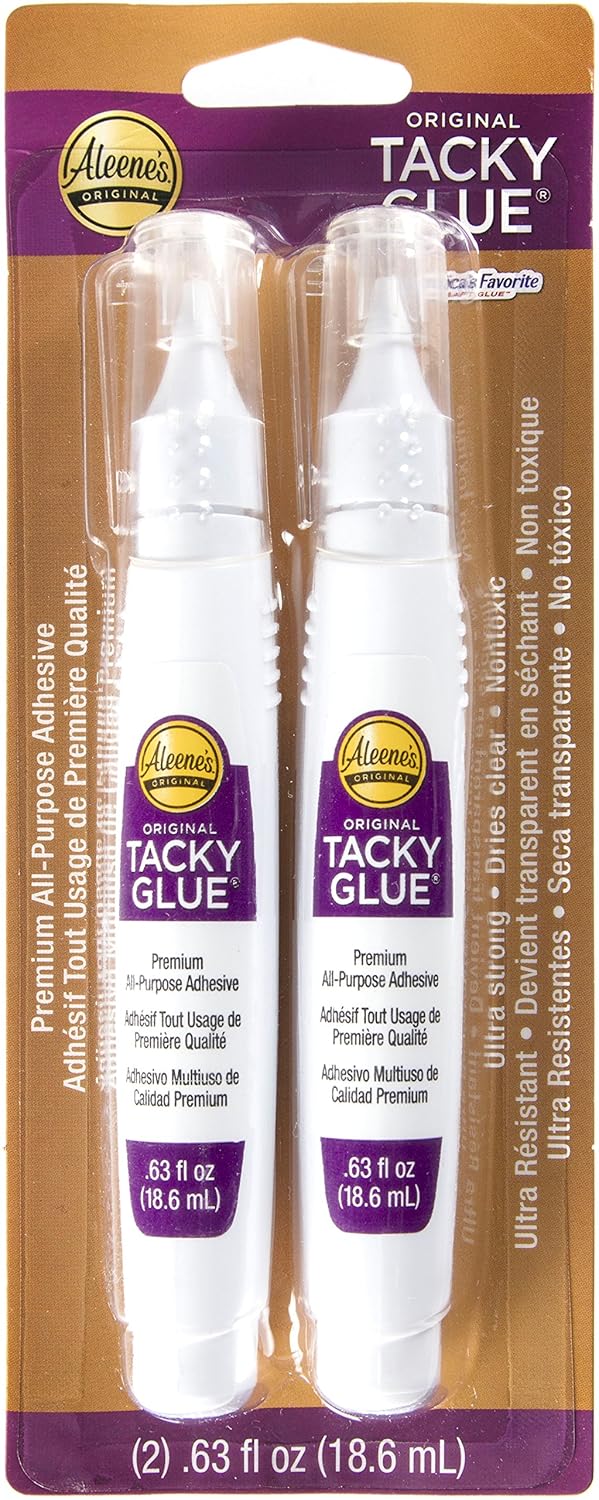
Once you've done so, PTCTG (Print Then Cut Then Glue) the ship and the Death Star's map (texture, image or surface) in the corresponding planes. Every piece fits in just one place. I like to use a liquid glue because it hardens the final pop up when dried.
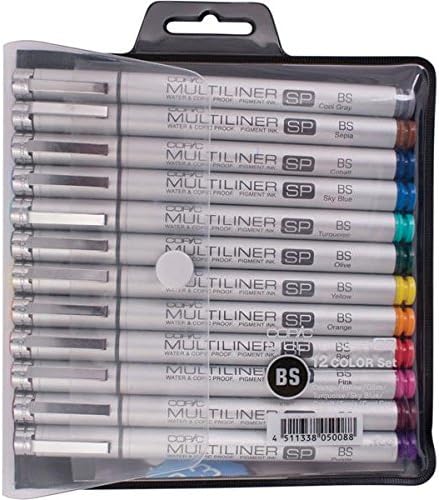
My images where printed on a Canon iP7210 Inkjet printer on low quality to give it a vintage not so dark appearance. Make sure to ink the edges of the cutouts, so the white cardstock of the core doesn't show. I used a COPIC Brush Pen in grey, but you can use the black one too if you want. The fine tip allows you to get in all the corners without trouble.
There is a large vertical support piece that holds the Death Star in place when you open the card.
Make sure to glue it as follows:
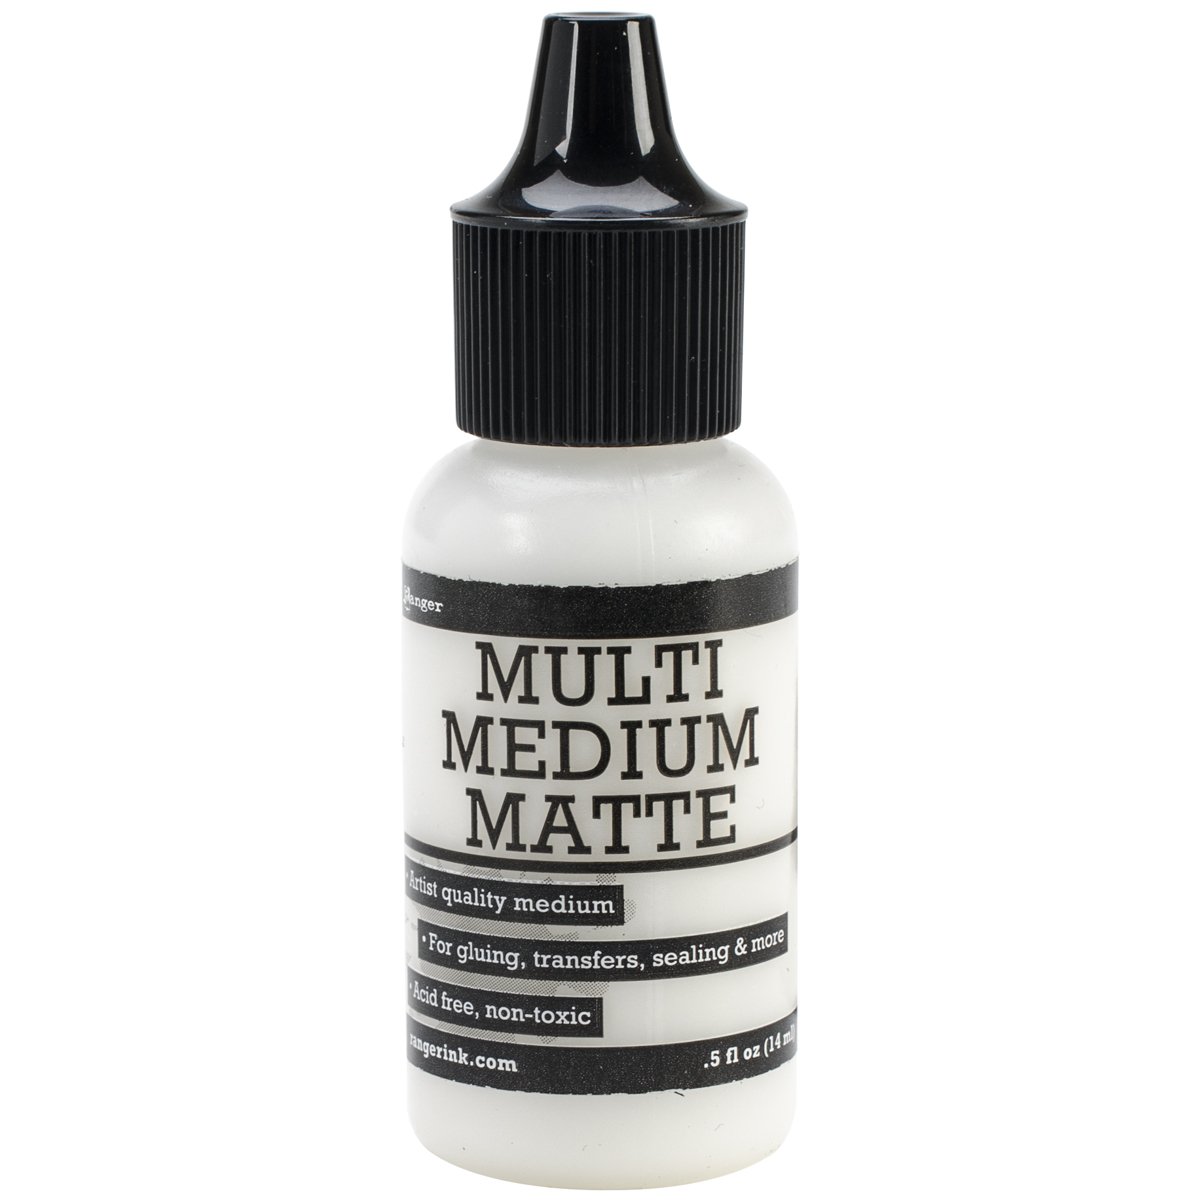
Apply a thin coat of glue to the unfolded end of the support piece and press it on the back of the Death Star, matching the corresponding vertices. I used Multi Medium Matte so it wouldn't show when dried. Let it sit for a minute or two.
Apply glue to the other end of the support piece, laying it flat against the back panel.
Hold it with some flat tool away from the glue (I used a small ruler) and then close the card on top.
Once it dries, it should look like this:
And now you are ready to attach the kirigami inside to the base card.
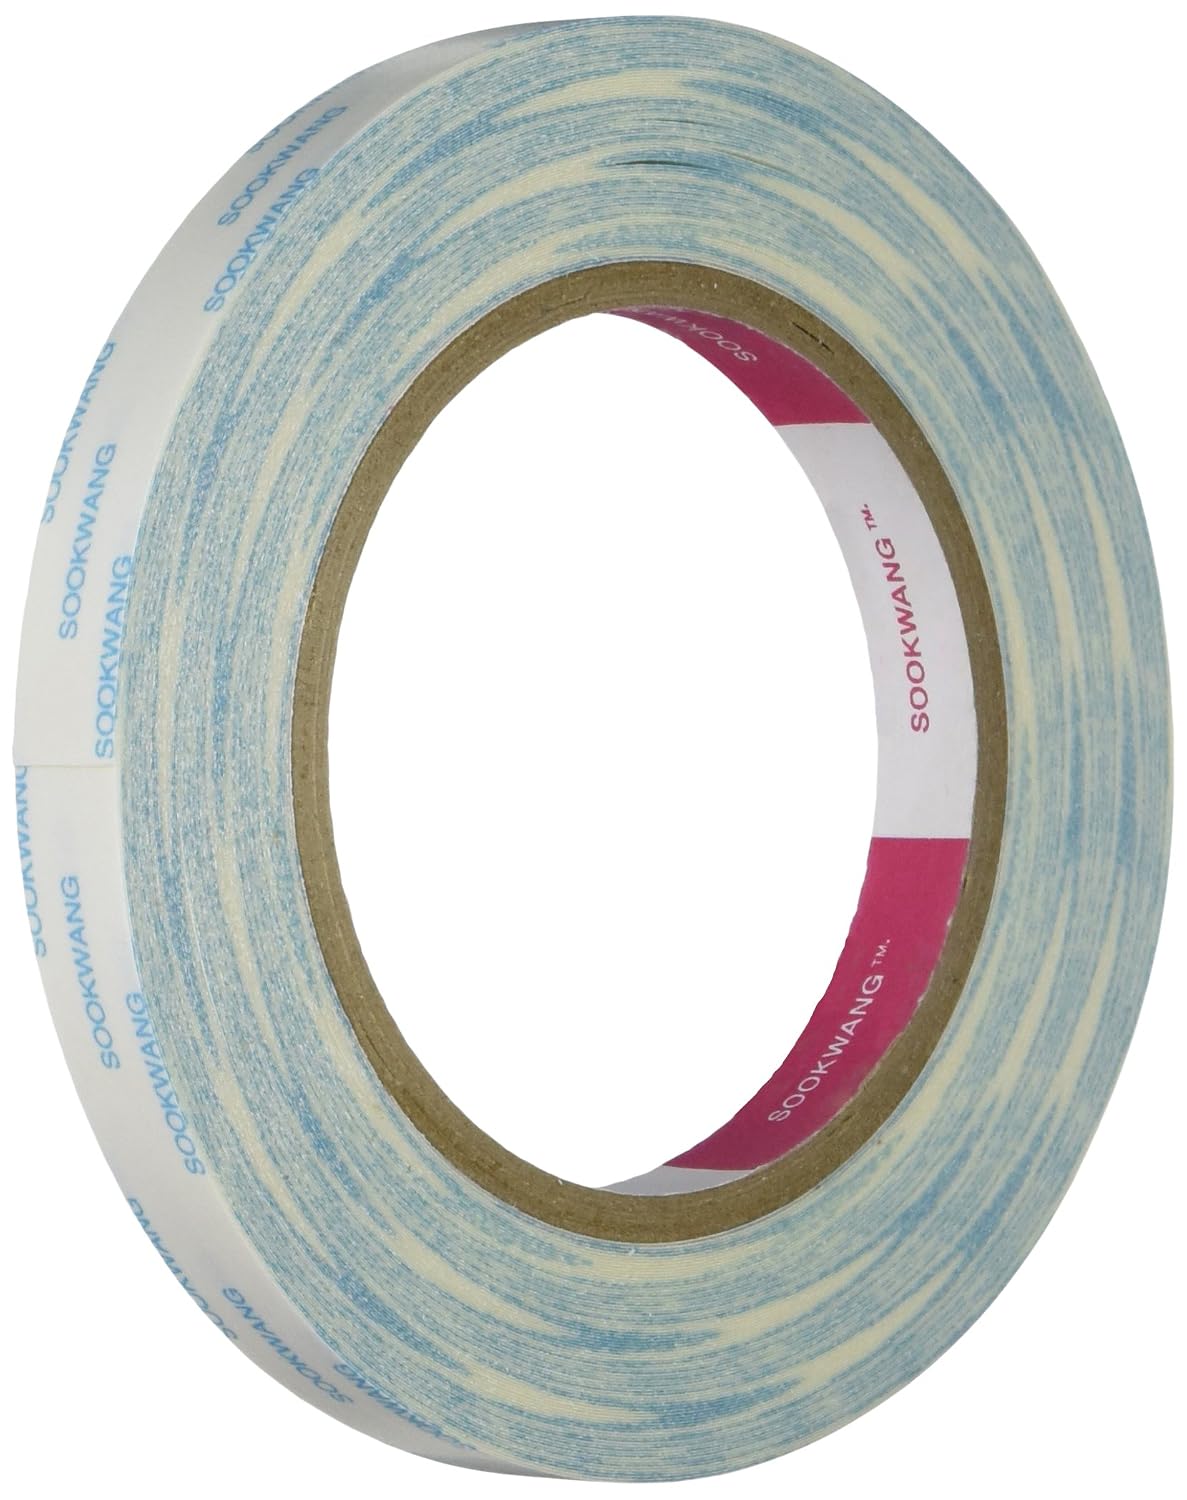
Put some pieces of double sided tape (not liquid glue because the reflective surface won't hold it) on the back, making sure to stay away from the moving parts. I also placed double sided tape on the vertical part near the fold, but also on the thin vertical piece on the right of the Death Star so it wouldn't stick out.
There is also a black piece that covers the back of the Death Star cutout to hide the silver surface and make the black background whole.
Insert the corners of the kirigami panel in the slits. Don't apply double sided tape to the entire surface, thick cardstock needs some some room to move when you open and close it and it wrinkles when you adhere it entirely.
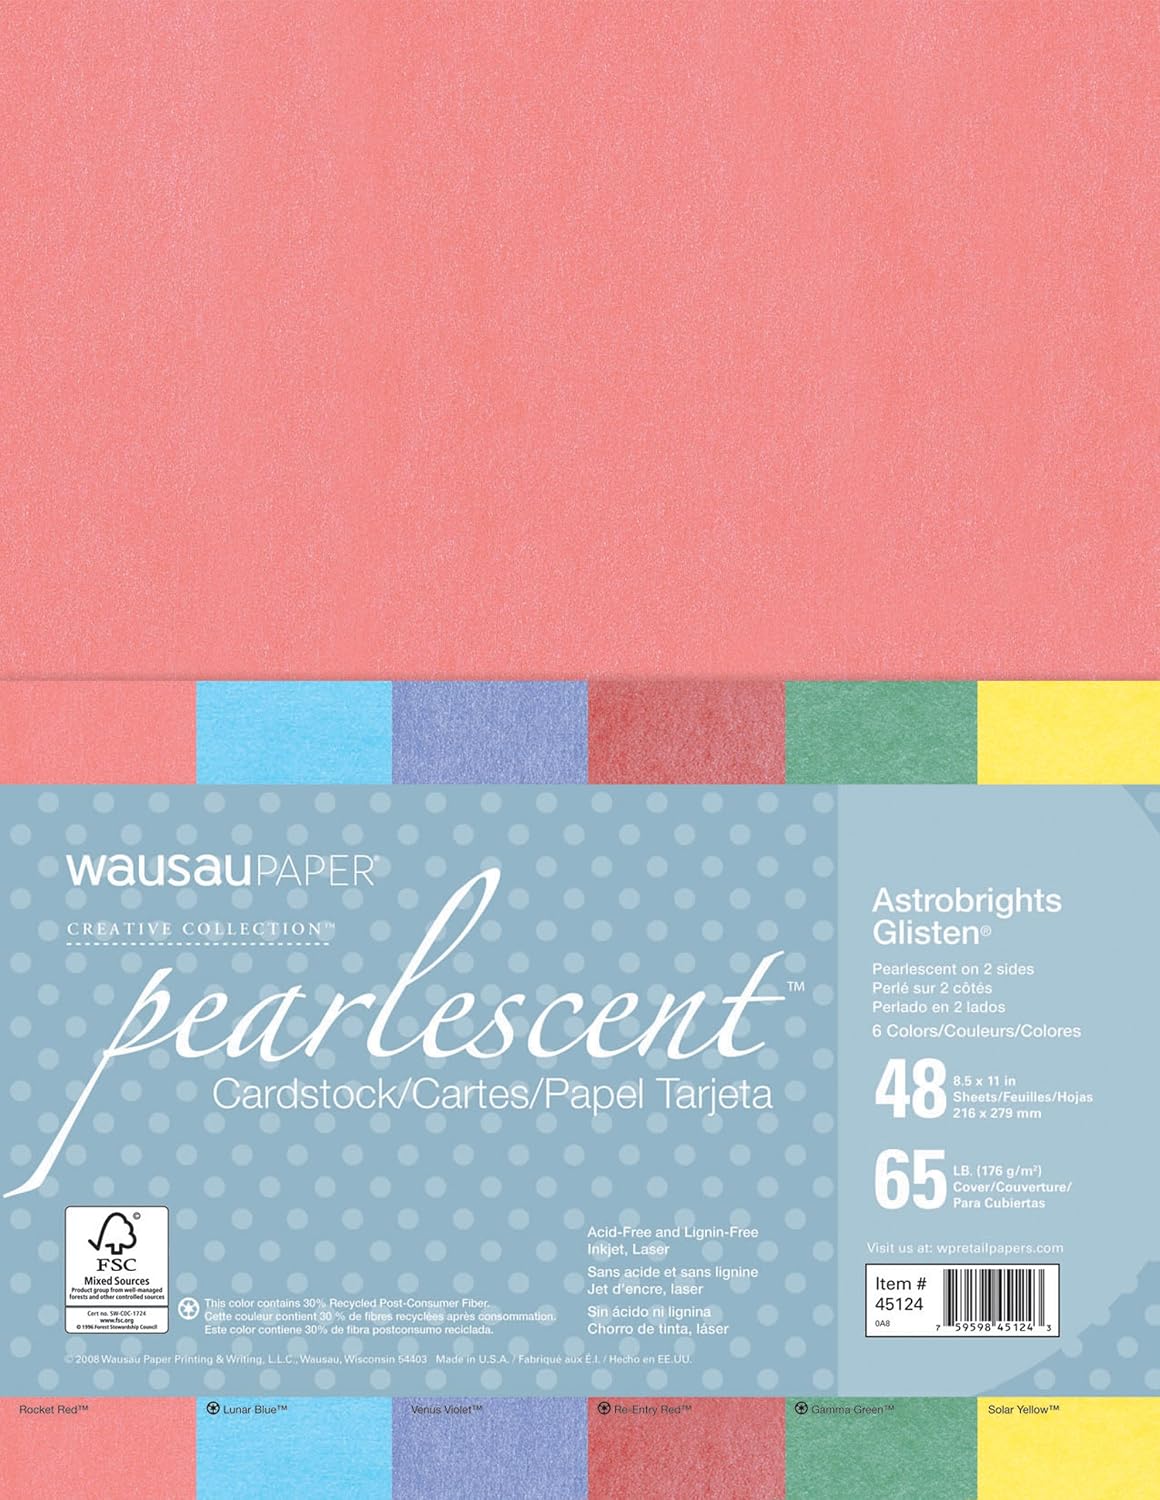
Now for the sentiment, there are three white pieces of each word, glue them together to give the sentiment dimension -you don't want your punch line to lay flat on the back- I used a Neenah Pearlescent Glistens Cardstock, a beautiful shimmery paper that gives you a great embellishment without taking too much attention from your other elements.
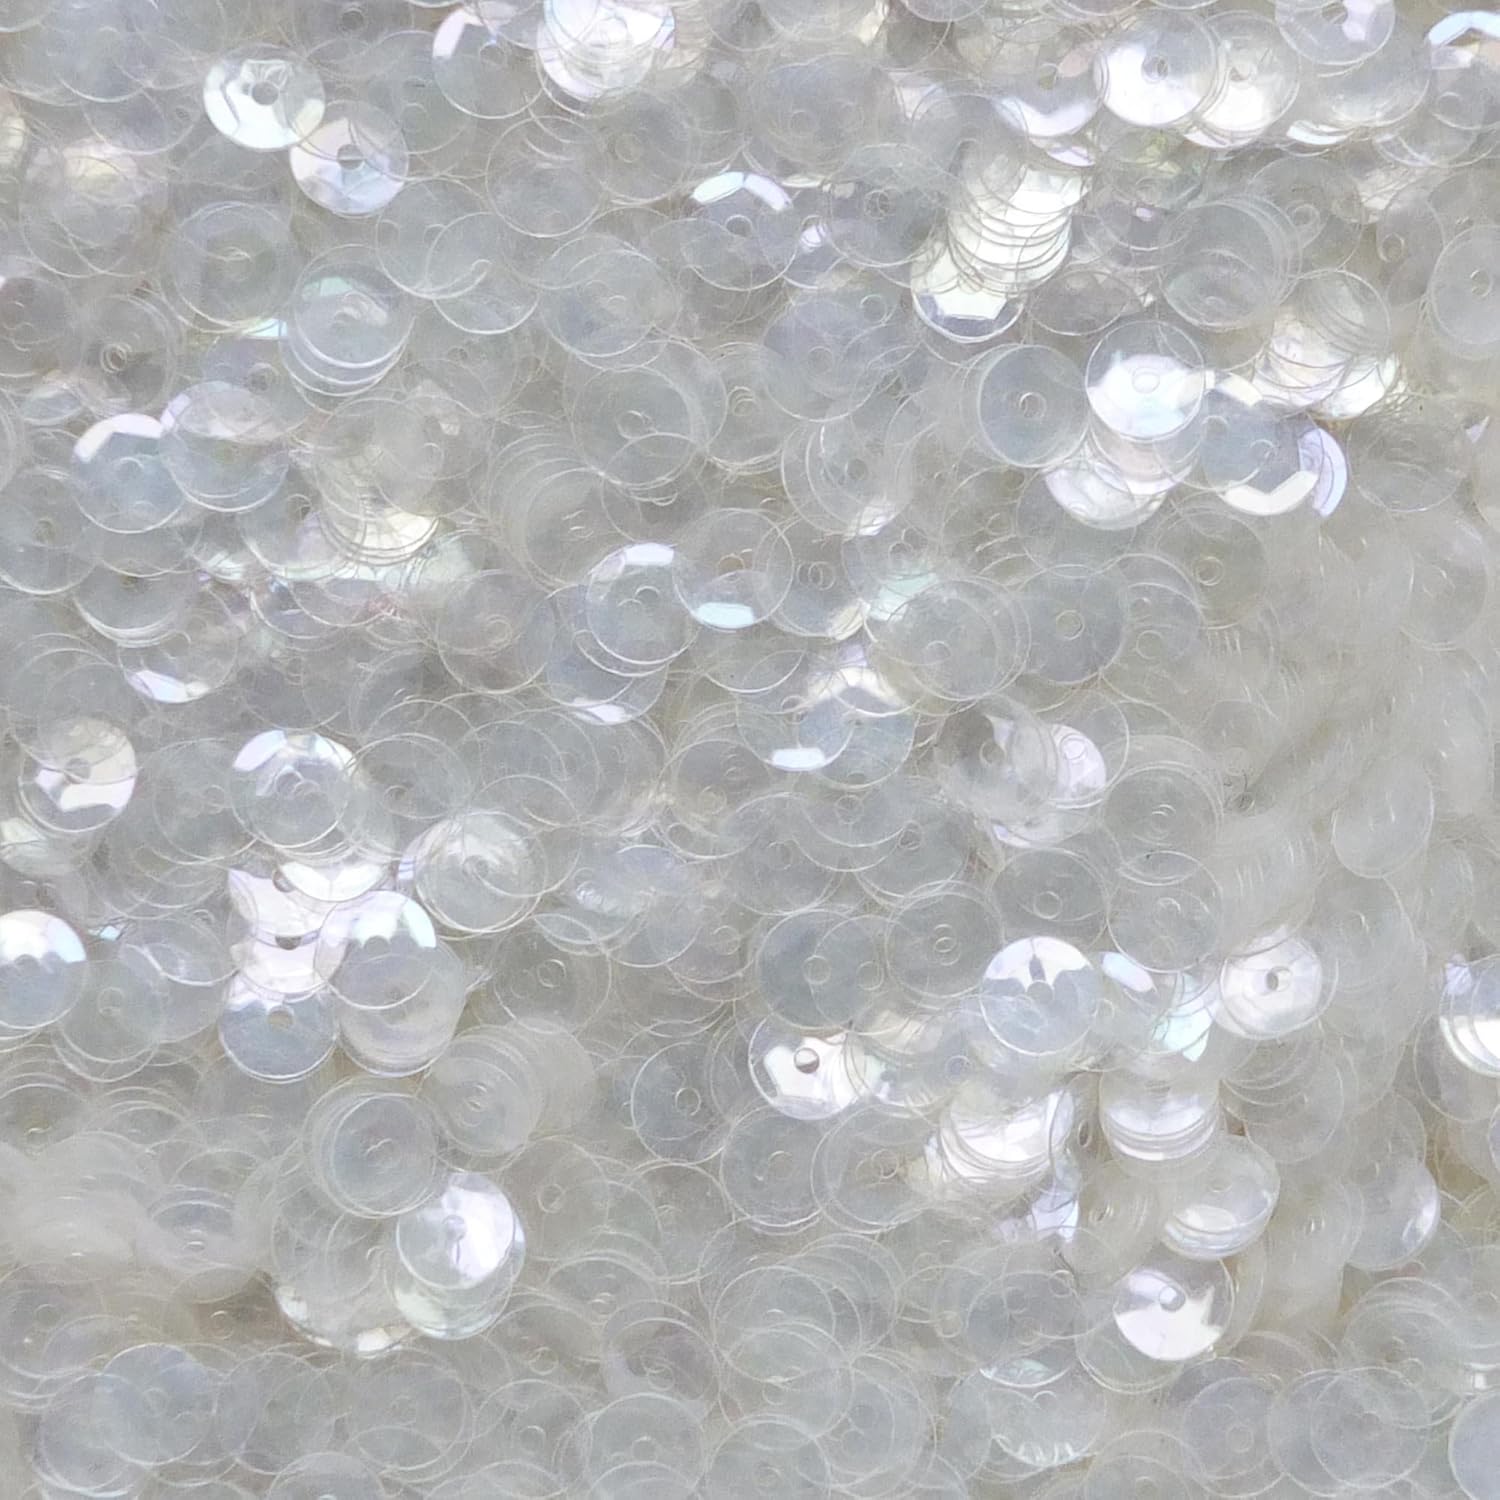
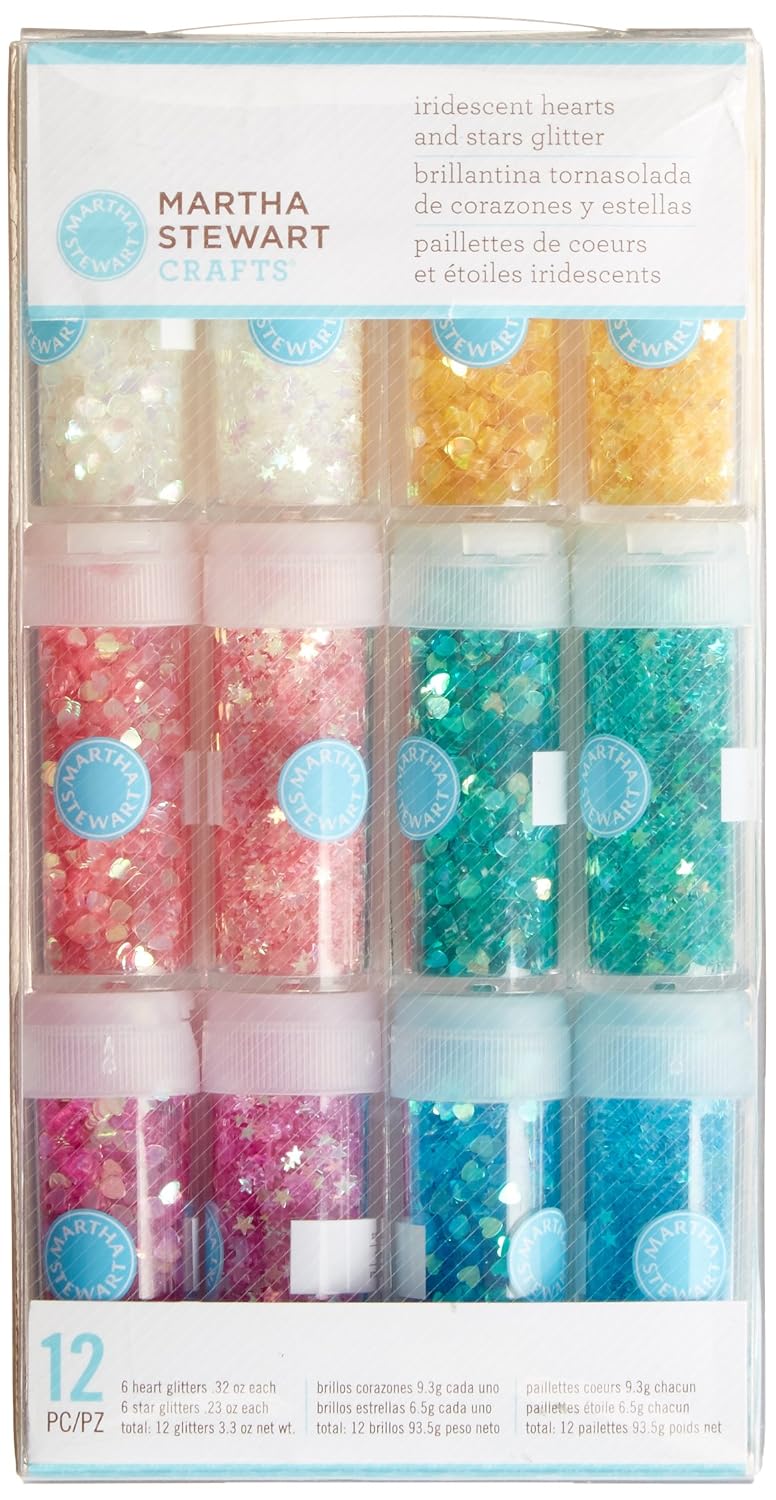
I finished the cards using some iridescent sequins and self adhesive rhinestones to resemble planets and some little glitter stars to make it even shinier.
I believe in giving credit when credit it's due, so even though the thin little lines on the ship and the Death Star are my idea and creation, the background texture is from Deviant Art's Svennie Mannie (
http://svenniemannie.deviantart.com/art/Spaceship-Texture-91959740), and the font is Star Jedi from Boba Fonts (
http://www.dafont.com/star-jedi.font)
I really like how this card turned out and since I made an English version that I won't be giving to anybody soon, I'm having a Giveaway!!!
Comment below and you will enter for a chance to win the card (with no writing on, so you can send it to someone). The winner will be published on February 28th on the
Awesome SVGs Facebook page, so make sure to like us... and may the force be with you!
(Please be aware that the card will be sent from Chile, South America, so it may take a while to get to you, our postal service sucks)
Instructions
- Import in DS
- Resize the PNG Maps to 3.88 inches wide
- Ungroup
- Cut
- Assemble
- Enjoy!
Supplies List
If links don´t seem to open, please right click and select "open link in a new tab", it should take you to a save file dialog. Let me know in the comments if links don´t work, thanks.


quisiera que pusieras el proceso de creacion de la tarjeta
ReplyDeleteThank you for sharing this file. I love it! But I sure am having a hard time folding it. Is there a video or tutorial somewhere? any suggestions or tips?
ReplyDeletethis is amazing!
ReplyDelete