

For this card I used an 8.5x11 inches red cardstock, and black, white, pink and yellow cardstock scraps.
Except for the eyebrows, there are not very small pieces in this one.
The faux highlights of the word devilish are included in the SVG and there's a video on how to attach the lines to the right parts.

The highlights on the character were hand drawn randomly.
.jpg)
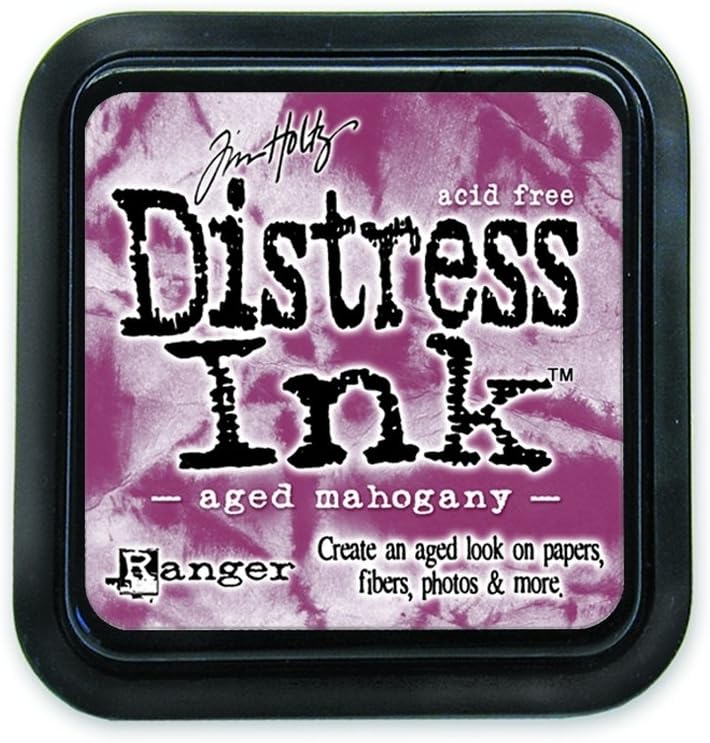
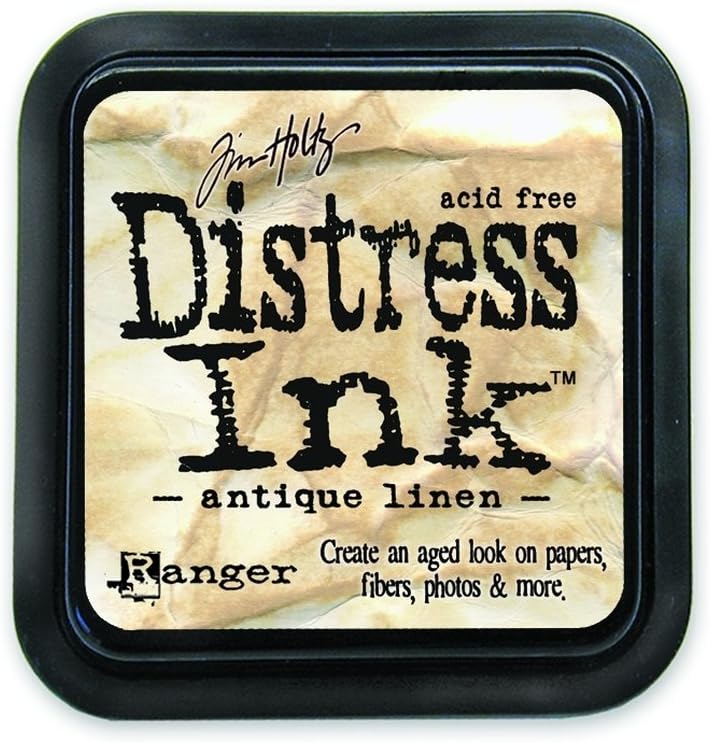
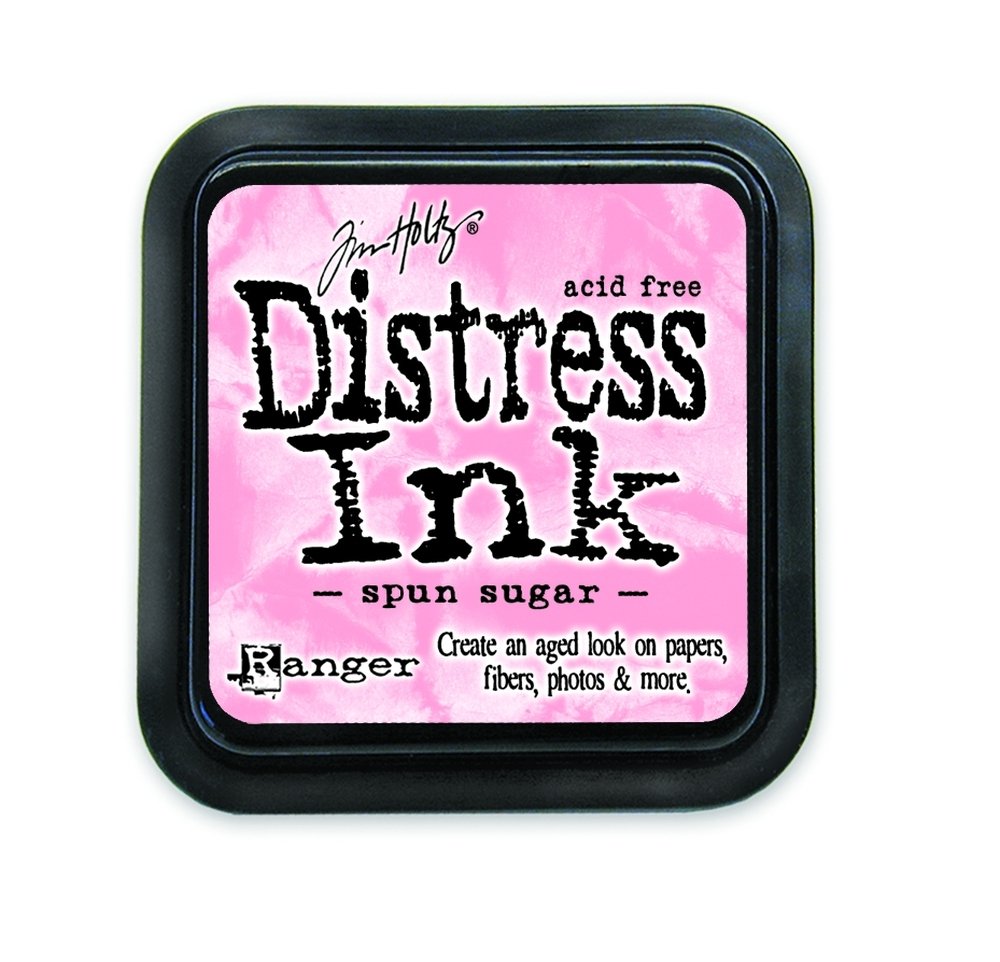
I made some shadows with Aged Mahogany distress ink for the costume and Antique Linen for the face. For the cheeks I used Spun Sugar Distress Ink which is always a great blush color. I've found a fine nib watercolor brush works great for this. The frackles were hand drawn.
For the base box I inked the edges of the trident and the flames with Aged Mahogany Distress Ink on a broad nib watercolor Brush. While still wet I sprayed Perfect Copper Perfect Pearls Mist generously to make the cardstock shiny and soften the inking.


The smile on the top devil is included in the SVG file and I used a purple glitter gel pen to make it pop.


Instructions:
- Import in DS.
- Resize to 10.6 inches wide.
- Ungroup.
- Change eyes highlights ti write and attach to the black JP outline.
- Change top devil smile line and attach to box base.
- Cut.
- Enjoy!
Supplies List
 |  |  |  |  |
 |  |  |  |  |
 |  |  |  |  |
 |  |  |  |
If links don´t seem to open, please right click and select "open link in a new tab", it should take you to a save file dialog. Let me know in the comments if links don´t work, thanks.
No comments:
Post a Comment