7

Saturday, August 30, 2014

Tutorial for double spinner card

I know the file does not speak for itself, so here's a tutorial on how to assemble the spinner parts of the card. You'll need 1/8" eyelets and eyelet setter, contact cement and a little patience.
  1.  Assemble the legs and the arms separately. I like to use Aleene's Quick Dry Tacky glue because it allows you to work faster.
  2. Glue the shirt and the pants to the body base.
  3. Set an eyelet pressing only half way on one of the holes of the body.
  4. Attach the piece on top of the eyelet using contact cement. It is very important not to get cement on other parts, otherwise the piece won't spin. A great tip for this glue is to let it sit for a couple of seconds until it feels dry to the touch, then join the two pieces you want to adhere and hold firmly for a couple of seconds. Wait 5-10 minutes before the next step.
  5. Add some rubber cement to the coin and attach the cover piece. Let it sit for a couple of minutes.
  6.  Add some rubber cement to the center hole of the coin cover and to the other side of the eyelet and glue them together. Again, take care not to add cement outside the hole of the cover piece or around the body base. Wait a couple of minutes.


Assemble the rest of the card as you would any other spinner card.
Here are some great tutorials!


Thursday, August 28, 2014

Manual Print Then Cut (Before The Feature Was Added To Design Space)

I know the Print Then Cut (PTC) feature is coming to Design Space, but for those of you who can't wait or have to deliver something soon, here is the way I approached it    .
Here are the images and some explaining for the tutorial on Manual Print Then Cut
This is the way I cut all the text for my baby shower invitations I did a couple of months ago.

Wednesday, August 27, 2014

Gracias and Thanks card file

I finally managed to finish and upload the file since my PC crash.  Sorry for the delay!
Enjoy!

If links don´t seem to open, please right click and select "open link in a new tab", it should take you to a save file dialog. Let me know in the comments if links don´t work, thanks

Tuesday, August 26, 2014

Simple gracias card

This SVG is actually very simple, it is just the Word "gracias" with the heart as a dot for the i and the back vellum panel.


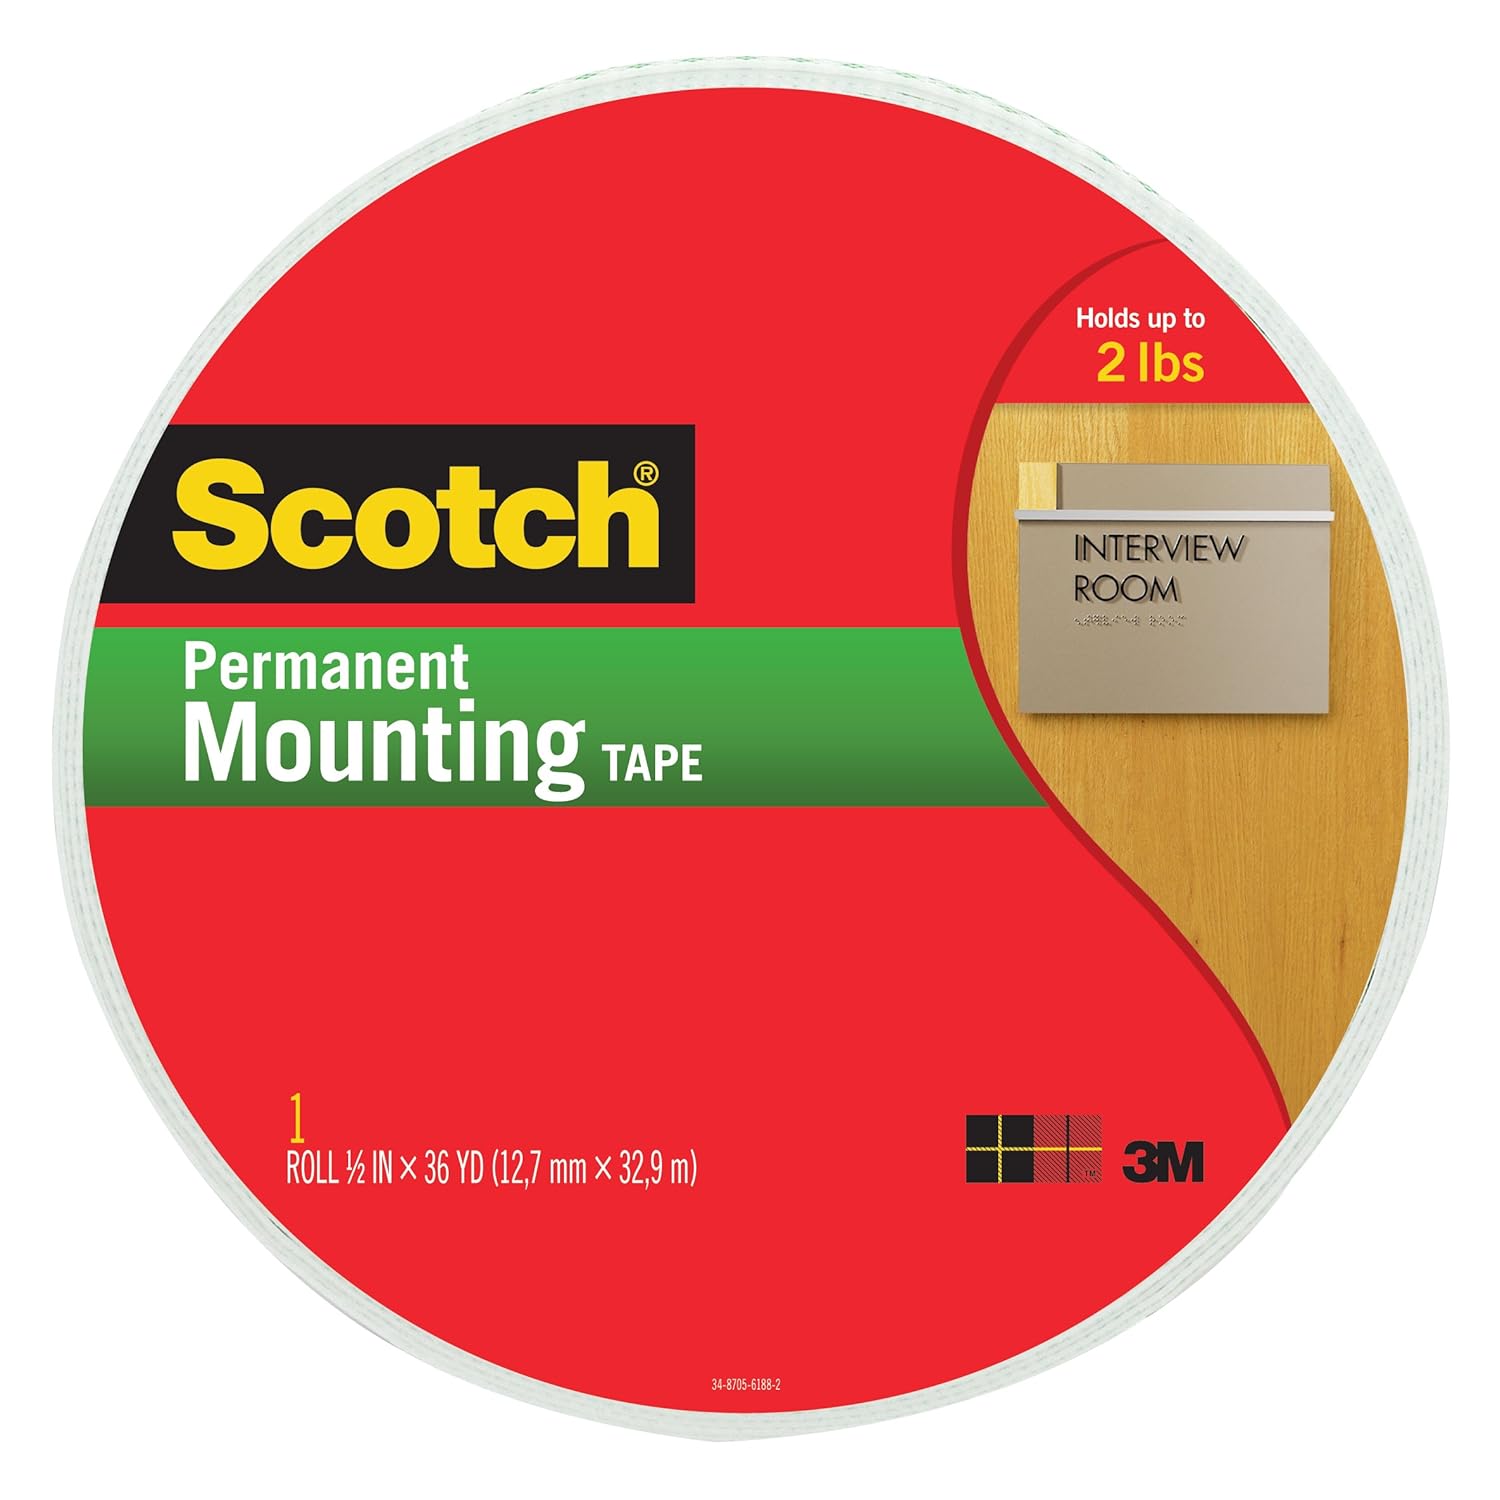
For the background I used the Hero Arts Tiny stars stamp with versamark and clear embossing powders and a resist technique with distress inks (seedless preserves and salty ocean). I cut the stars panel 1/8 in shorter tan the 4.25 x 5.5 in notecard and popped it with some foam mounting tape.

I was looking for some vellum adhesive but Scotch double sided tape on my ATG worked fine.
I popped the gracias word with foam mounting tape and colored the heart with worn lipstick distress ink.

I'll be uploading the "gracias" SVG file tonight along with a "thanks" file (my PC crashed last night) so stay tuned. Download the file here http://awesomesvgs.blogspot.com/2014/08/gracias-and-thanks-card-file.html
Supplies List
 click to buy from affiliate click to buy from affiliate click to buy from affiliate click to buy from affiliate click to buy from affiliate
 click to buy from affiliate click to buy from affiliate click to buy from affiliate click to buy from affiliate click to buy from affiliate
 click to buy from affiliate click to buy from affiliate click to buy from affiliate click to buy from affiliate click to buy from affiliate
 click to buy from affiliate click to buy from affiliate

amazon