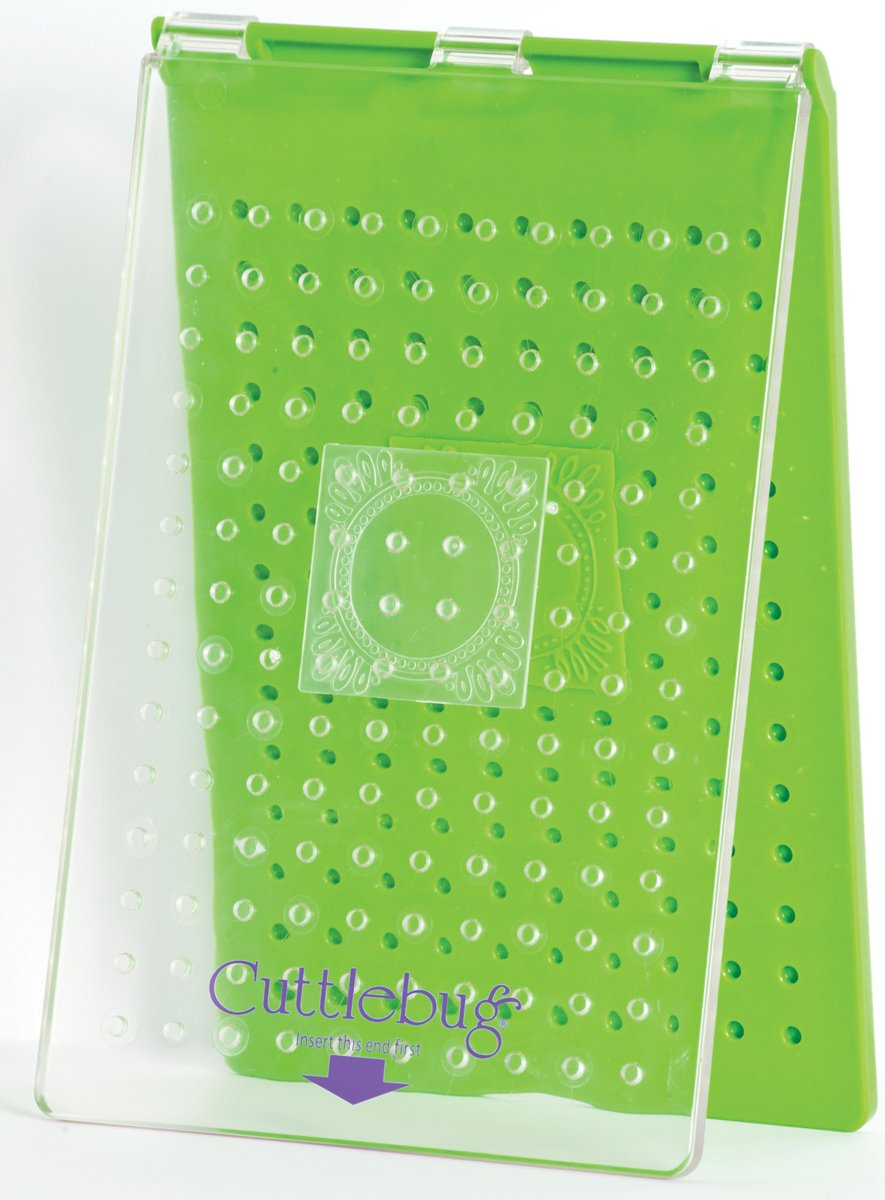
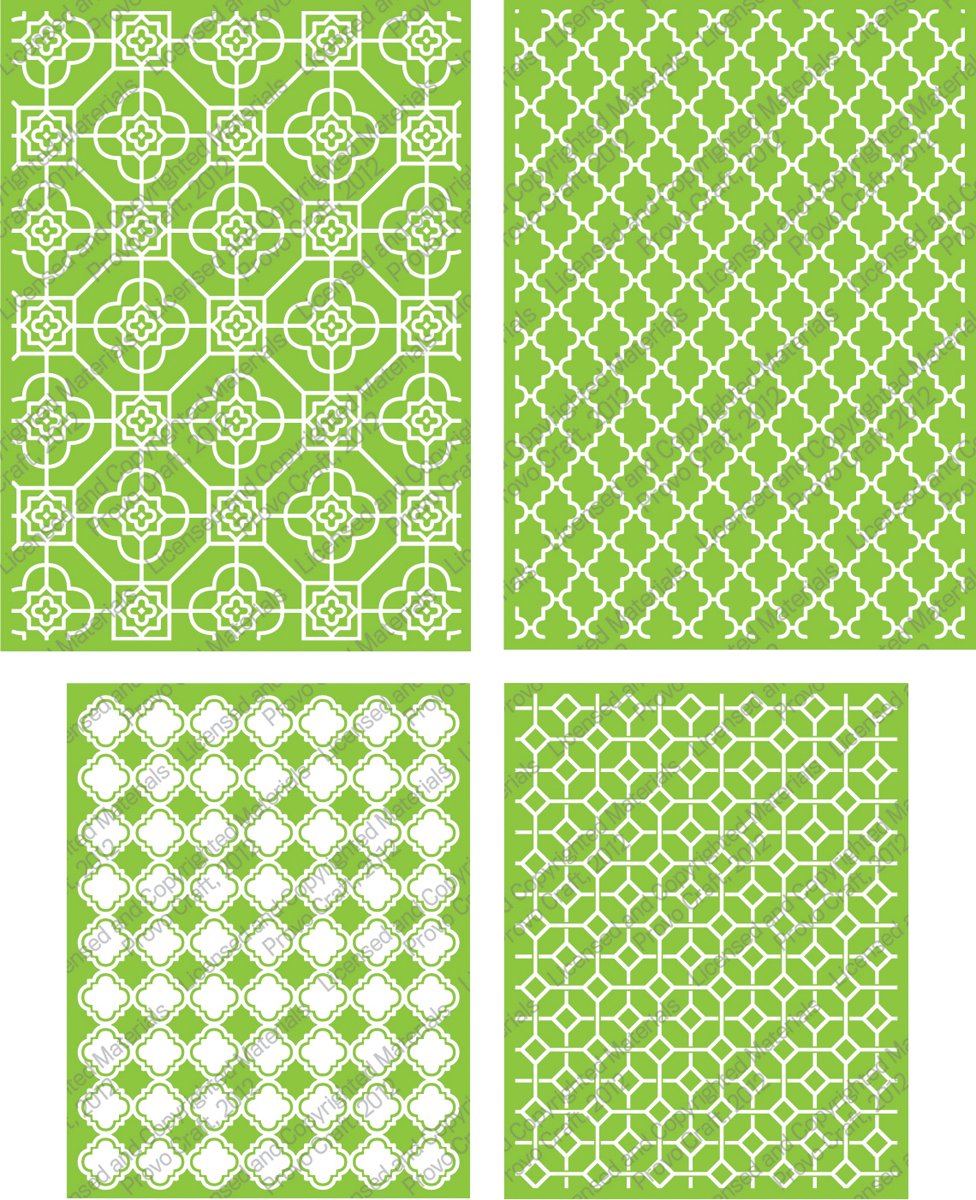
This was for my cousin's baby shower. I recently received my Cuttlebug and a bunch of folders that I wanted to try.
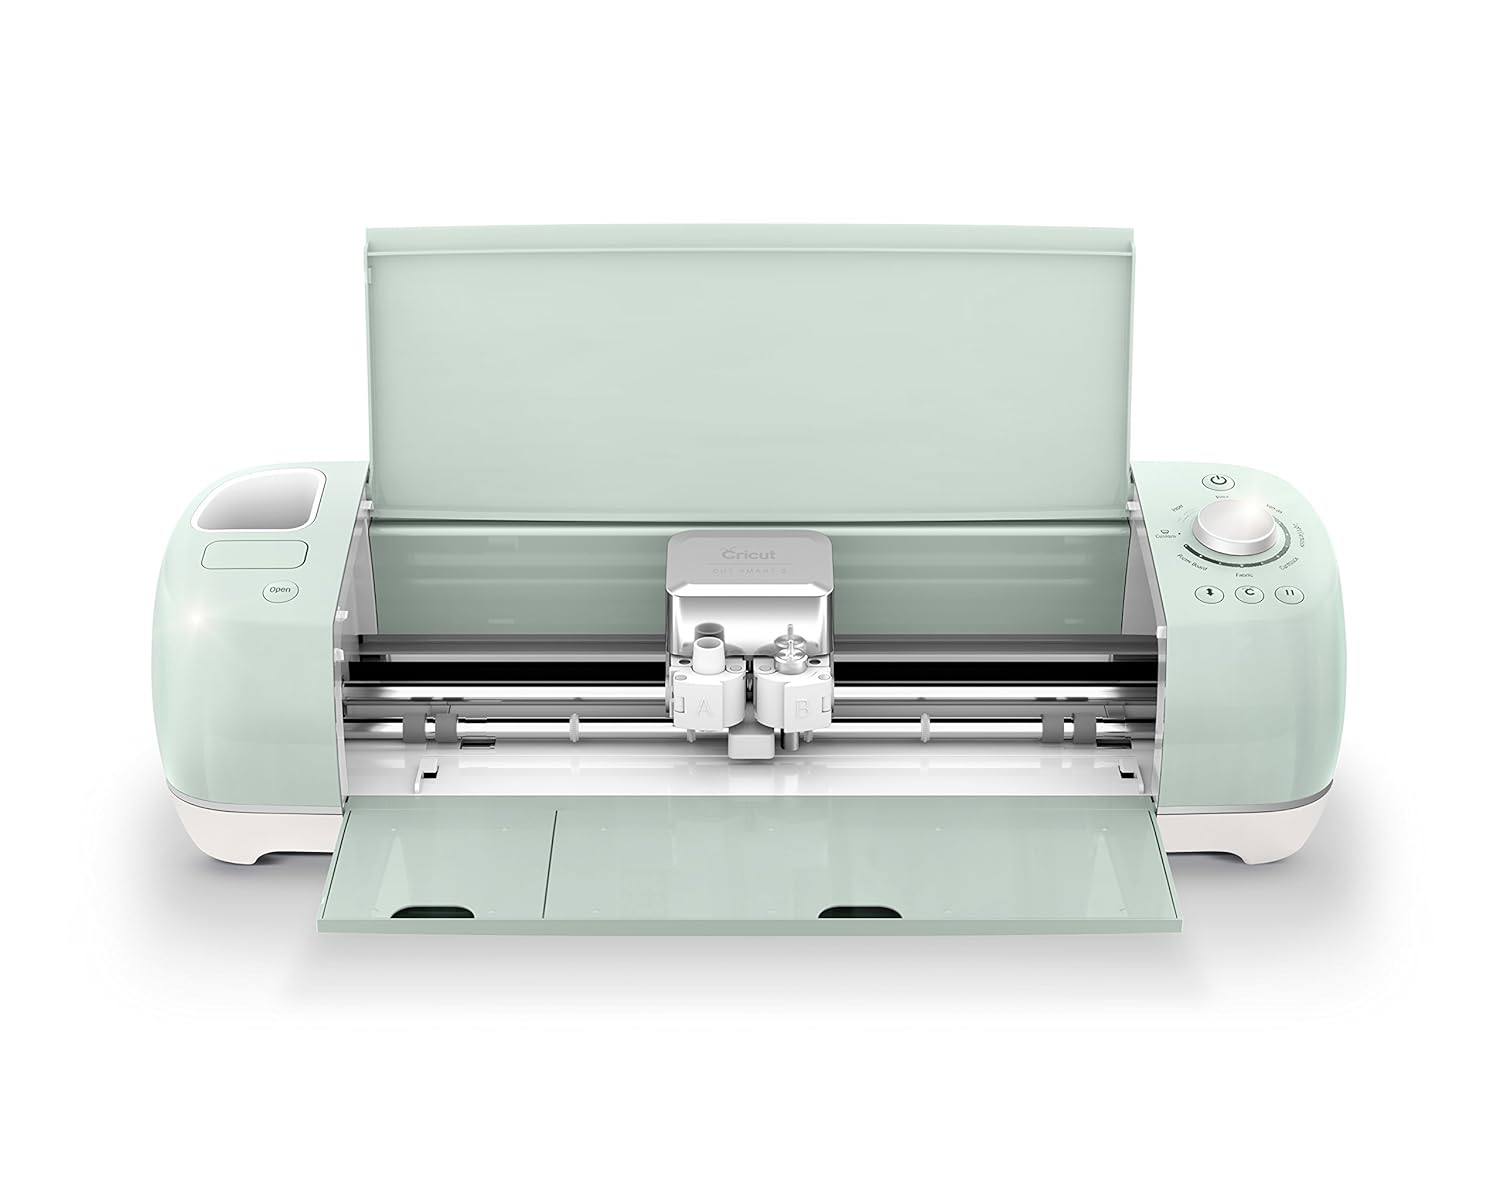
I did my take on print then cut feature supposedly coming soon for cricut explore. I printed two boxes on the corners of the paper and set them to score on the explore. I then adjusted the position of the paper accordingly. Worked out pretty good.
The invitations are printed in plain Kraft paper and glued wit double sided tape to the invitation.
Since the name of the baby will be Cristóbal, I cut the letter C in Arial Black font, nothing too fancy.
Enjoy
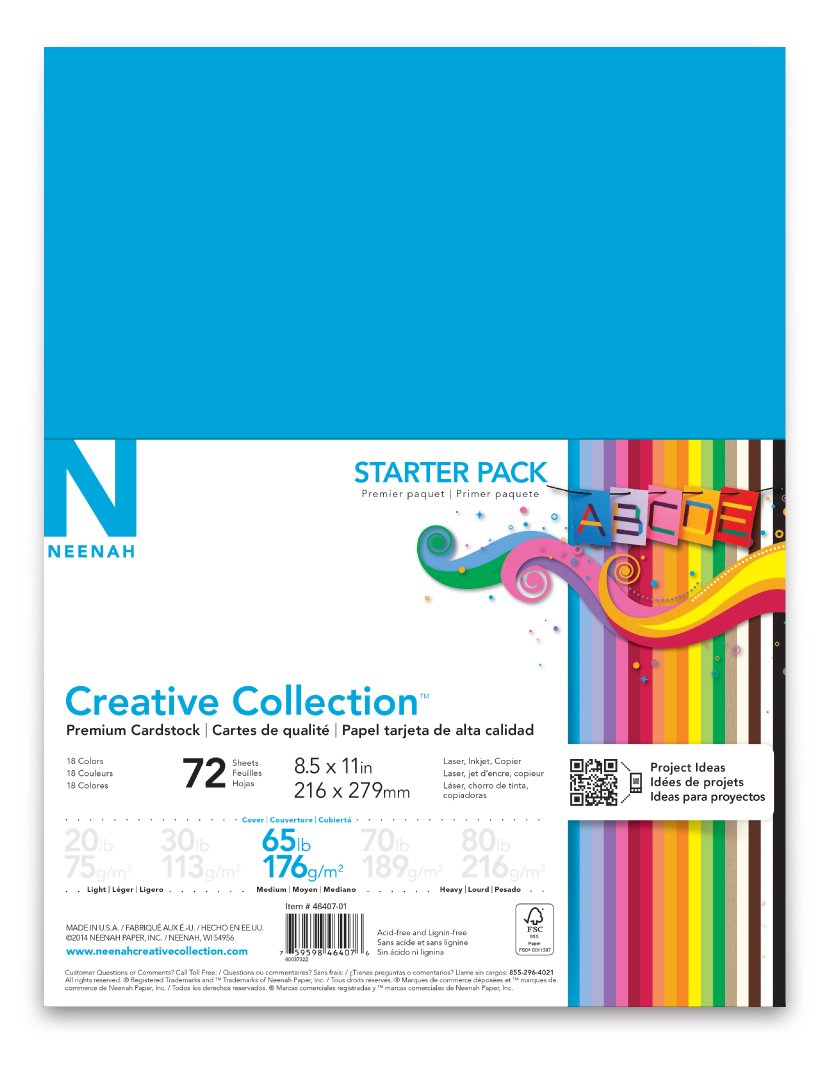
Supplies List
If links don´t seem to open, please right click and select "open link in a new tab", it should take you to a save file dialog. Let me know in the comments if links don´t work, thanks


Omar, could explain a bit more how you did the Print then Cut? Or make a video on it? I belong to the same facebook group you do and I bet lots of us would benefit from this instruction!!! Thanks!
ReplyDeleteIn case you did not check our FB group today, here's the link http://www.awesomesvgs.blogspot.com/2014/08/print-then-cut-explained.html
DeleteEnjoy!
how did you emboss them? I love the prints
ReplyDeleteHi Joyce, I just posted the supplies list for these, Please feel free to check it out, and if you really, really want the embossing folders, get them form the link to the amazon store, They are great!!!
DeleteHow can I get this file? I've clicked the download button and nothing is happening. :-(
ReplyDelete