
Two posts in the same month, Yippee!!
The truth is, I've had these designs sitting on an illustrator file for a long time and finally had the time to cut, assemble and upload it for you guys. and there's more coming!

These cards are so fast to make, they are very elegant and look a lot more difficult to make than they really are. I call This One Vertex and there are two versions, a round and a square one.
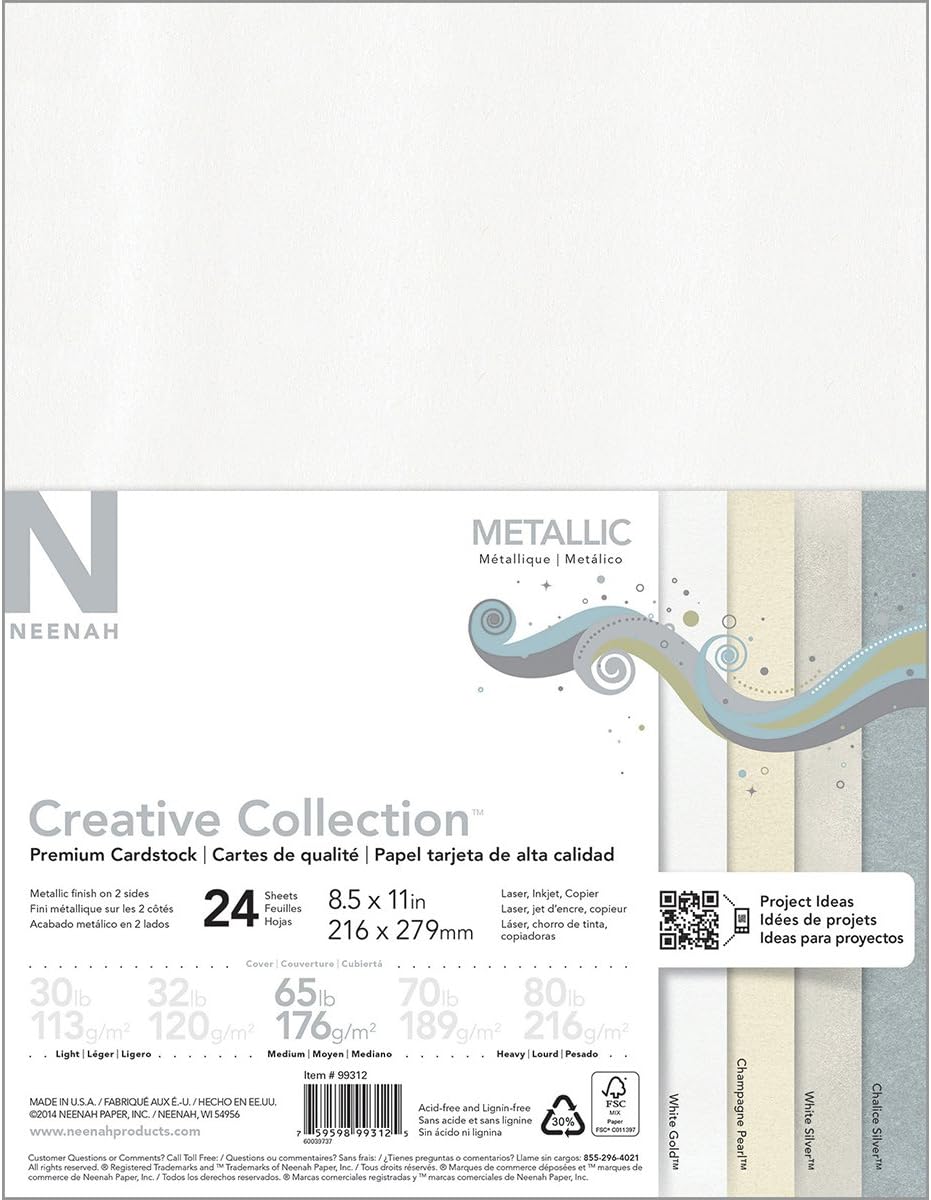
You'll just need cardstock and some kind of adhesive. I would recommend to use different color cardstocks for the card base and the contrasting back panel, and you can even use double sided cardstock that creates a totally different effect. Personally, I like the clean and simple look of this Neenah Creative Collection Metallic Cardstock, it has a subtle shiny finish on both sides that reflects light beautifully and it is perfect for these kind of cards where the back of the cardstock shows so you won't lose that shine.

I wouldn't use any cardstock weight higher than 65 lb. to avoid the flaps from cracking when braiding them. For the back panel I used the Blue Ombre Recollection Cardstock. I figured, creating a set of 5 cards, one with each color cardstock, would be nice to give as a gift to be used as thank you notes.


It took me two minutes to cut each card and 3 minutes to put each one together, so they are perfect if you are in a hurry. You could also embellish them with rhinestones or enamel dots, although by themselves they are great too.
Here's a quick video that shows you how to put them together and remember the Free file is at the end of this post.
Have fun!
 |  |  |  |  |
How do I get these into my cricut design space? They are so pretty!
ReplyDeletedoanload the file, go to design space, click on upload, and then upload file, select the svg file downloaded and place in your canvas in design space
DeleteThank you. Beautiful. Have missed you.
ReplyDeleteLovely design. Thank you for sharing.
ReplyDeleteLove them. Thank you for sharing.
ReplyDeleteThank you!
ReplyDeleteBeautiful and useful for all sorts of sentiments! THANK YOU!
ReplyDeleteBeautiful, you have been missed! Thank you
ReplyDeleteI love cards like this - looks so complicated but is actually easy. Thank you so much for this file!!
ReplyDeleteI have been searching for a unique card to send to my SIL who is undergoing treatment for cancer. This is perfect. Thank you
ReplyDeleteThank you!
ReplyDelete