
So, 2019 has begun, what are your new year's resolution? One of mine is to try and use as much of the supplies I already have and try not to buy new ones until I try them all at least once. I know, buying them and using them are not in the same category 😜.
News from now on: I will include a DXF file for those Silhouette Studio users that don't have access to SVG files.
I'm a fan of pop up cards and I wanted to begin this year posting this fun and easy card.

A very simple front panel and a colorful pop up inside

I came up with this design in an attempt to make three birthday cake pop up card with increasing assembling difficulty. This card is what you call a parallel fold card, where all the pop up layers stand parallel to either, the vertical or the horizontal portion of the card. The one tricky part of this card, is the initial fold of the card base. Once you get that right, the rest is easy peasy, lemon squeezy.
 |
| There are 5 levels in this card. |
A few recommendations to take into consideration:
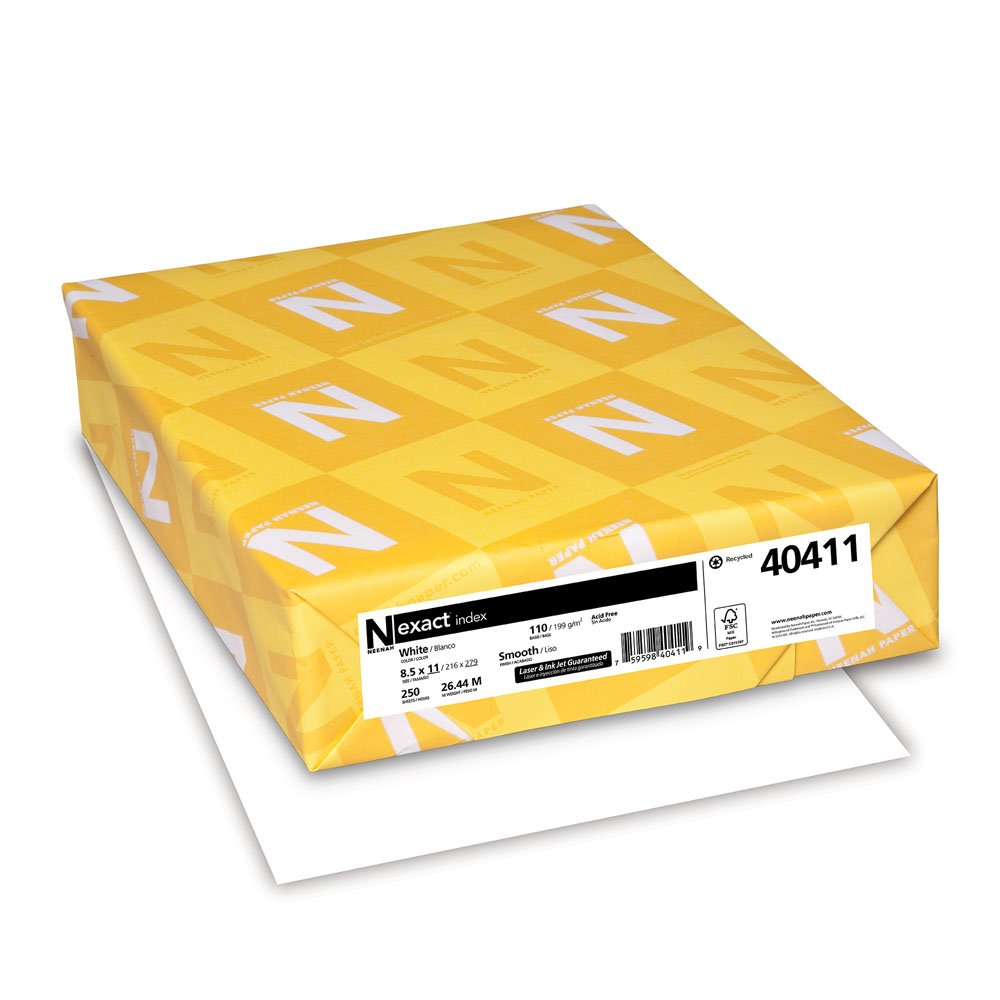
- Use heavy weight cardstock (at least 110 lb). I used Neenah Solar White, linen texture, 110 lb cardstock for the card base (that is the piece that folds and moves the whole thing). If you are new to pop up cards, I would suggest to use a smooth surface cardstock to avoid confusing the texture with the scoring lines).
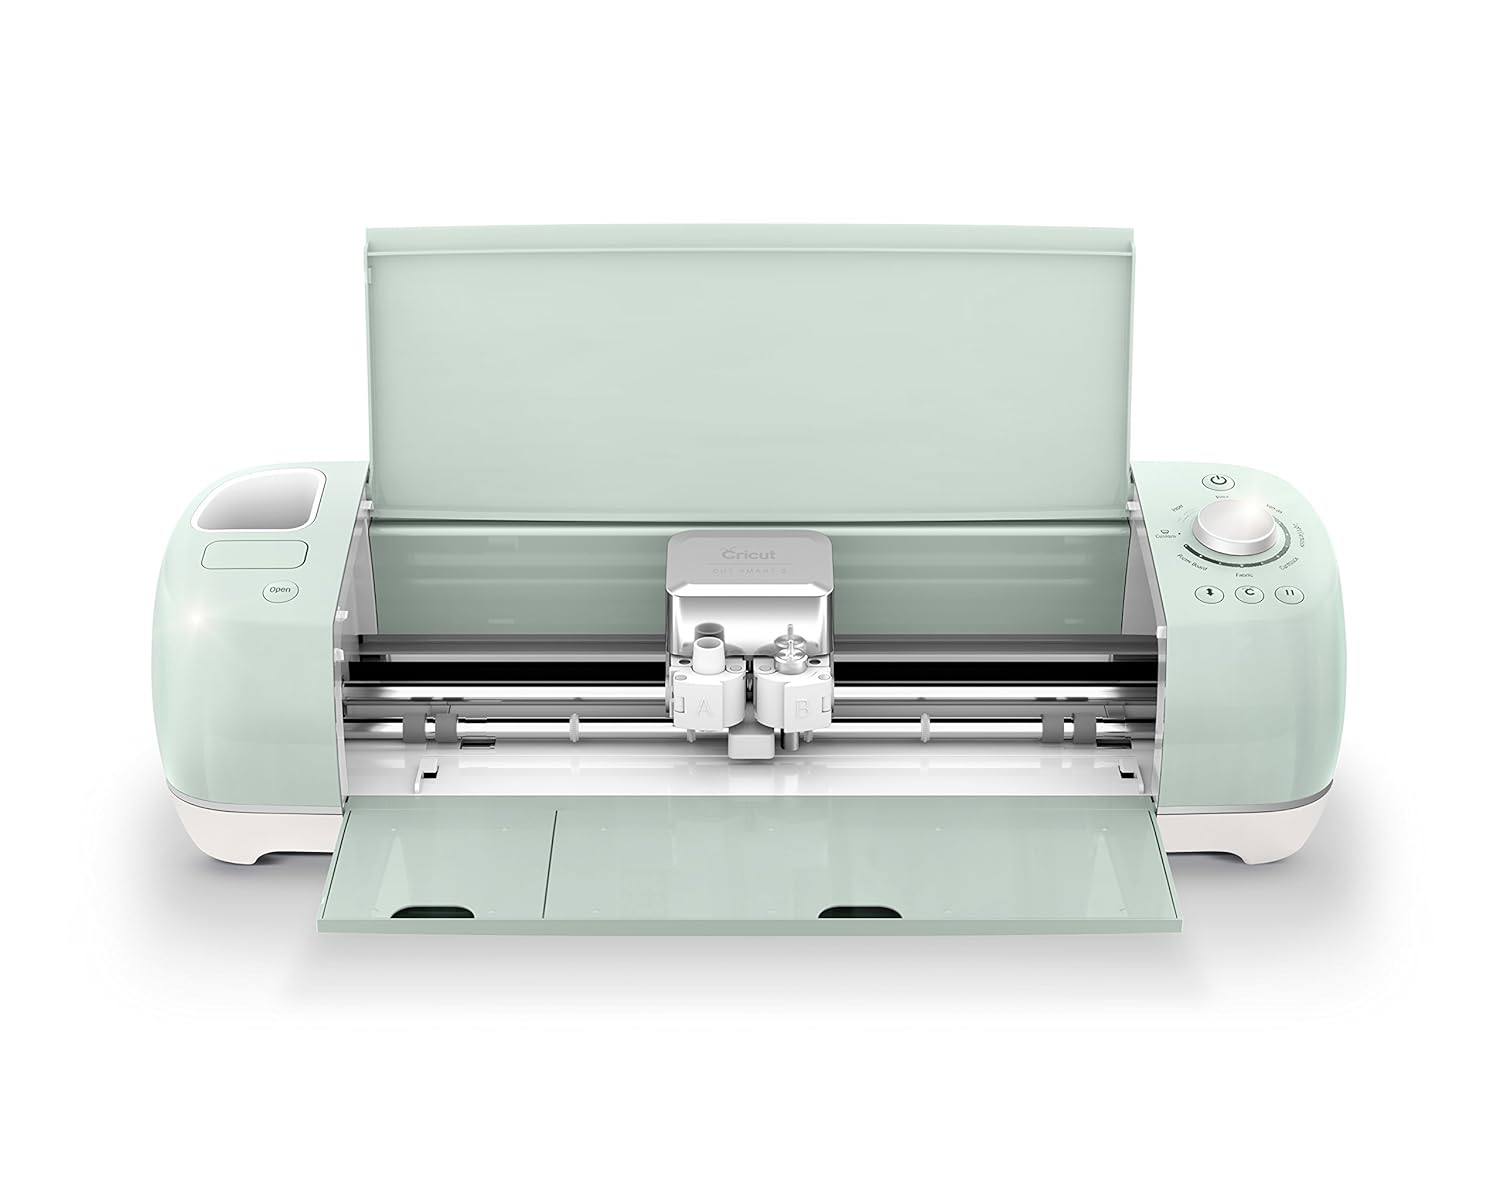
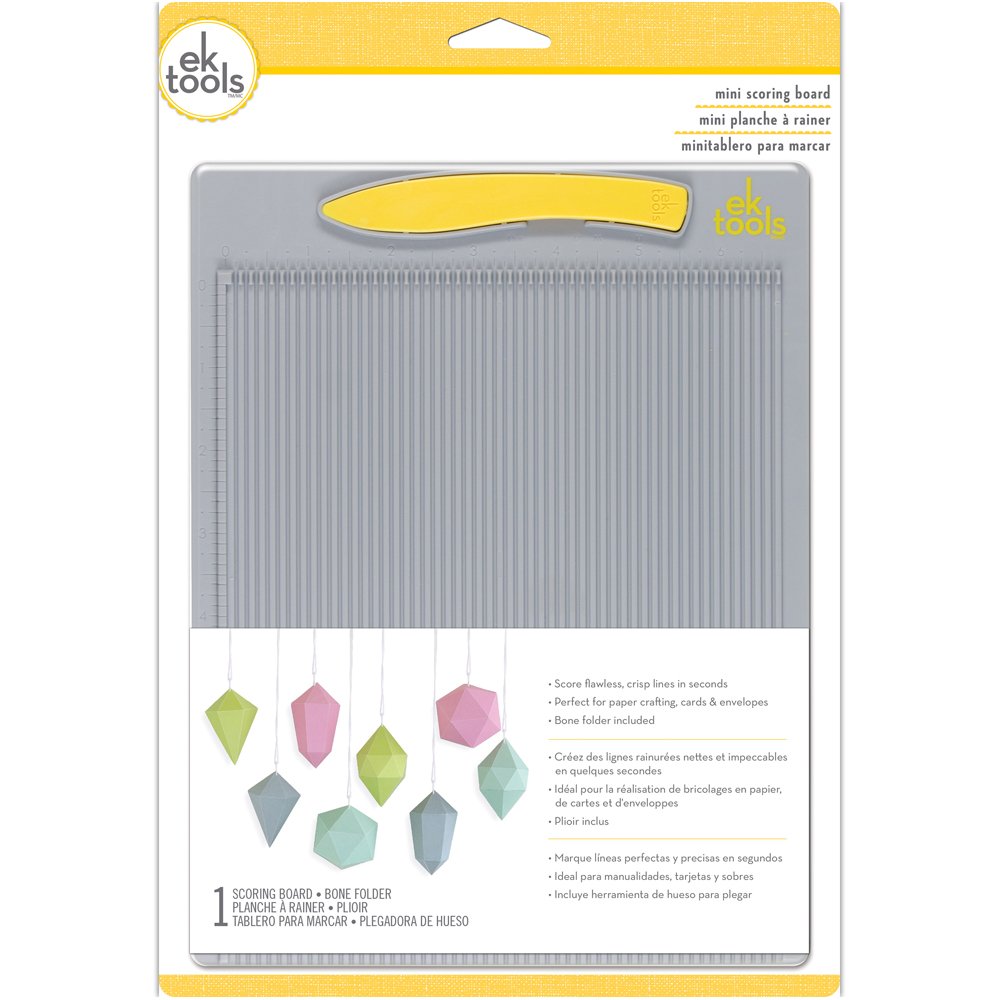
- If you are using a Cricut Maker, use the single scoring wheel for your scoring lines. If you are using a Cricut Explore, Air or One, use a scoring stylus, but re-score your lines using a scoring board or a ruler and a blunt object. You'll really need those lines to be very deep and noticeable.
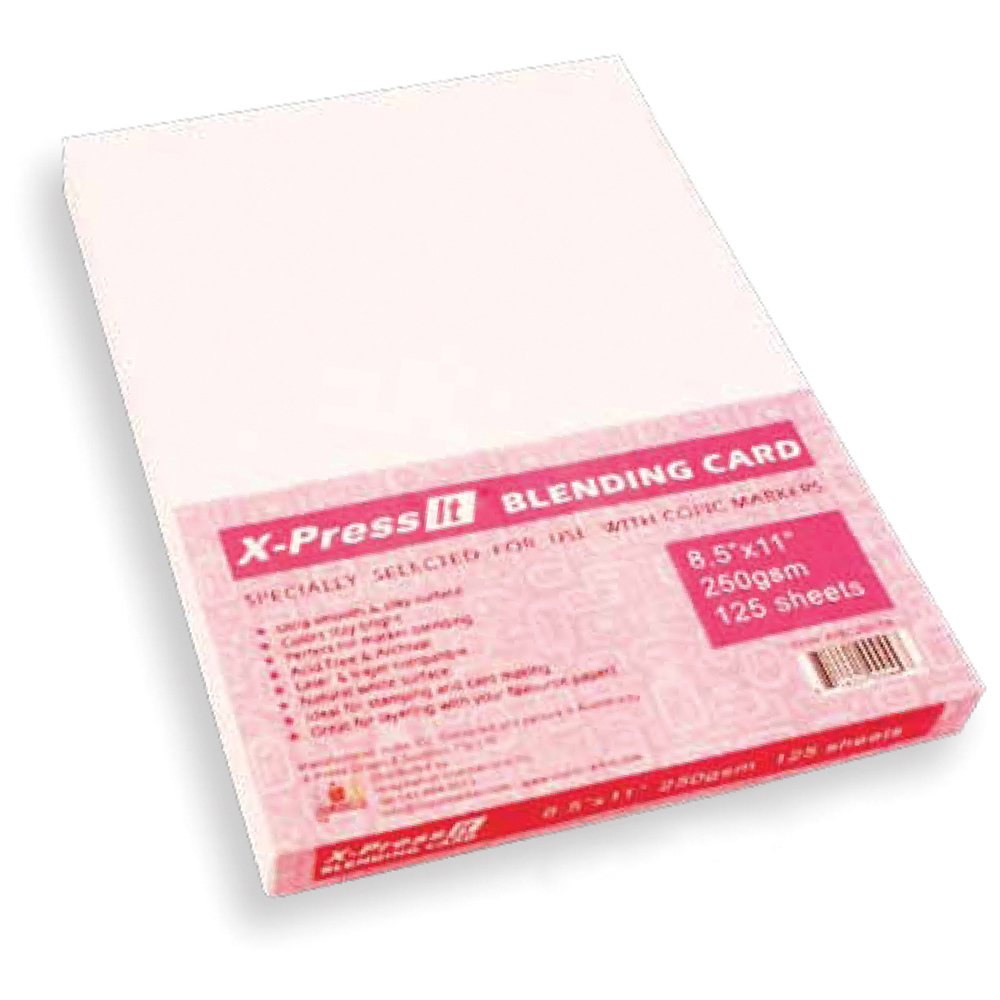
- For the print then cut pieces, I used Xpress It Blending Card from COPIC. I've found it gives very smooth printing results and the weight (80 lb) is perfect for this project.
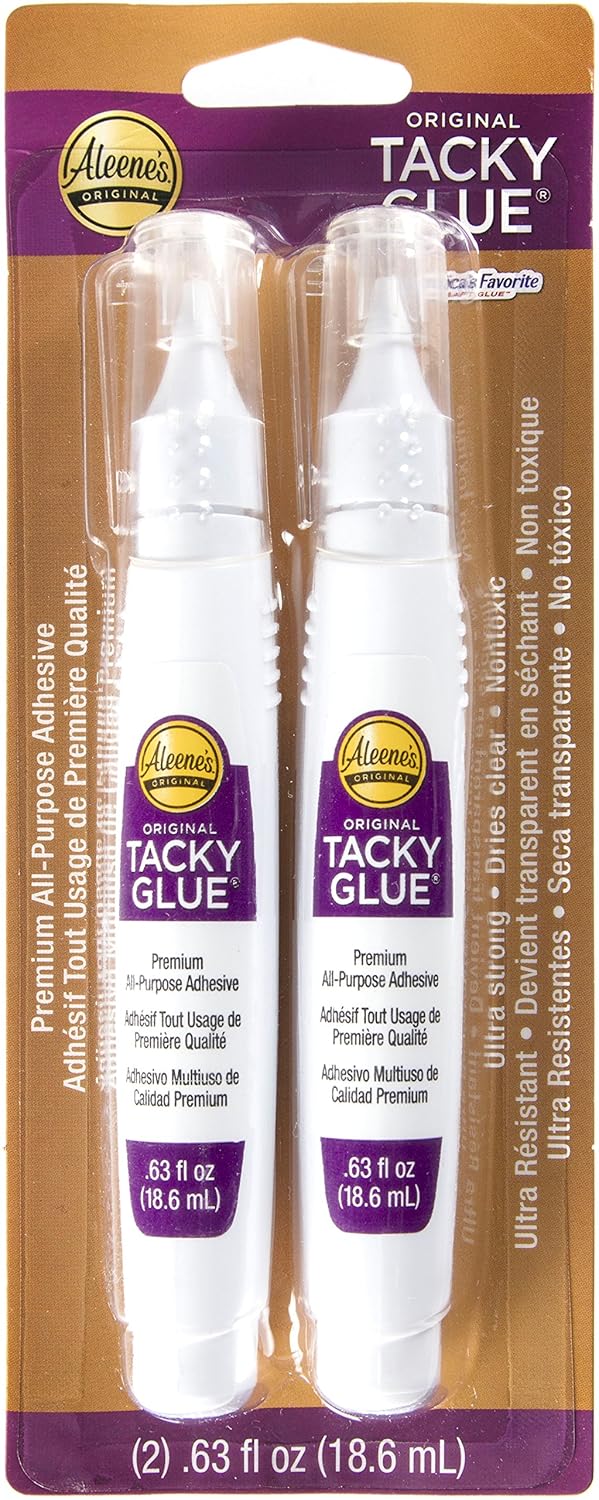
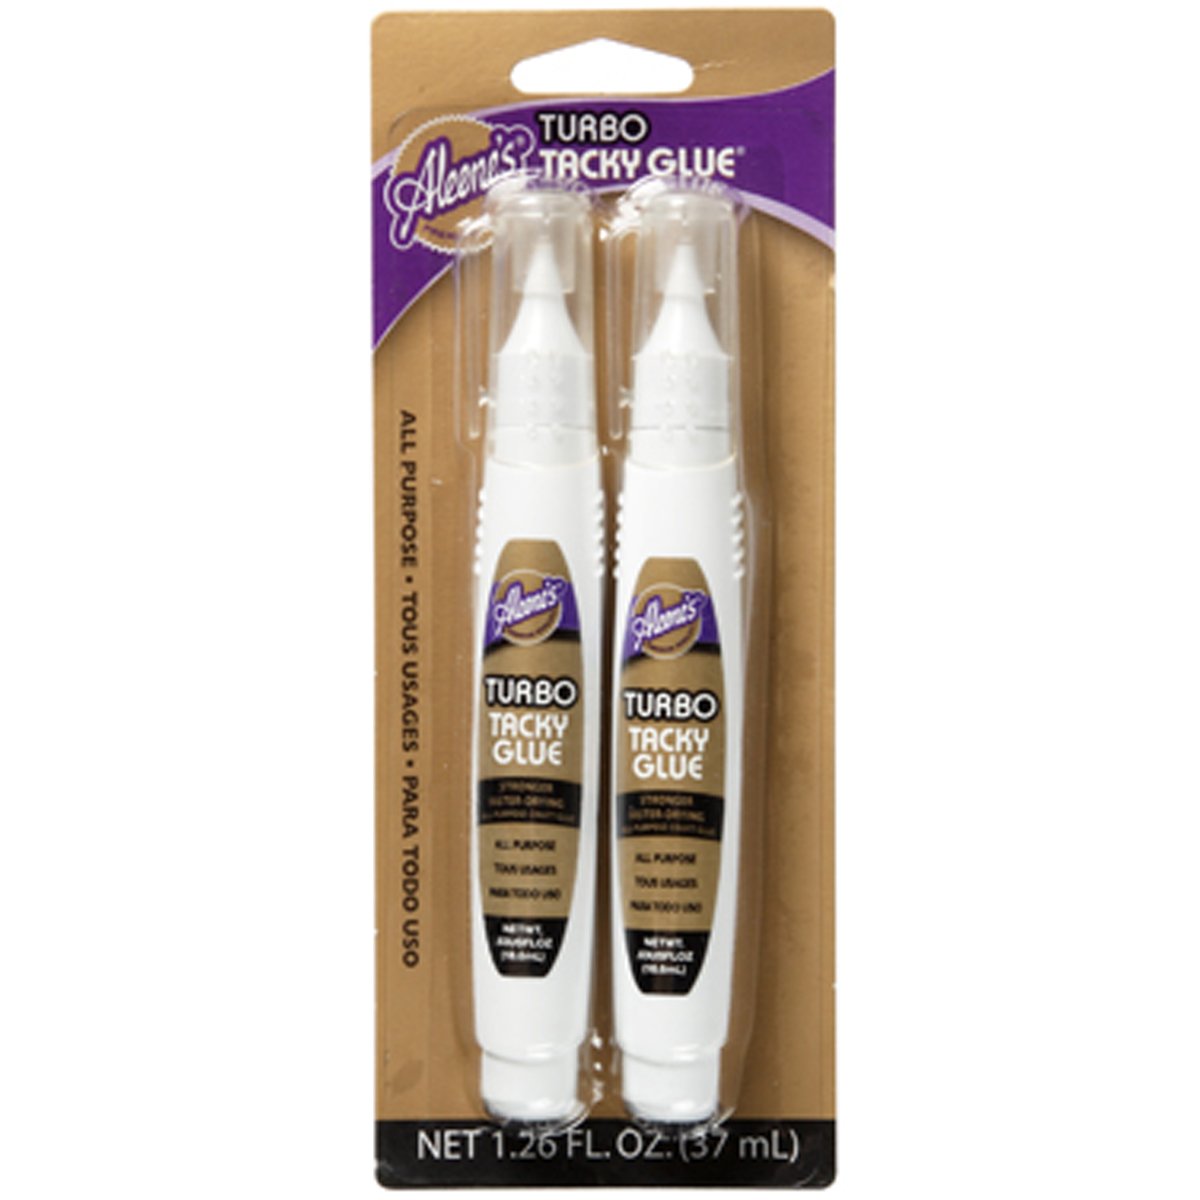
- Use liquid Glue as it strengthens the cardstock allowing for the mechanism to move amazingly. I used Aleene's Tacky glue pen: Turbo version for most of the inner embellishments, and classic version to glue the inner mechanism to the card base. Beware the Turbo version dries almost instantly, so if you want to move things around when gluing, use the slower drying version.
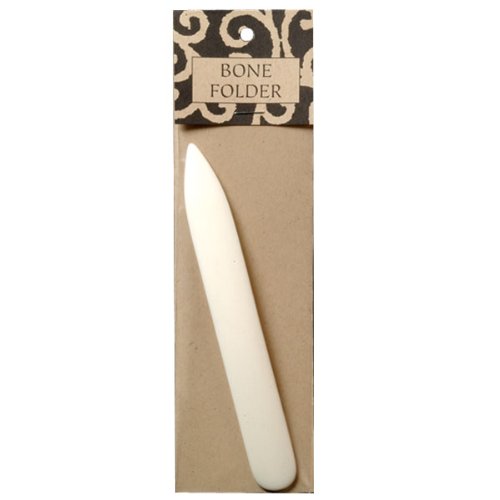
- Make all the creases very sharp using a bone folder and open and close your card several times before sending it so you train the folds and the pieces move easily.
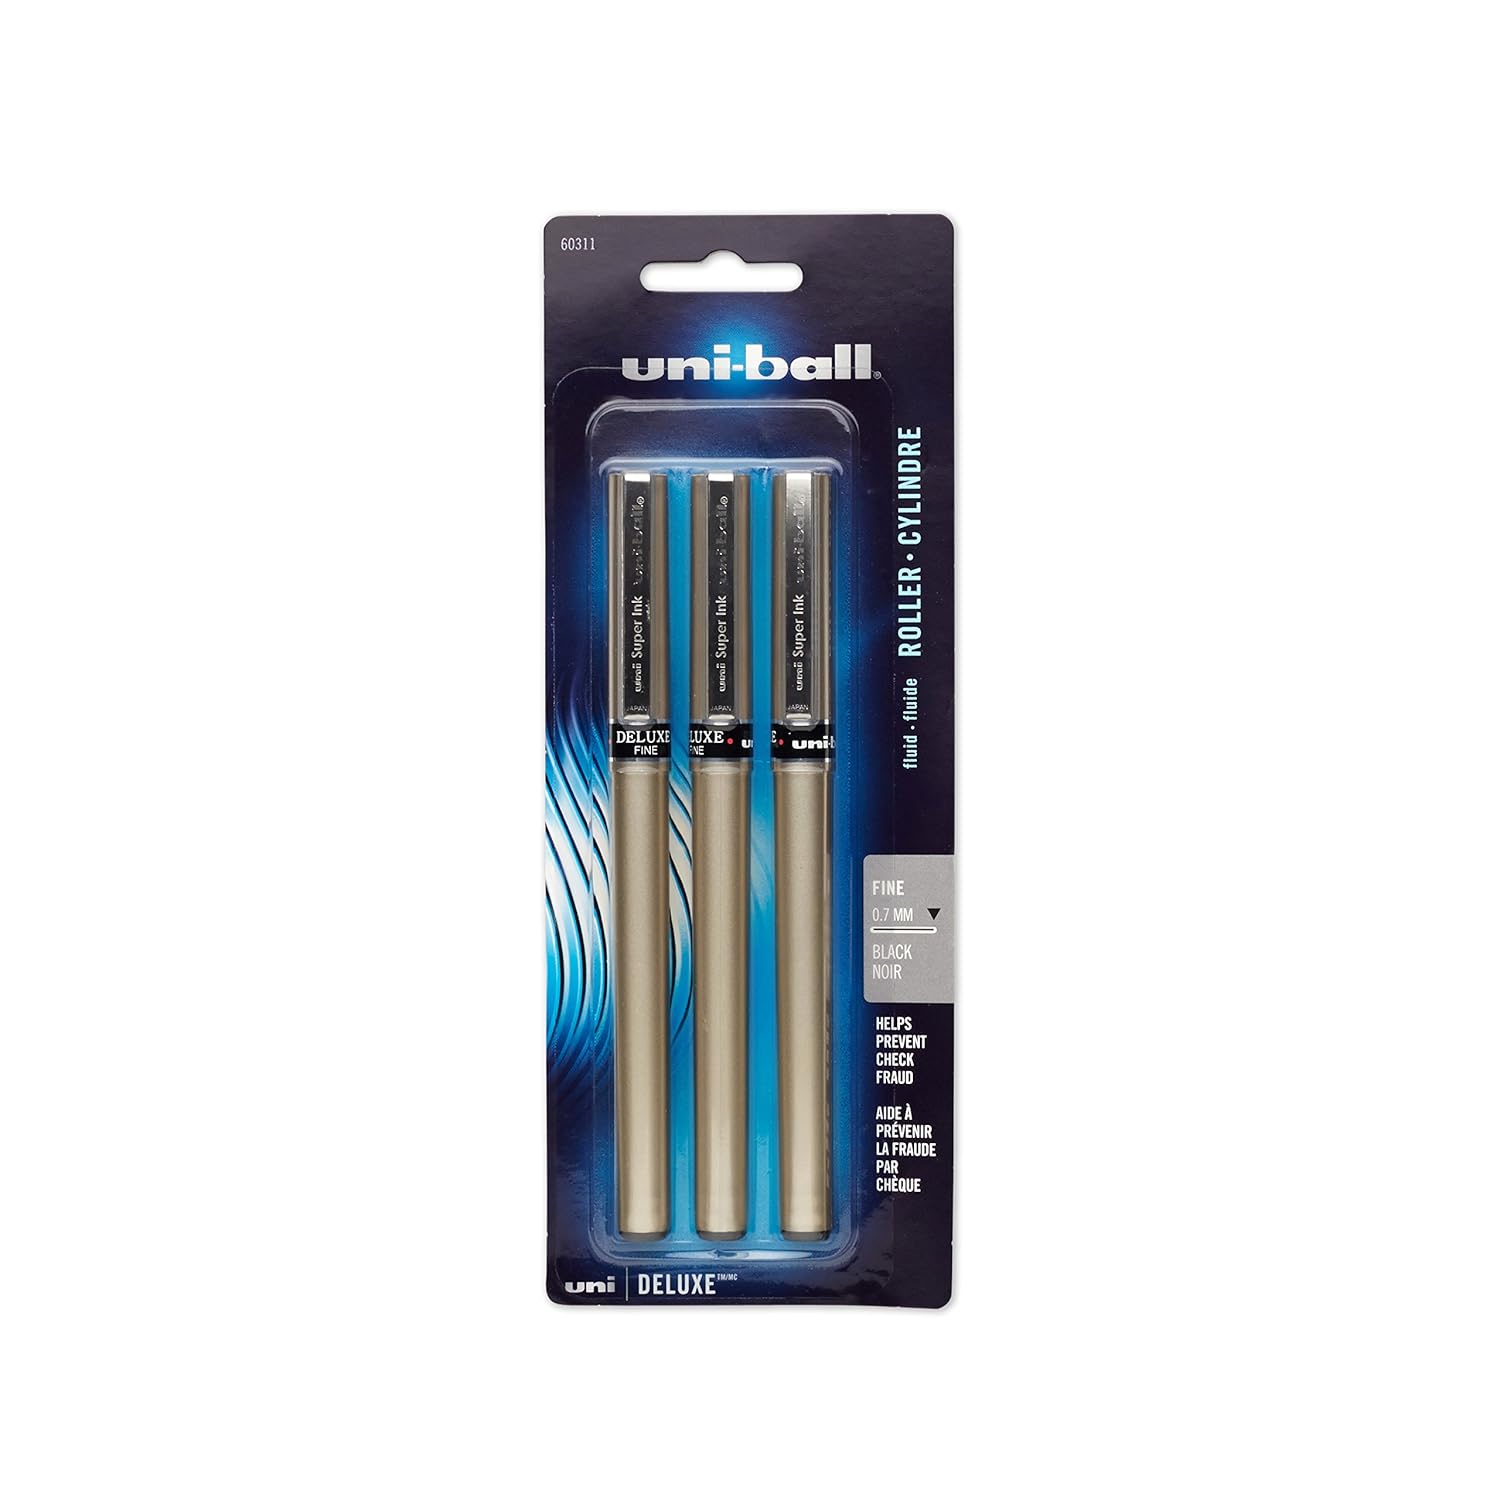
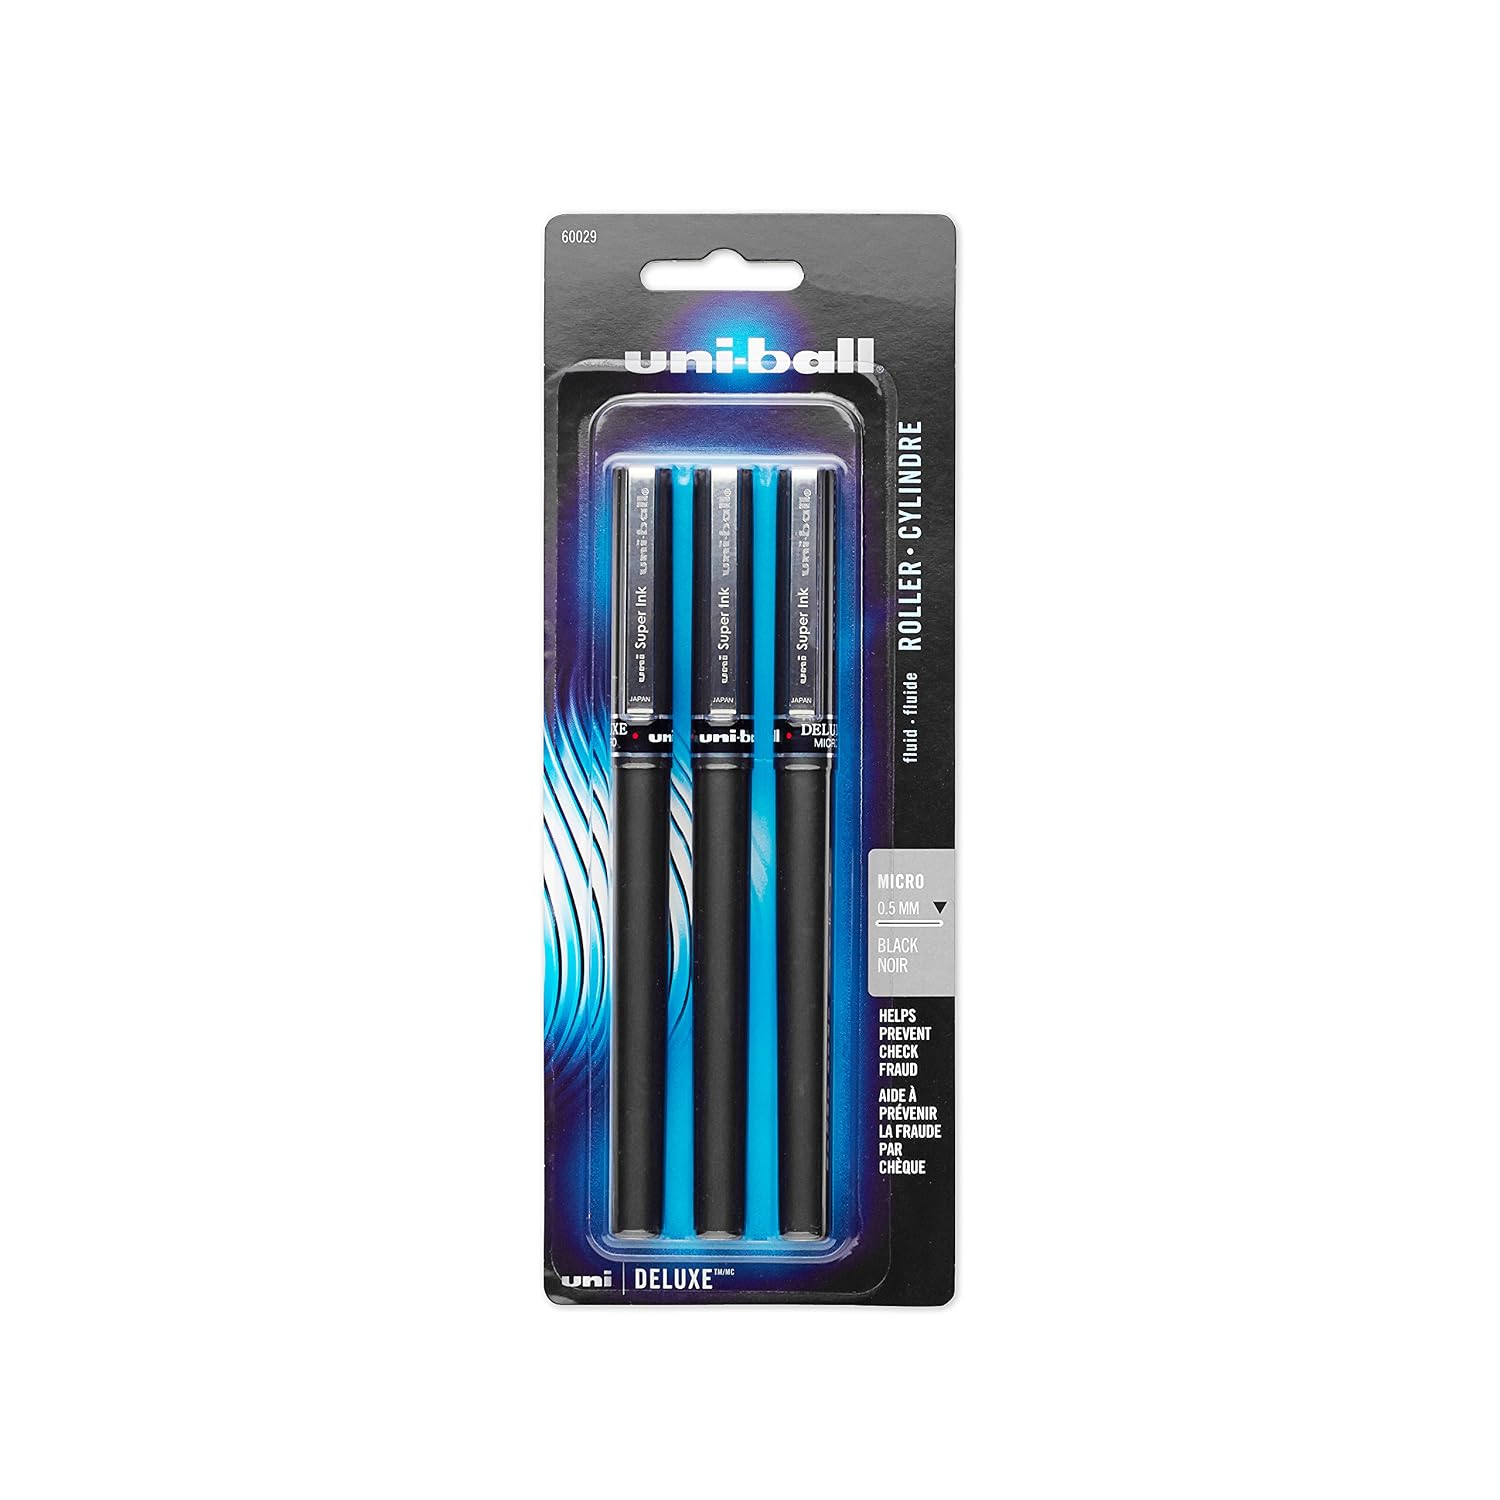
- If you are using a water based medium, make sure you use a waterproof pen like the uniball super ink deluxe FINE or MICRO. Most Cricut pens are not waterproof and your watercolors will smear he lines.
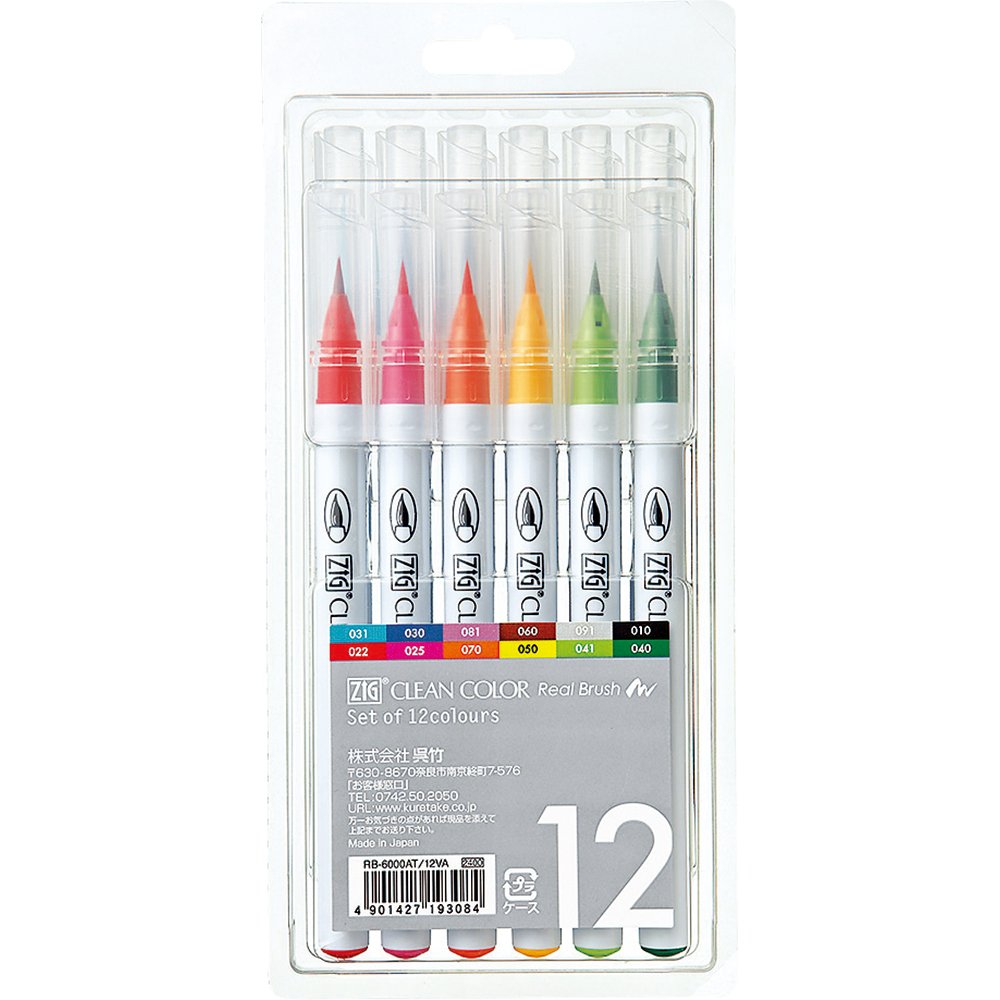
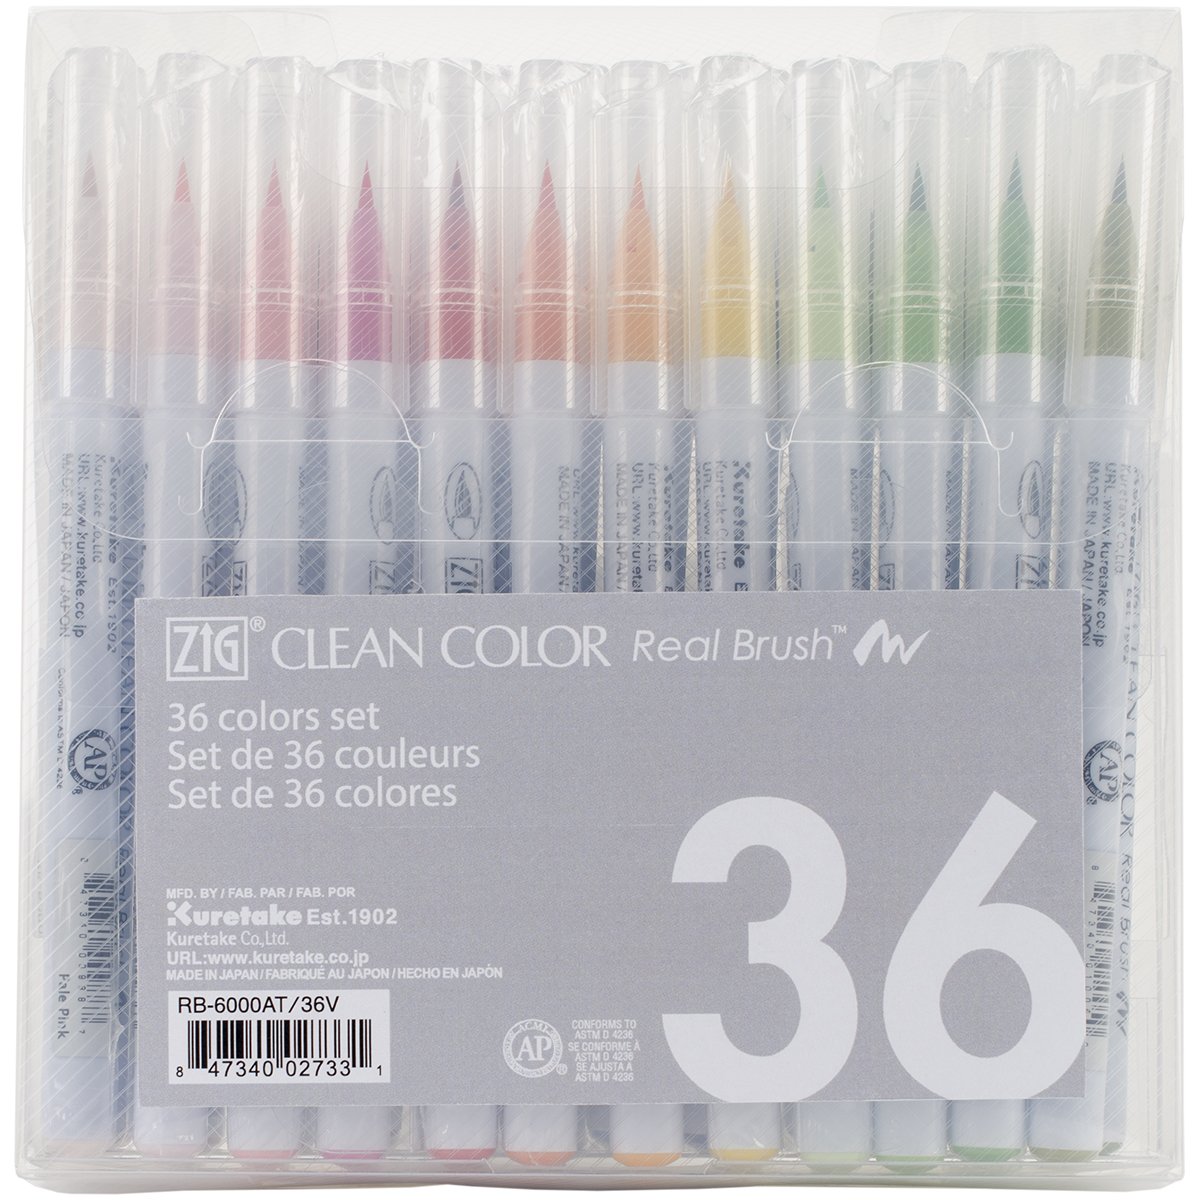
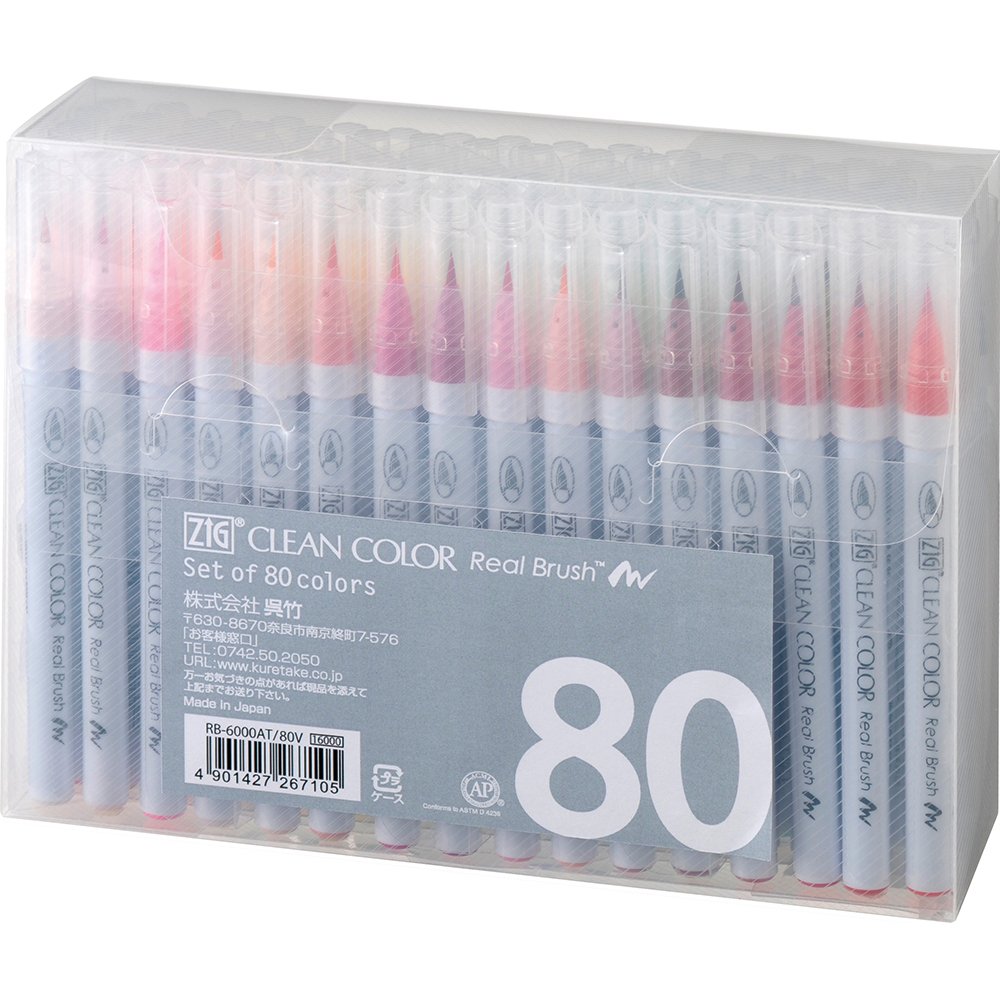
As I said, the front of the card is very simple to let the inside be the pièce de résistance. You know me, I couldn't let it be dull, so I used Kuretake Gansai Tambi Starry Colors Watercolors to make them pop in a subtle way.


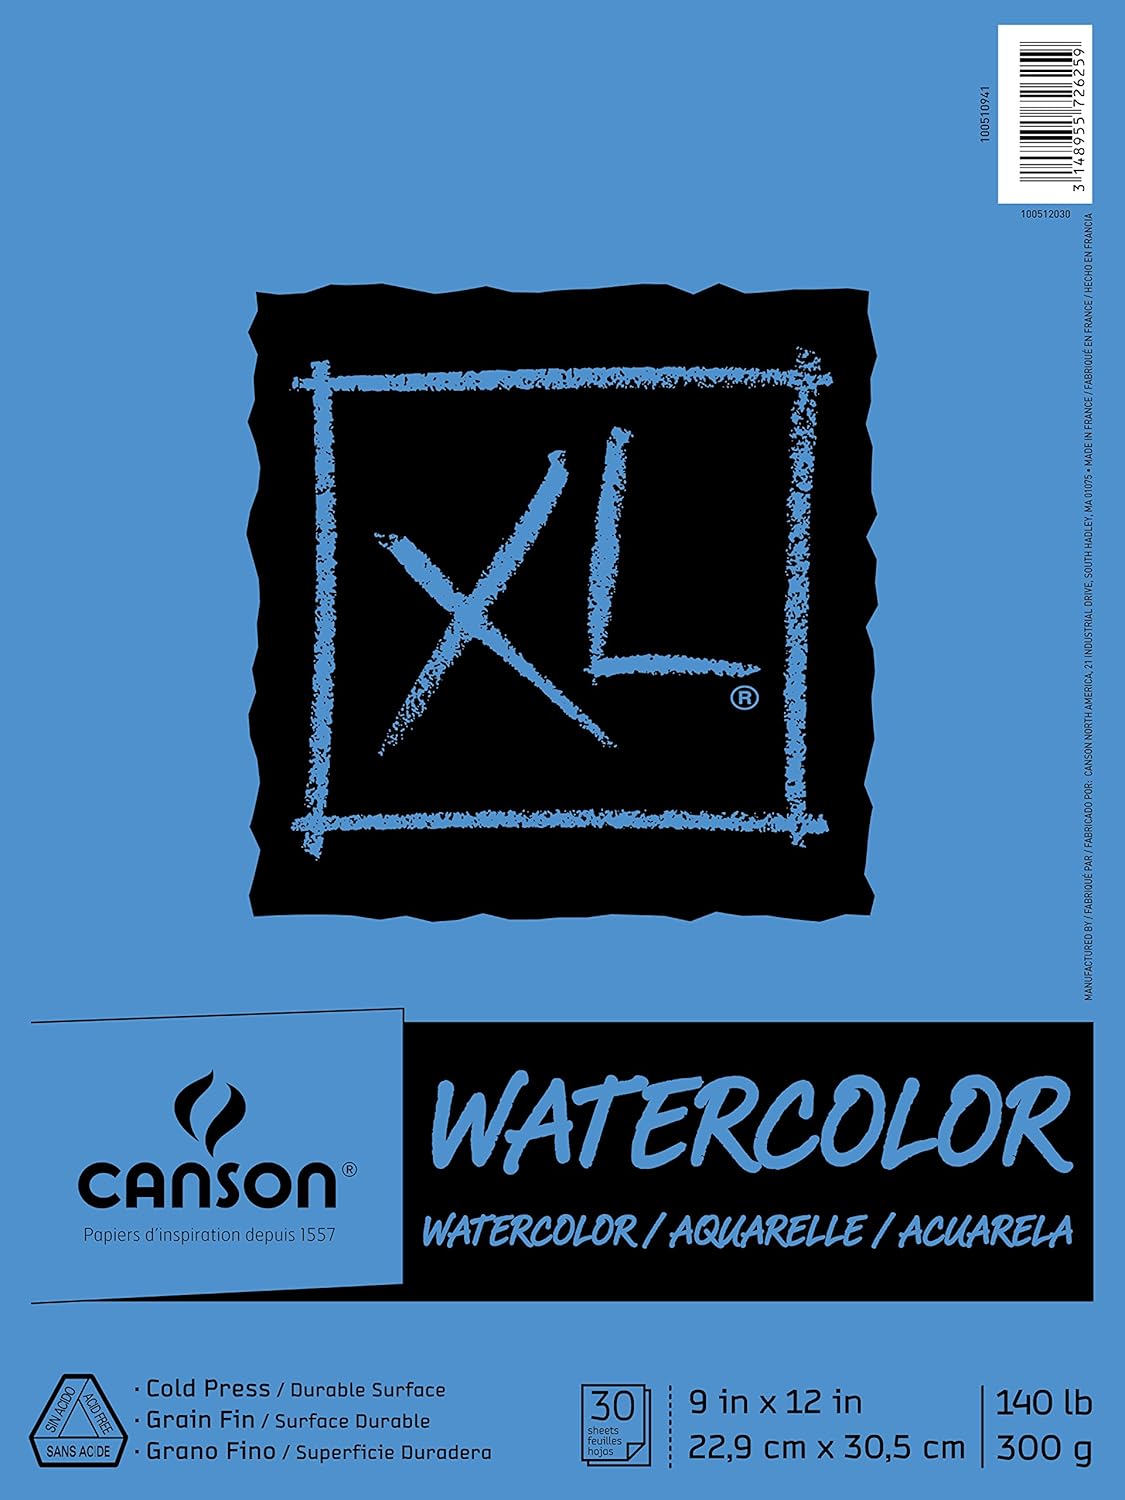
The photos don't do them justice, they are beautifully shiny and sparkly. I did cut the front panel from watercolor cardstock to avoid warping when applying wet medium to it. I raised this panel using fun foam to give it enough support.
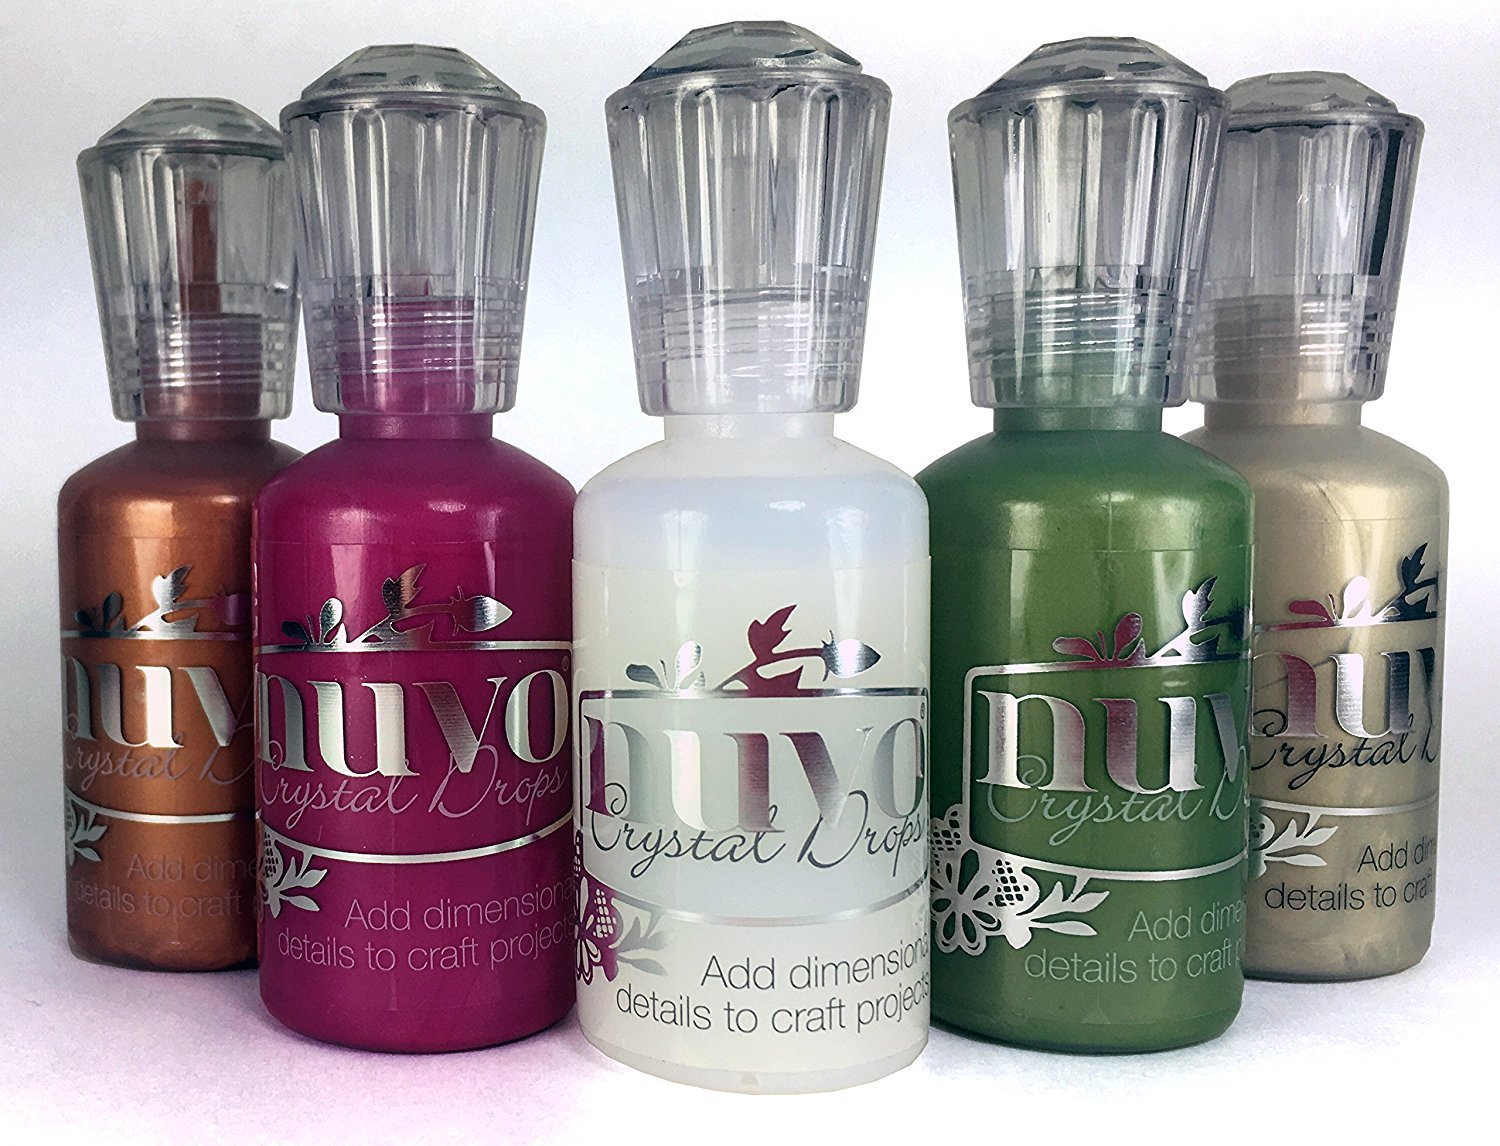
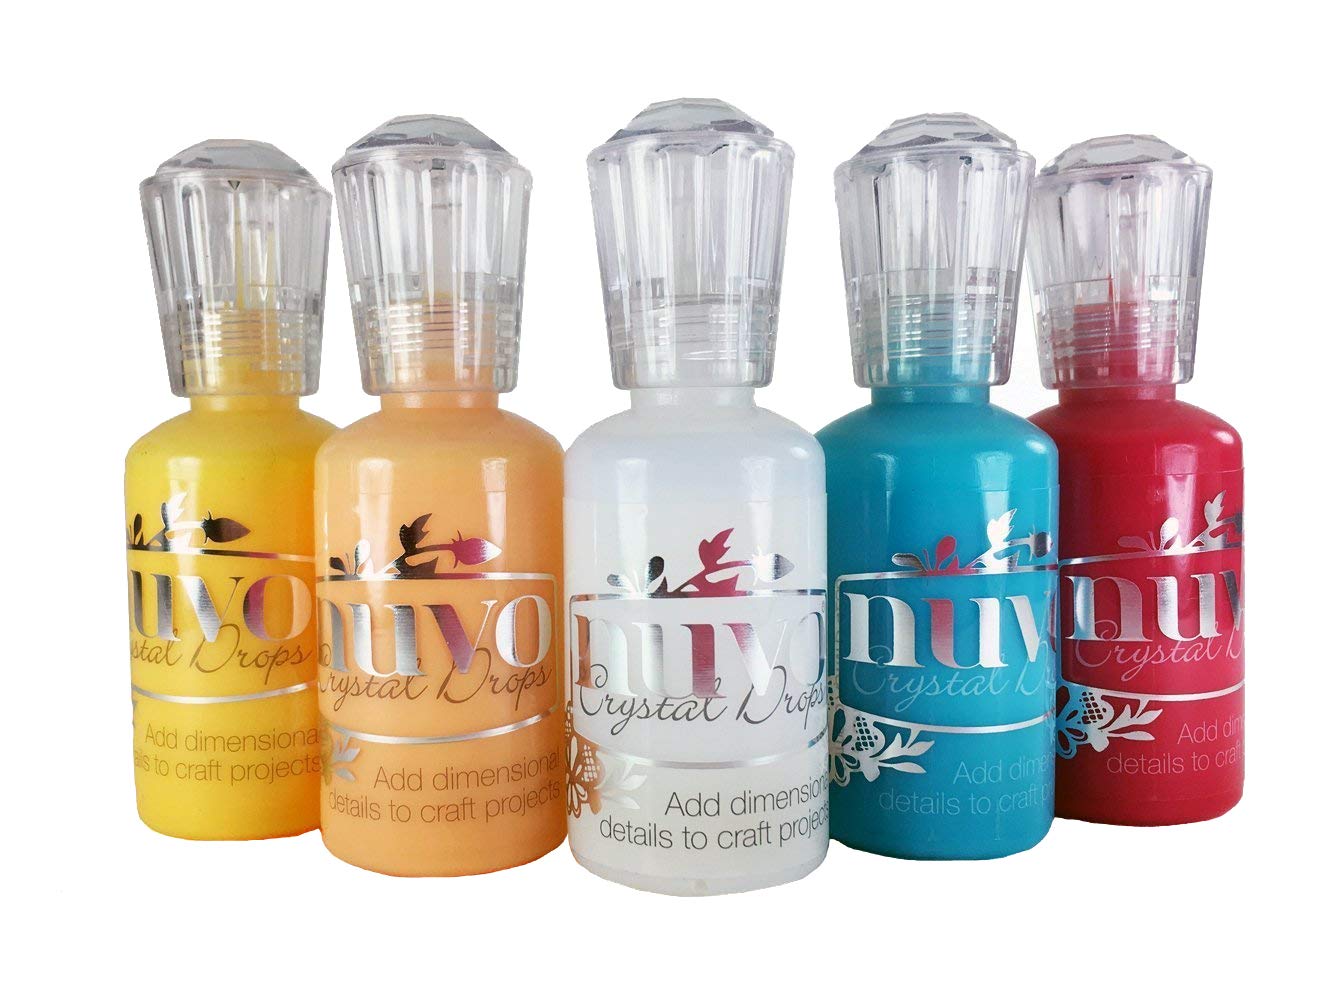
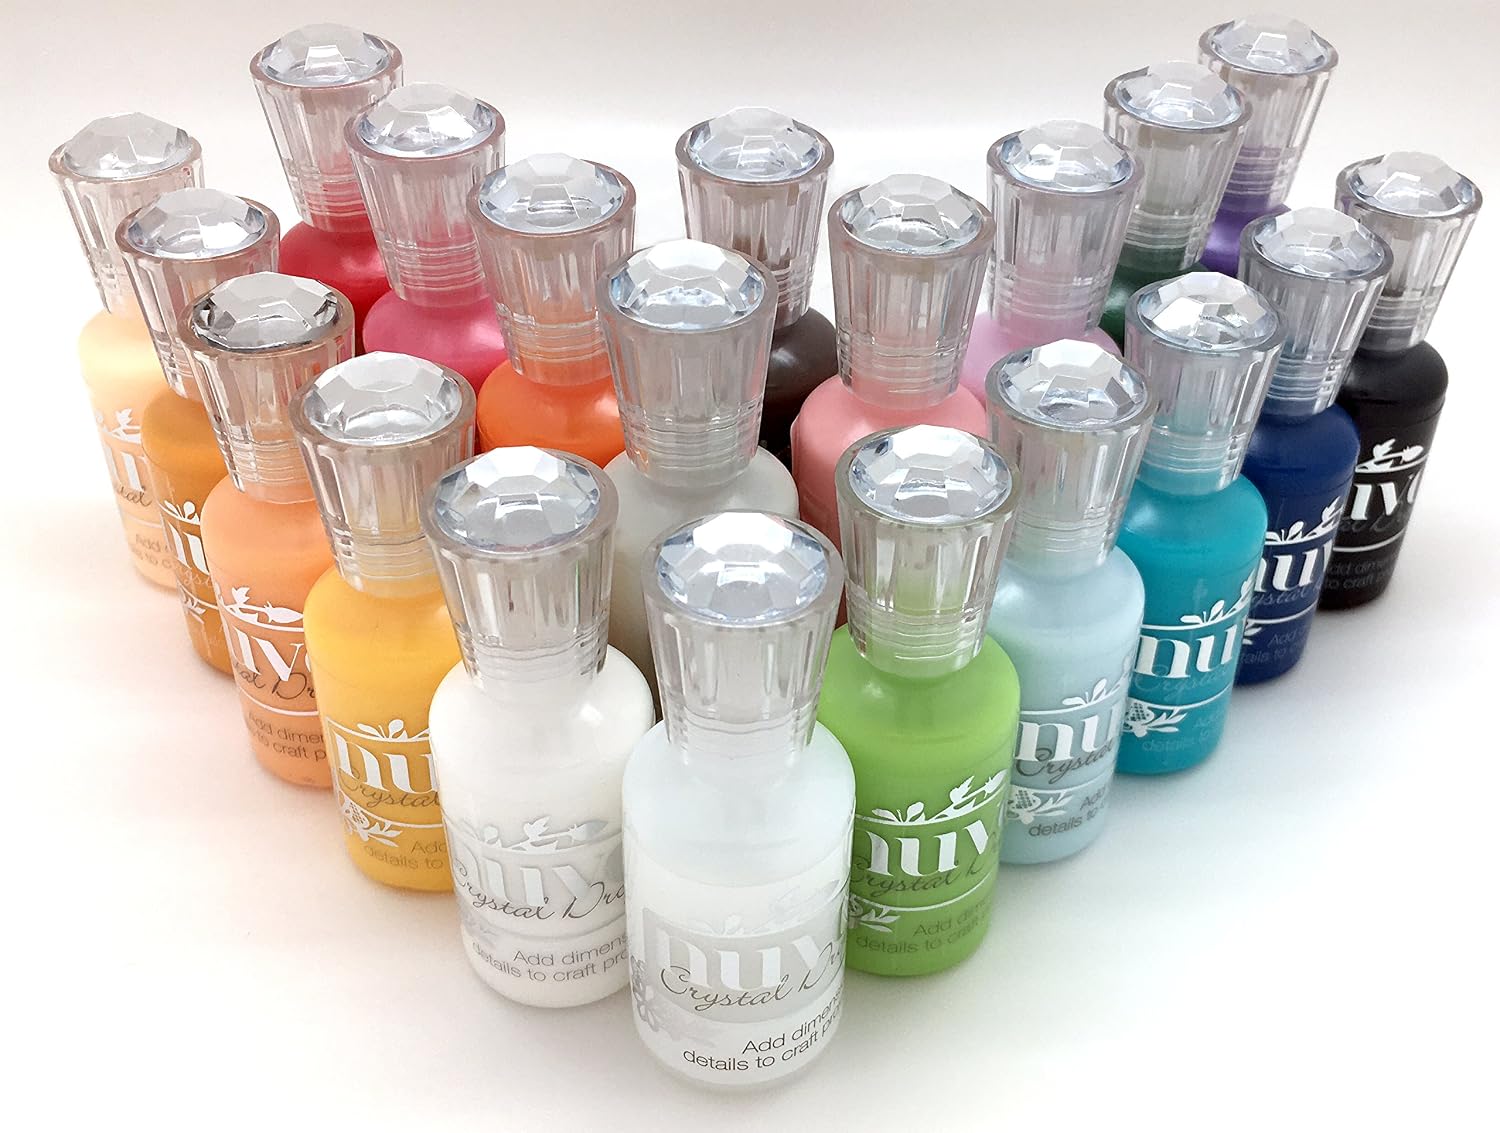
I printed all the PTC pieces using my Canon Pixma 7210 in fast mode but I did embellish the lower panel using Nuvo Crystal Drops in matching color.


I just love the dimension that this card has without being too bulky It's a colorful, and fun card that is also great for anniversaries.


 |
| the card folds flat and it fits on an A2 size envelope. |

I really hope you give this project a try. If you do, don't forget to comment and give the video a thumbs up and consider subscribing as some projects are posted either on youtube or the blog and you don't wanna miss any.
Enjoy!
 |  |  |  |  |
 |  |  |  |  |
 |  |  |  |  |
 |  |  |  |  |
 |  |  |  |  |
 |  |  |  |  |
 |  |  |  |  |
thanks so very much for this lovely card
ReplyDeleteLove these cards. The Gansai Tambi's are great paint. In my opinion.
ReplyDeletethis card is lovely, thank you for both the card and for being a beautiful soul
ReplyDeleteThank you! Look forward to making this card for my MIL.
ReplyDeleteTHANK YOU! Your video was very clear and having the svg available is a treat! I am helping a friend who is new to Cricut (I still have the very first Cricut so my help is in the how to download the file...)
ReplyDeleteJust for the record, your DXF files are importing into Silhouette Studio at 306 inches tall, which was terribly confusing at first. I'm guessing that's not what you were going for. = )
ReplyDeleteReally appreciate the work you did on this!
Thank you .I love the pop up cake card.
ReplyDeleteThe download link doesn't work.
ReplyDeleteHello!
DeleteLink is fixed.
Thanks for letting me know