Cutting Any Size Happy Planner Pages With Your Cricut - Edge Targeting Technique
Hello Peeps!
Long time no see! I know... I've been a bad blogger.
In this post you'll find the free SVG file along with tips and tricks to cut pages for any size Happy Planner with your Cricut machine.
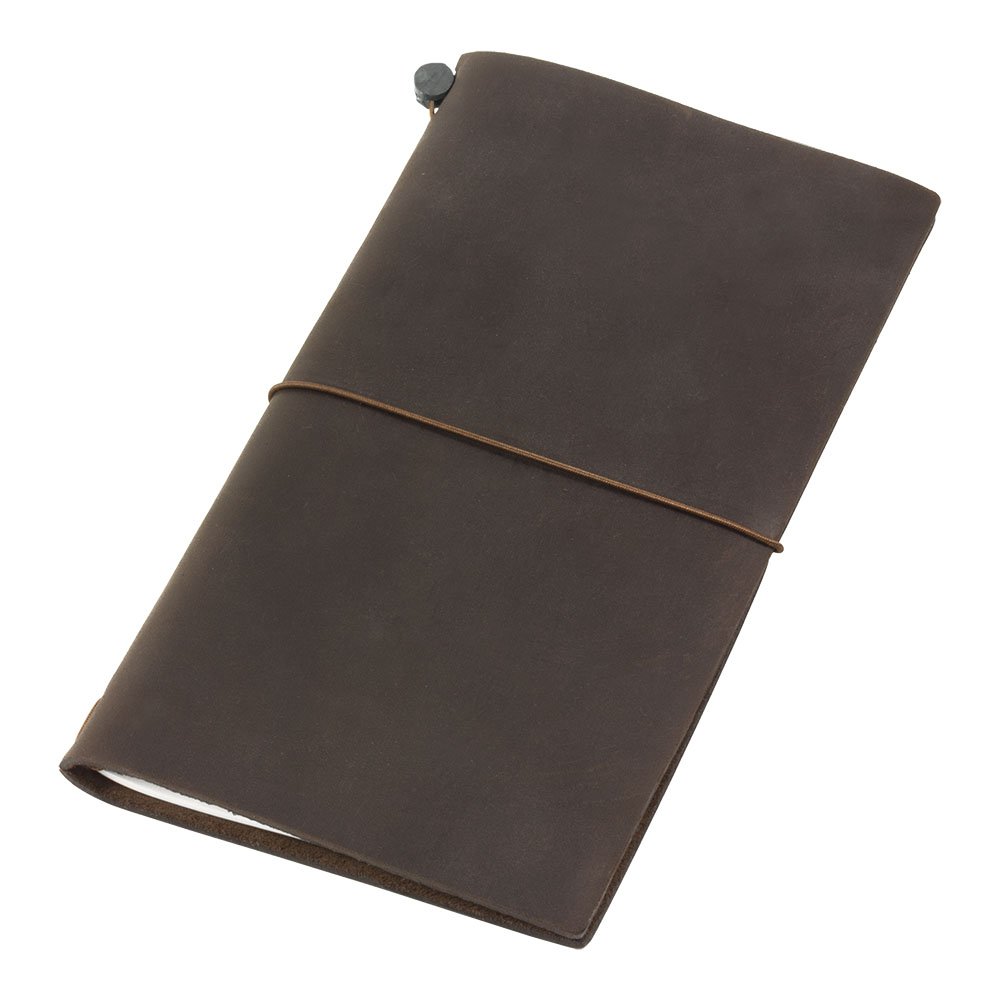
I've always loved planners I use them daily for work and traveling. But I never thought of a planner to keep my art and sewing projects, my youtube scripts, my blog post ideas and brainstorming together. I had also never found a system like the Happy Planner binding discs that allowed me to have different medium surfaces in one book and at the same time that allowed me to change and reorganize each page easily and without damaging them or taking the whole book apart.
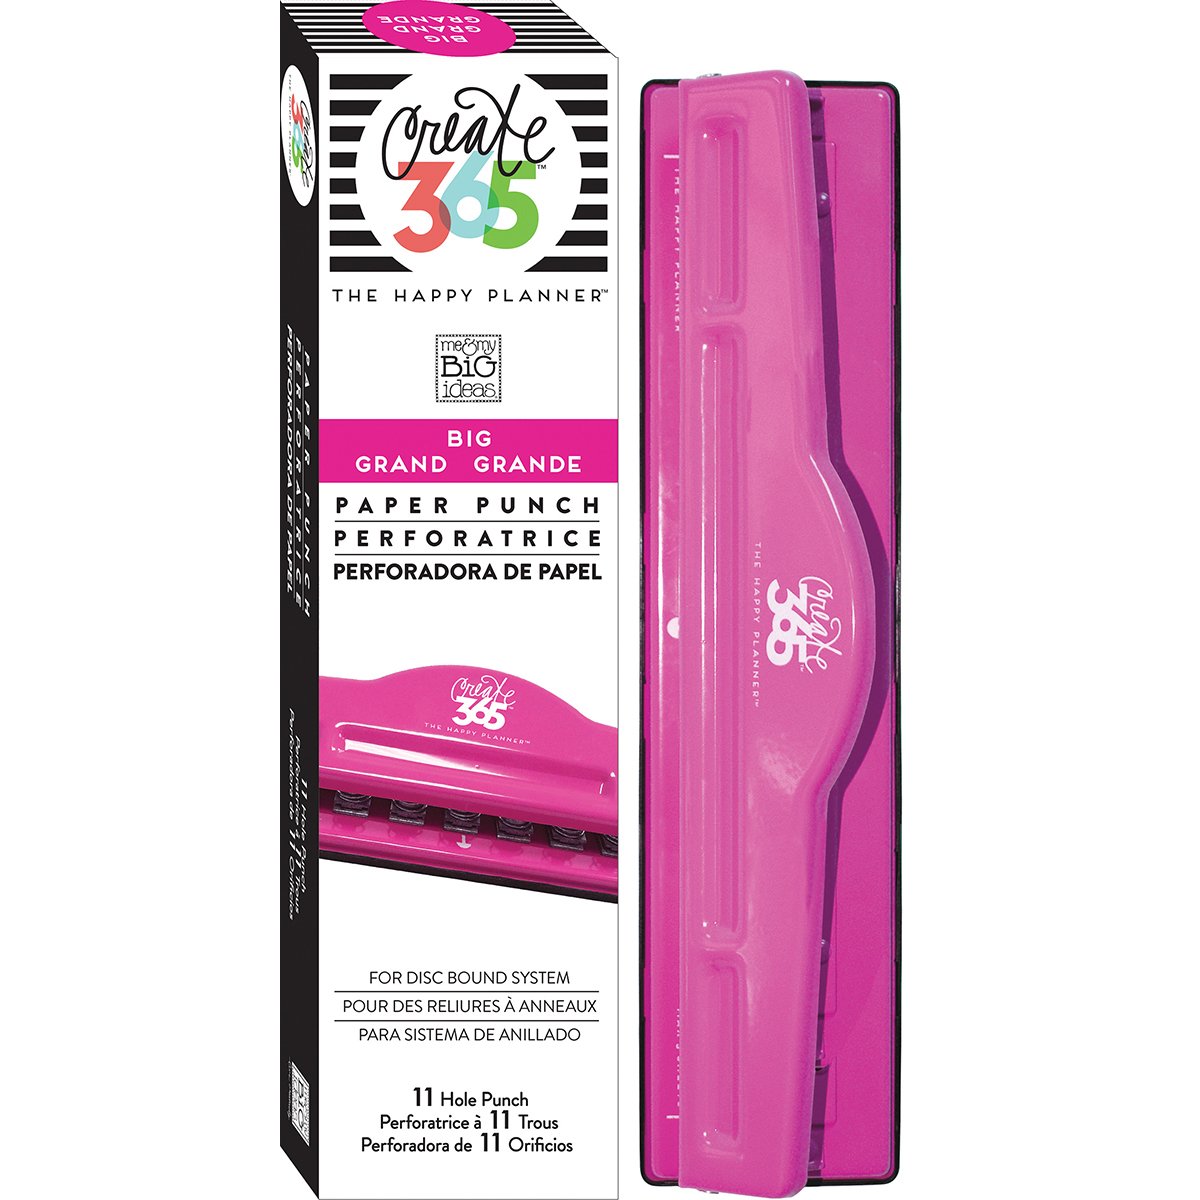
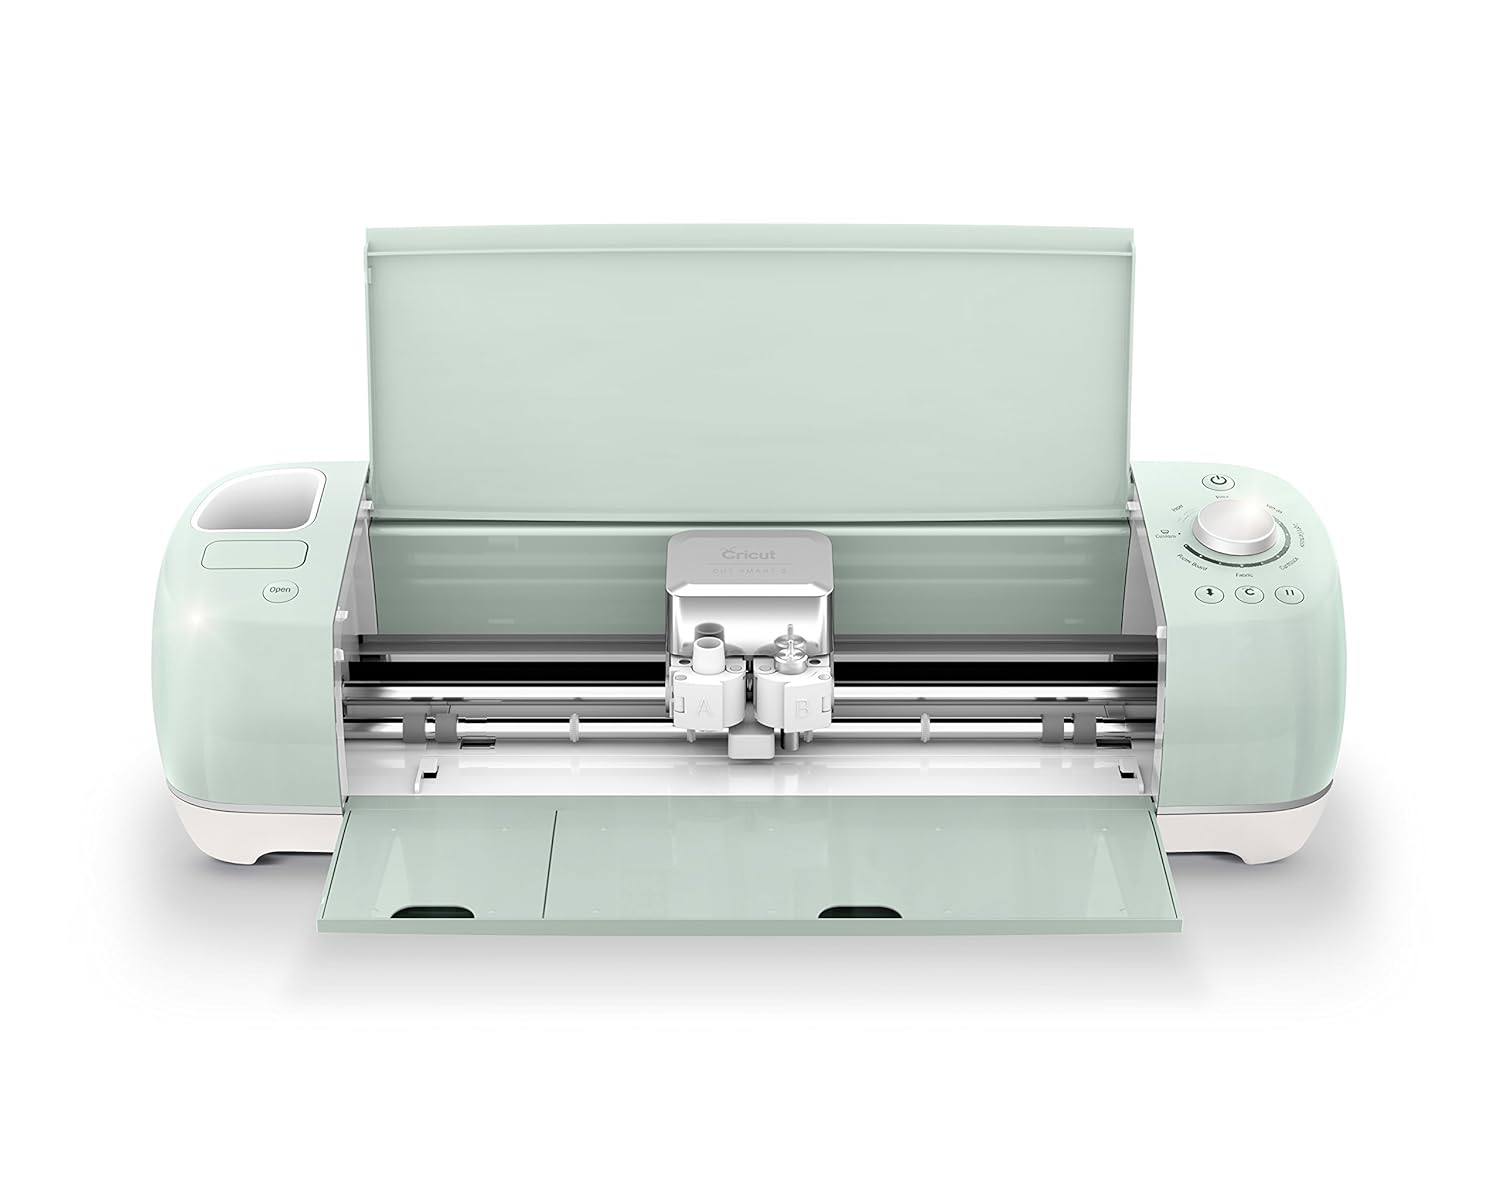
I'm not gonna lie: the easiest way is to print your pages and then punch the holes using a Planner Punch. But punches are bulky, very heavy, take a lot of space and are expensive, so, if you already have a Cricut Machine, here's how to use it to create Happy Planner pages.
Cutting pages smaller than your source material is no problem at all, you just have to align the cut lines so that they are within the boundaries of the material you have, but cutting JUST THE BINDING HOLES on a 8.5 x 11 inches sheet of paper and have them perfectly aligned with the rest of the pages, is a bit trickier. And here is where a technique I call Edge Targeting Technique comes into place.
What this technique does basically, is tell you where, in your mat, to place your 8.5x11 inches sheet of paper so your machine accurately cuts the holes in it to be perfectly aligned with the rest of the pages on your planner. In other words, it allows your machine to locate the edge of the paper and cuts only the binding holes leaving all other edes untouched.
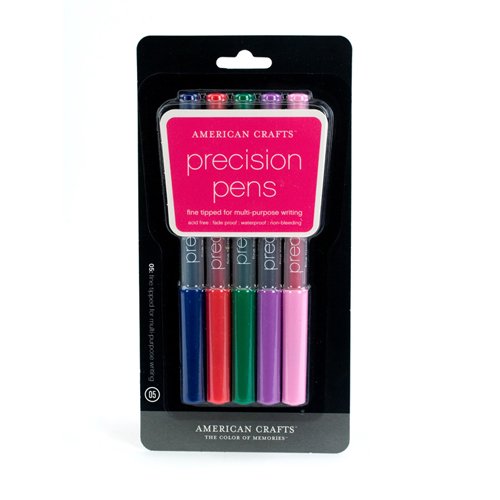
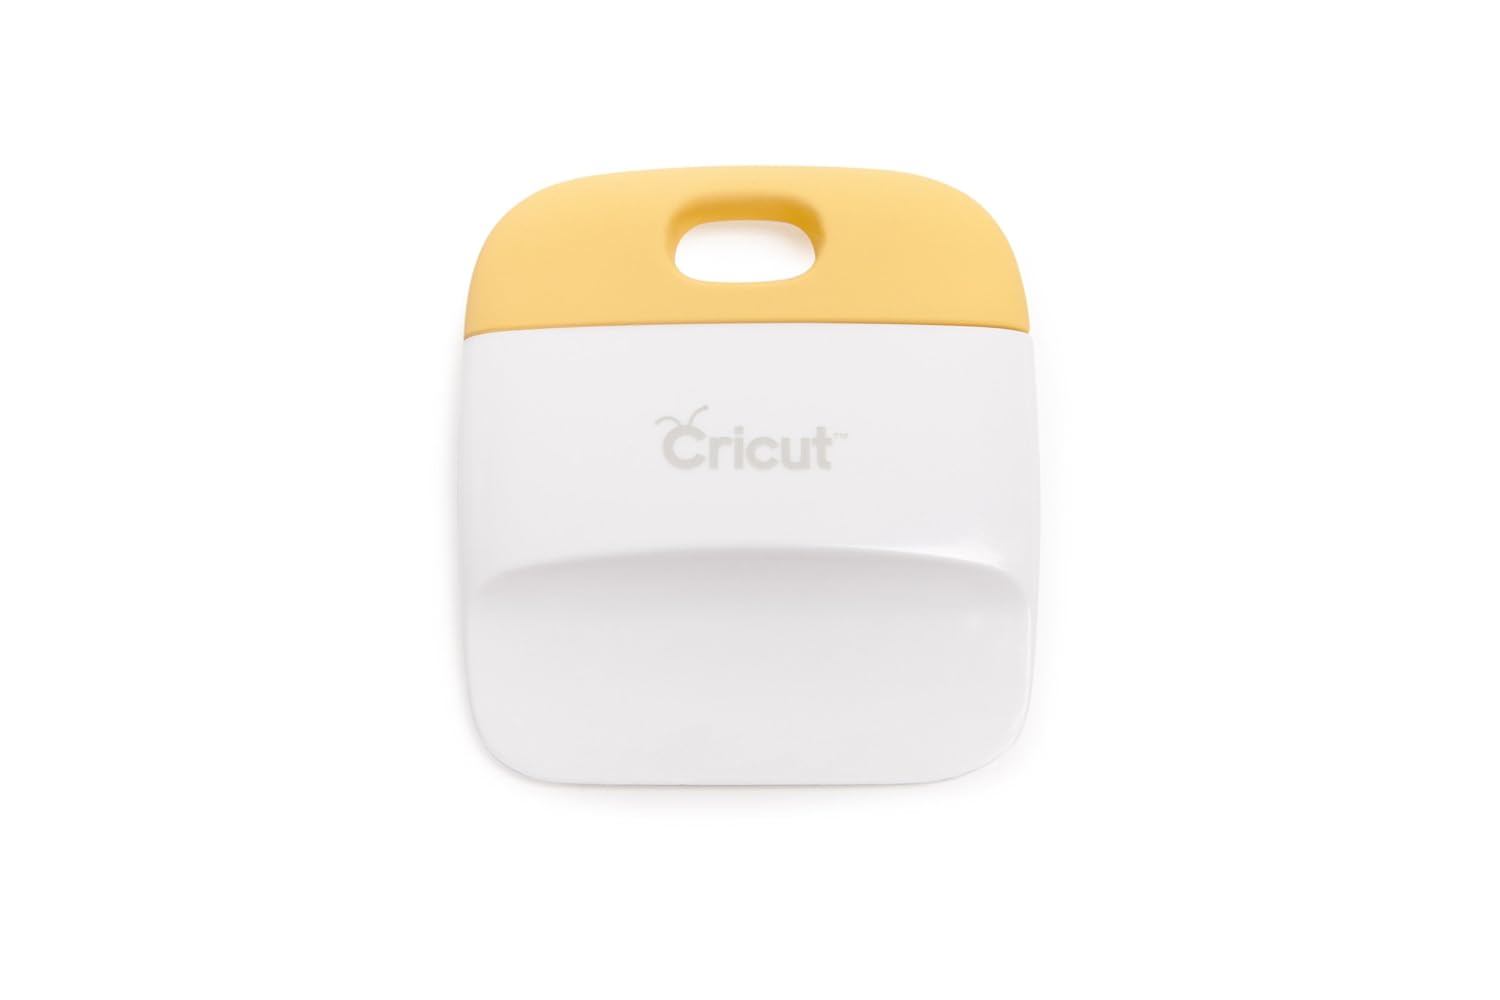
It is a method that uses the writing and the cutting features of your machine, so make sure to have a marker handy. I used a Precision Pen from American Crafts that fits perfectly in the pen adapter.
The process is really easily explained in the You Tube video tutorial, so please click in the image below to do so.
The link for the Edge Targeting Technique File to cut Big Happy Planner pages is at the bottom of this post, along with the file for any of the 3 size Happy Planner pages, Covers and Dividers
Happy Planner SVG Files for any of the three Happy Planner sizes.
Remember to Visit My Etsy Store where you'll find blank templates for all 3 Happy Planner Versions that you can customize at will.
If links don´t seem to open, please right click and select "open in a new tab", it should take you to a save file dialog. Let me know in the comments if links don´t work, thanks
Thank you! Just purchased your Etsy printables. Now to figure out how to print them on both sides of the paper. Do you have a tutorial? Your explanations are so easy to follow.
I am struggling with cutting from the SVG file. When I cut out the divider it's tiny, like doll tiny. I feel like I missed a step but can not figure it out. Help Please!
Thank you for your awesome and informative video. I am trying to cut pages and a cover for the classic size. I am confused because the guide you have to download is for the big size, not classic. How do I set it up to draw the lines (on the cutting mat) for the classic (nine holes) instead of eleven?
Thank you so much for posting this tutorial! This is awesome. I too am having difficulty with the hole lining up - the SVG is cutting smaller than the Happy Planner holes - they aren't lining up. What am I doing wrong?
Hi. Thanks for yours files and all the information you provide us. I have a little (big for me) problem. My agenda is TULsystem and the size is 8.5 x 5.5 First thing I did was pass the file to this size but the holes move with the size (I'm new using cricut) Any suggestion??
I found your video on Youtube, Watched it and thought man I can use my scan n cut machine to do this and WOW you gave the free svg file no need for me to rack my brain to make this it' already been done ...THANK YOU!!! I just did a test cut on some walmart construction paper and it cut like a charm....Some comments are saying how they can't get things lined up, I don't have a cricket machine but when I inserted the file into my machine I did have to resize the one I wanted to cut as my machine resized it as it scanned the whole image but no fear at all I just deleted the one's I didn't need and resized the image I needed (Classic) to 9 and a 1/4 by 7.02 and it cut like a charm and the holes lined up perfectly.....THANK YOU so much for providing this file to us for FREE!!!! I am so subbing your channel and your shop....
I just came across your video on Youtube while looking to see on how to cut files for my classic HP. Your video is so on point! I can't wait to use my Cricut to cut for my planner needs. Thank you so much and thank you for the free files!!!
Hi! I just found your website as I just picked up a Happy Planner and I have a cricut explorer air 2. Thank you so much for these svg files, these will be so helpful. I'm wondering, do you have the a svg for the edge targeting technique in the Classic size (7"x9.25")?
Hi Andrea, Some weird behavior with the download code happening, please right click and select "open link in a new tab", it should take you to a save file dialog. Let me know in the comments if links don´t work, thanks


Thank you! Just purchased your Etsy printables. Now to figure out how to print them on both sides of the paper. Do you have a tutorial? Your explanations are so easy to follow.
ReplyDeleteI will upload one soon. Thanks for stopping by
ReplyDeletethanks so very much for the files and tutorial video
ReplyDeleteThank you for the svg! It was such life saver. Any plans on making the dashboard style planner pages?
ReplyDeleteThank you for the files. Now if I can figure out how to use them in my cameo?
ReplyDeleteI'm here for this same information!
DeleteThank you!! I have scoured the internet looking for exactly this. I have also sent a paypal to show my sincere gratitude. Thank you so much!!!
ReplyDeleteMMMMEEEEE TOOOOO!!!!!!!!!! I'm sooooooo happy I found this!!!!!!!!!!!!!!!!!!
DeleteI am struggling with cutting from the SVG file. When I cut out the divider it's tiny, like doll tiny. I feel like I missed a step but can not figure it out. Help Please!
ReplyDeleteThank you for your awesome and informative video. I am trying to cut pages and a cover for the classic size. I am confused because the guide you have to download is for the big size, not classic. How do I set it up to draw the lines (on the cutting mat) for the classic (nine holes) instead of eleven?
ReplyDeleteThank you,
Is there any tutorials for using this technique with a Silhouette Cameo 3?
ReplyDeleteI'm having issues downloading the SVG files. It's almost like the Bit.ly links are no longer valid, as I just get a blank tab that opens up.
ReplyDeleteThank you so much! This is perfect!
ReplyDeleteThank you so much for posting this tutorial! This is awesome. I too am having difficulty with the hole lining up - the SVG is cutting smaller than the Happy Planner holes - they aren't lining up. What am I doing wrong?
ReplyDeleteHi. Thanks for yours files and all the information you provide us.
ReplyDeleteI have a little (big for me) problem. My agenda is TULsystem and the size is 8.5 x 5.5 First thing I did was pass the file to this size but the holes move with the size (I'm new using cricut)
Any suggestion??
ahhh and the holes are less large (deep)
DeleteI found your video on Youtube, Watched it and thought man I can use my scan n cut machine to do this and WOW you gave the free svg file no need for me to rack my brain to make this it' already been done ...THANK YOU!!! I just did a test cut on some walmart construction paper and it cut like a charm....Some comments are saying how they can't get things lined up, I don't have a cricket machine but when I inserted the file into my machine I did have to resize the one I wanted to cut as my machine resized it as it scanned the whole image but no fear at all I just deleted the one's I didn't need and resized the image I needed (Classic) to 9 and a 1/4 by 7.02 and it cut like a charm and the holes lined up perfectly.....THANK YOU so much for providing this file to us for FREE!!!! I am so subbing your channel and your shop....
ReplyDeleteI just came across your video on Youtube while looking to see on how to cut files for my classic HP. Your video is so on point! I can't wait to use my Cricut to cut for my planner needs. Thank you so much and thank you for the free files!!!
ReplyDeleteHi! I just found your website as I just picked up a Happy Planner and I have a cricut explorer air 2. Thank you so much for these svg files, these will be so helpful. I'm wondering, do you have the a svg for the edge targeting technique in the Classic size (7"x9.25")?
ReplyDeleteGame Changer! Thank you so much for the download! I just cut out some more inserts for my happy planner. This could get dangerous!
ReplyDeleteThank you so much! I appreciate these files so much!
ReplyDeleteDid you get the SVG to load? I'm so interested in this.
DeleteHi Andrea,
DeleteSome weird behavior with the download code happening, please right click and select "open link in a new tab", it should take you to a save file dialog. Let me know in the comments if links don´t work, thanks