
Hi there guys!
Sorry I have not posted in a long time. I don’t know if my lack of posts is because my projects have become more complex thus taking me longer to to design, test and finish them or just because life’s been extremely hectic this last year. I’ve started, just by chance, doing character designing commissions and that’s taken me in a whole new direction.
I couldn’t let Christmas pass without sending cards though, and designing something fresh and interactive led me to create this Faux Snow Globe, Hexagonal, Pop Up Christmas Card. Of course there's an English and a Spanish version of the file.

Try using a strong cardstock for the card base. I used a local 240 gms/m2 linen texture cardstock. That is about 80 lb - 90 lb cardstock. I linked to a similar cardstock that might work, but Neenah 80 lb cardstock will do fine as well, just try to get something with a little bit of texture for two reasons:


Sorry I have not posted in a long time. I don’t know if my lack of posts is because my projects have become more complex thus taking me longer to to design, test and finish them or just because life’s been extremely hectic this last year. I’ve started, just by chance, doing character designing commissions and that’s taken me in a whole new direction.
I couldn’t let Christmas pass without sending cards though, and designing something fresh and interactive led me to create this Faux Snow Globe, Hexagonal, Pop Up Christmas Card. Of course there's an English and a Spanish version of the file.

I'd been meaning to do an hexagonal pop up card for quite some time and decided to take the plunge for my christmas cards. The beauty of this card is that it lays flat, and the folded size is 5.5" x 4.25" so it can be mailed easily.


Disclaimer
Please note that the english version of the file is posted here on my blog (at the end of this post". The spanish version of the file is posted on the video description of the YouTube tutorial.
Por favor, nótese que el vínculo para descargar la tarjeta en inglés está al final de este post. La versión en español, puede ser descargada desde la descripción del video en YouTube.That being said, a few tips when making this card.
Try using a strong cardstock for the card base. I used a local 240 gms/m2 linen texture cardstock. That is about 80 lb - 90 lb cardstock. I linked to a similar cardstock that might work, but Neenah 80 lb cardstock will do fine as well, just try to get something with a little bit of texture for two reasons:
- texture always adds interest to the project
- texture hides little cutting "mistakes" thus making the piece look cleaner.

The file is designed to be cut form a single 8.5 x 12 piece of cardstock, so try getting "folio size" cardstock (8.5" x 13.5") to avoid wasting too much paper, otherwise a piece of 12" x 12" size cardstock will be fine as well.

Use an even heavier cardstock for the sphere reinforcement piece, this is what helps the globe stand up and be lifted when the mechanism is activated, so you want something strong. I used Neenah 110 lb solar white Cardstock.

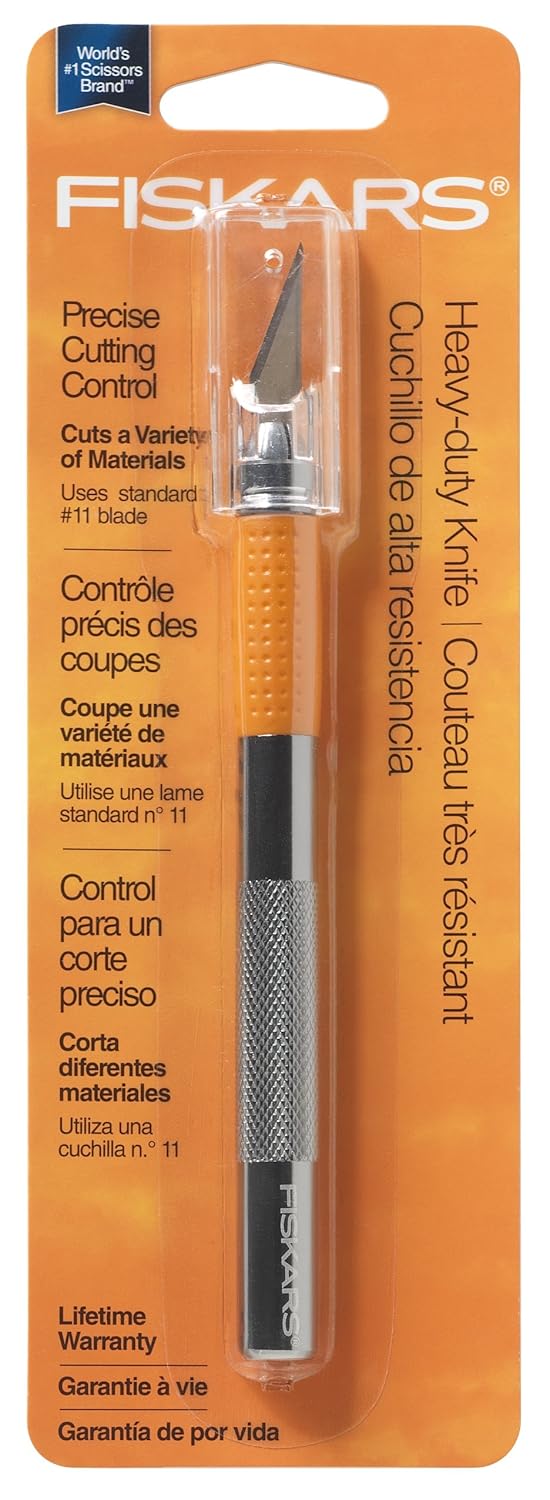
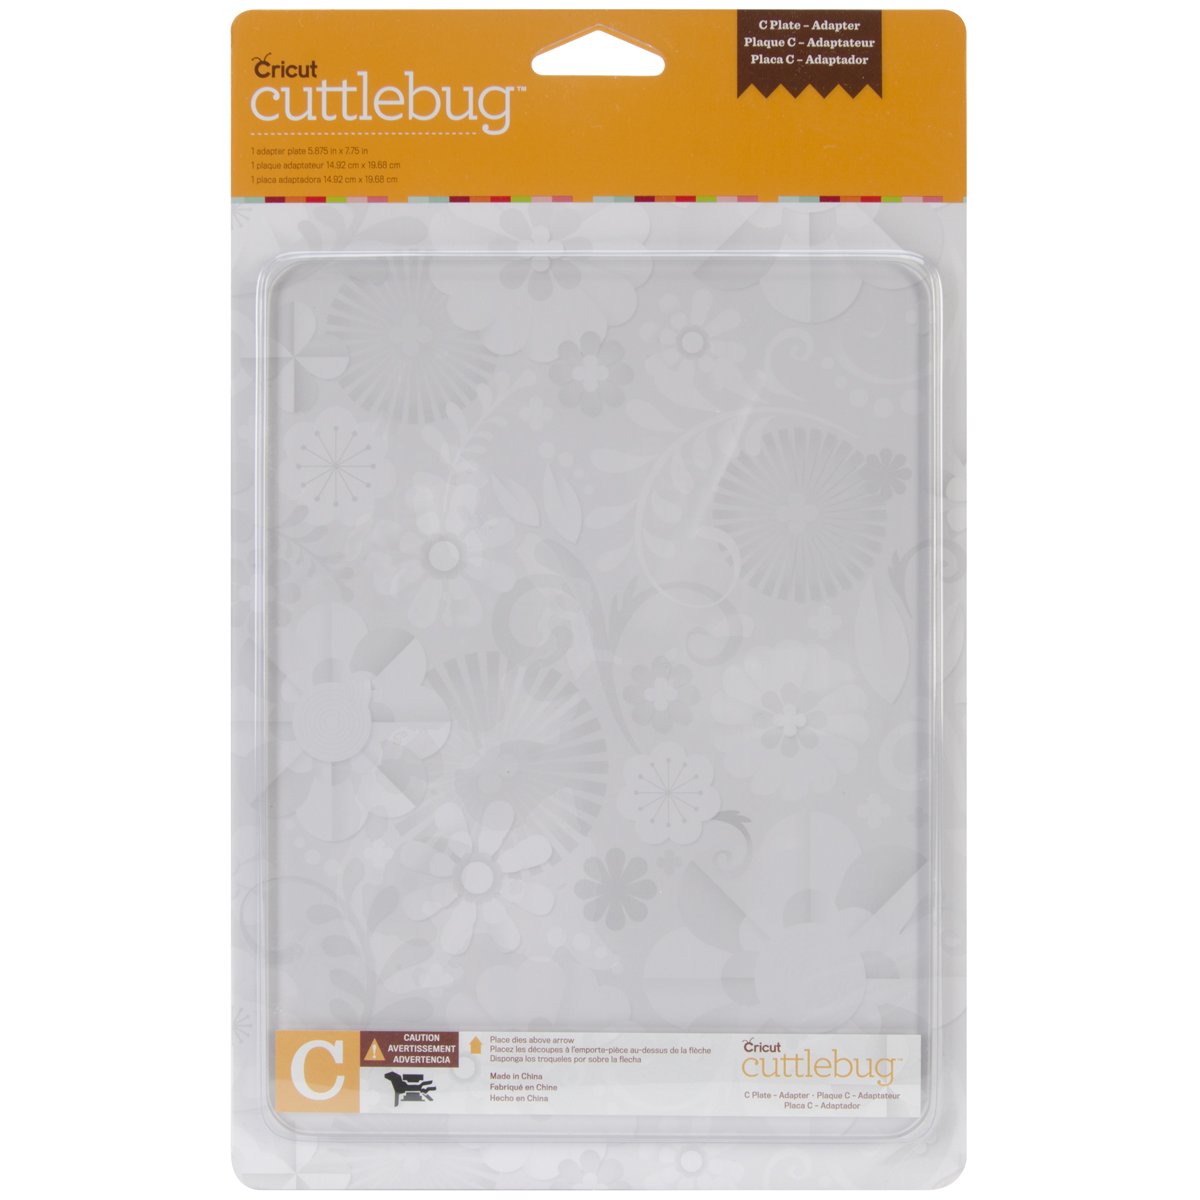
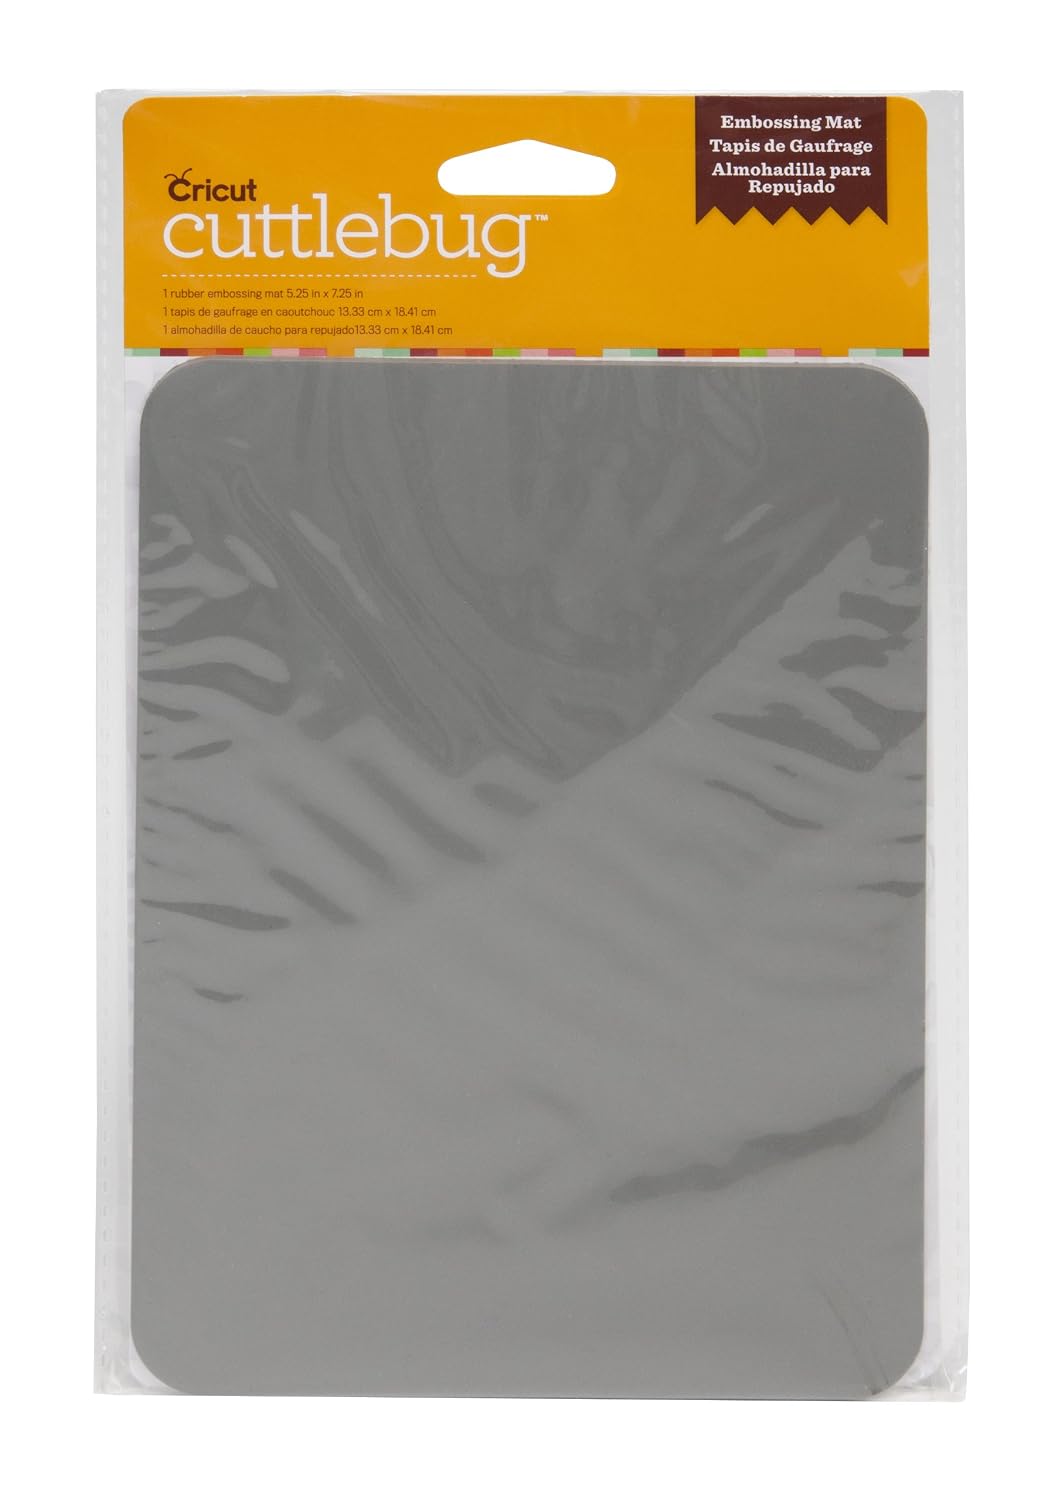
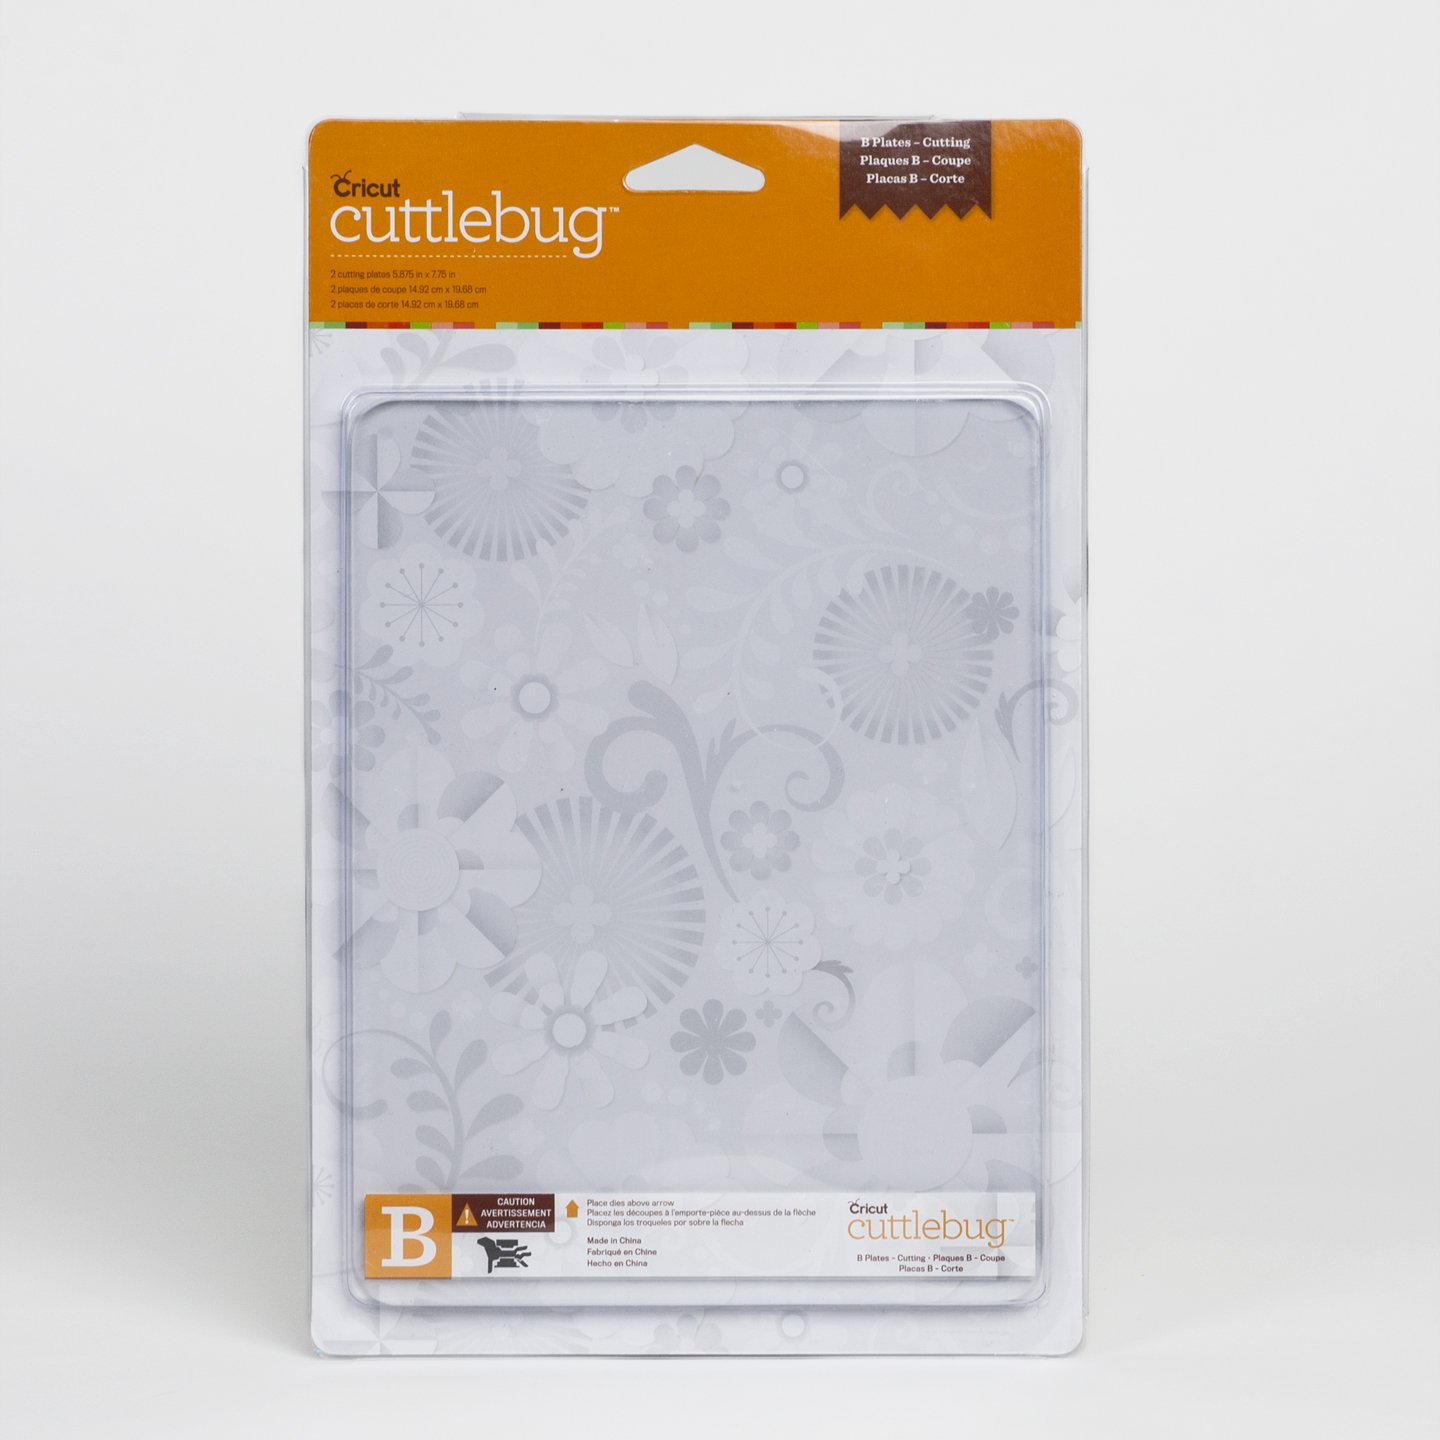
Remember the rule of thumb when doing intricate cuts: "Flatten your cuts using an embossing machine like a cuttlebug or a Sizzix Big Shot" This will make all your sharp corners look "prettier" as if they'd have been cut using metal dies.

For the matted embellishments on the card body I used a DCWV premium stack paper called Linen closet, a beautiful thick cardstock (i believe is 80lb) with several foiled designs that besides of reinforcing the structure of the card, look amazing and add to the overall look.

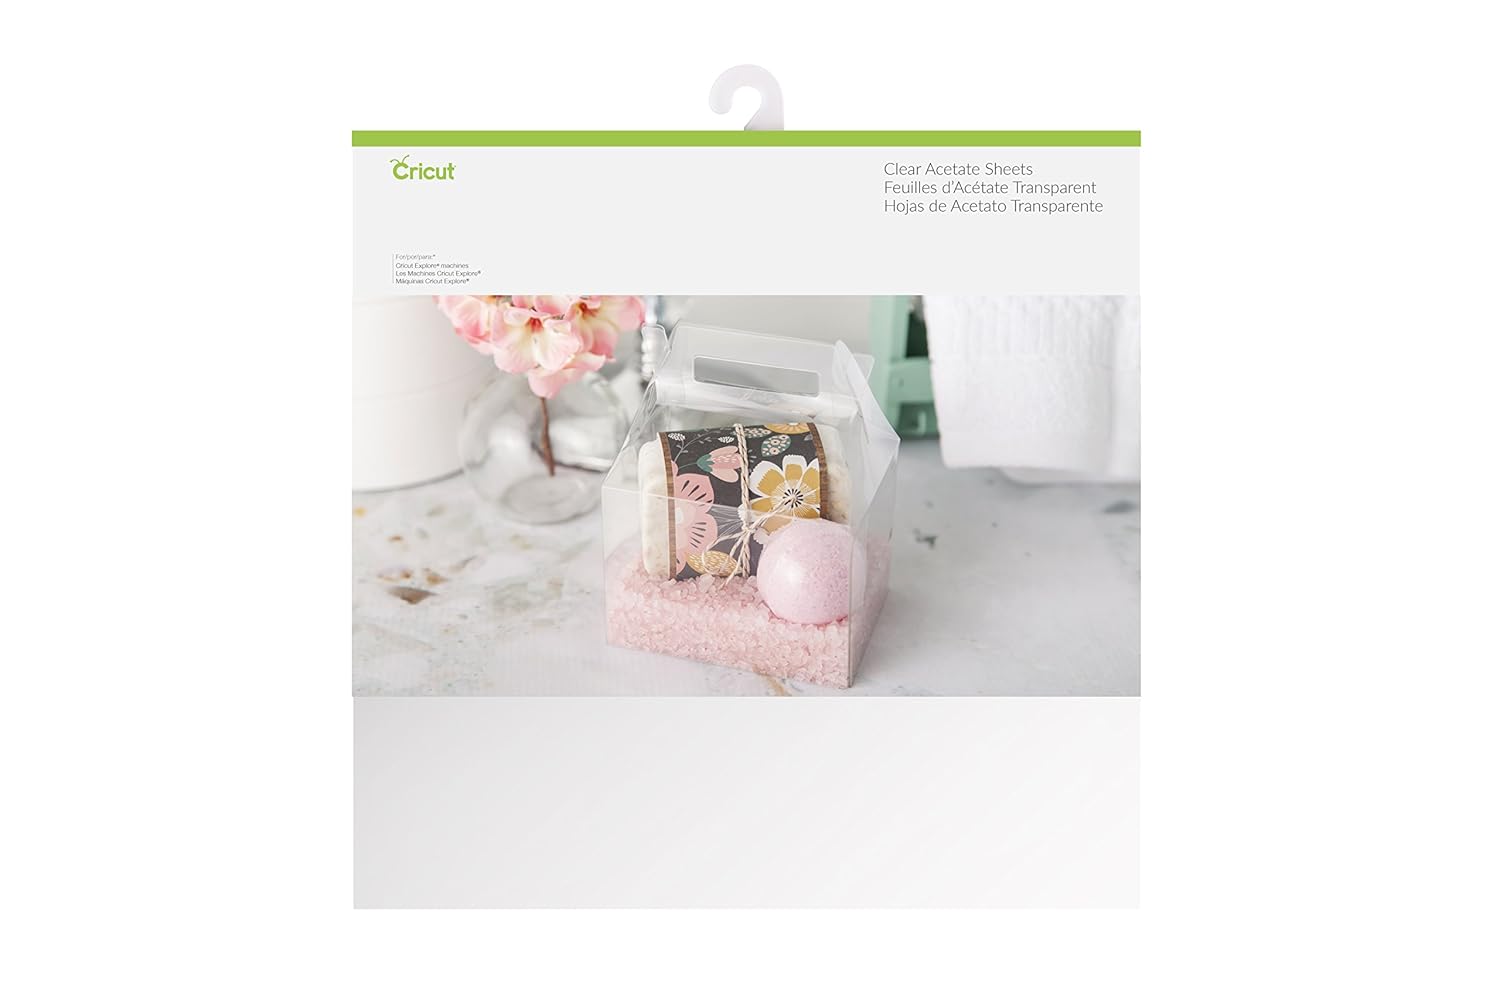
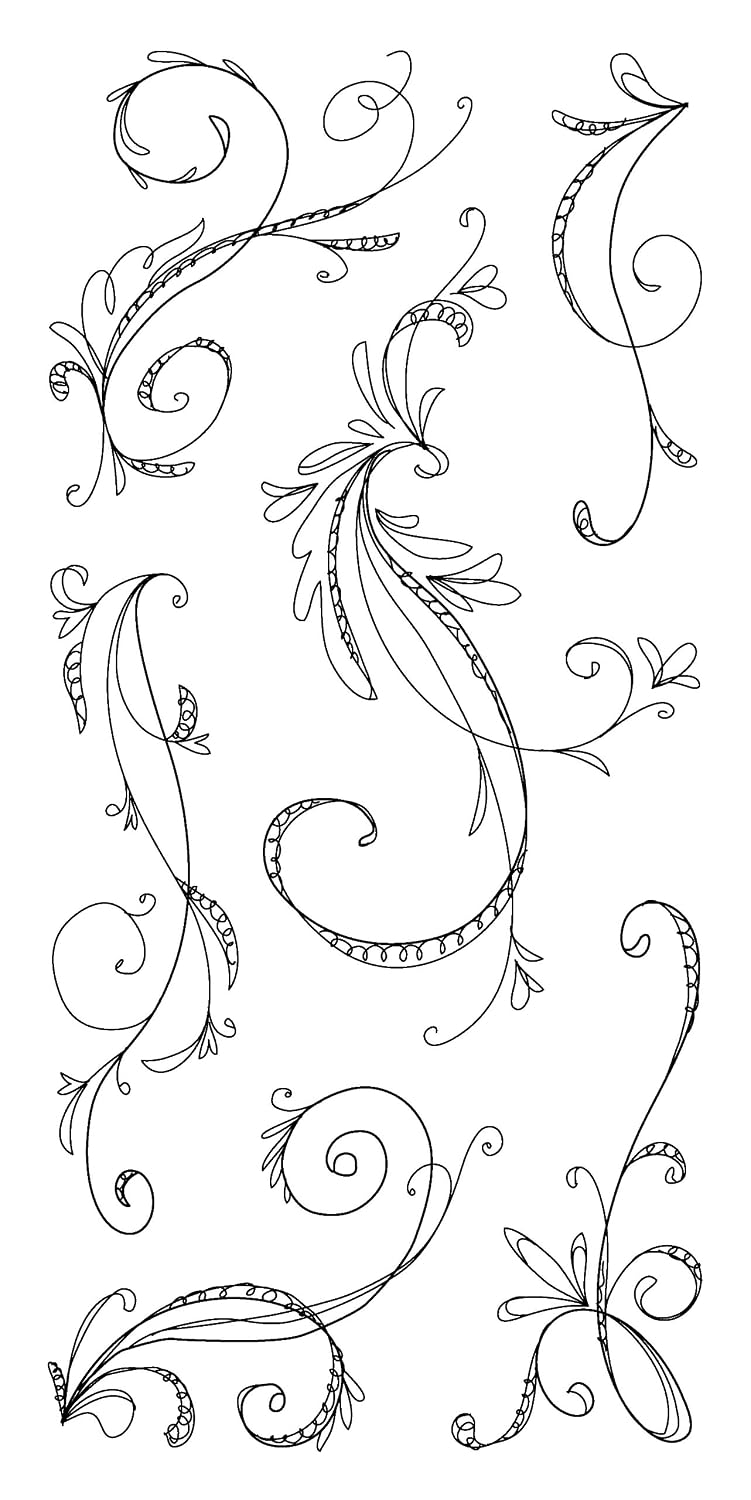
For the snow globe panel, I used Cricut Acetate sheets and I stamped a flourish design using StazOn Cotton White Ink. StazOn is a solvent based ink that stamps beautifully on plastic surfaces and glass and Cotton White is the most opaque white ink I've tried. Just allow it for 3-4 hours to dry, solvent ink is very unforgiving when smeared. If you do make a mistake when stamping, you can wipe it off using rubbing alcohol, just make sure to use a soft cloth to avoid scratching the surface of the acetate. I tried using vellum in one of the cards, and the result is also very beautiful but it doesn't allow for the back layers to show through very much, so I'd stay away from it.
 |
| Embellishments in the back of the vellum panel are not seen very well when there's no light behind |
 |
| Here you can see the great detail that StazOn ink gives on acetate |
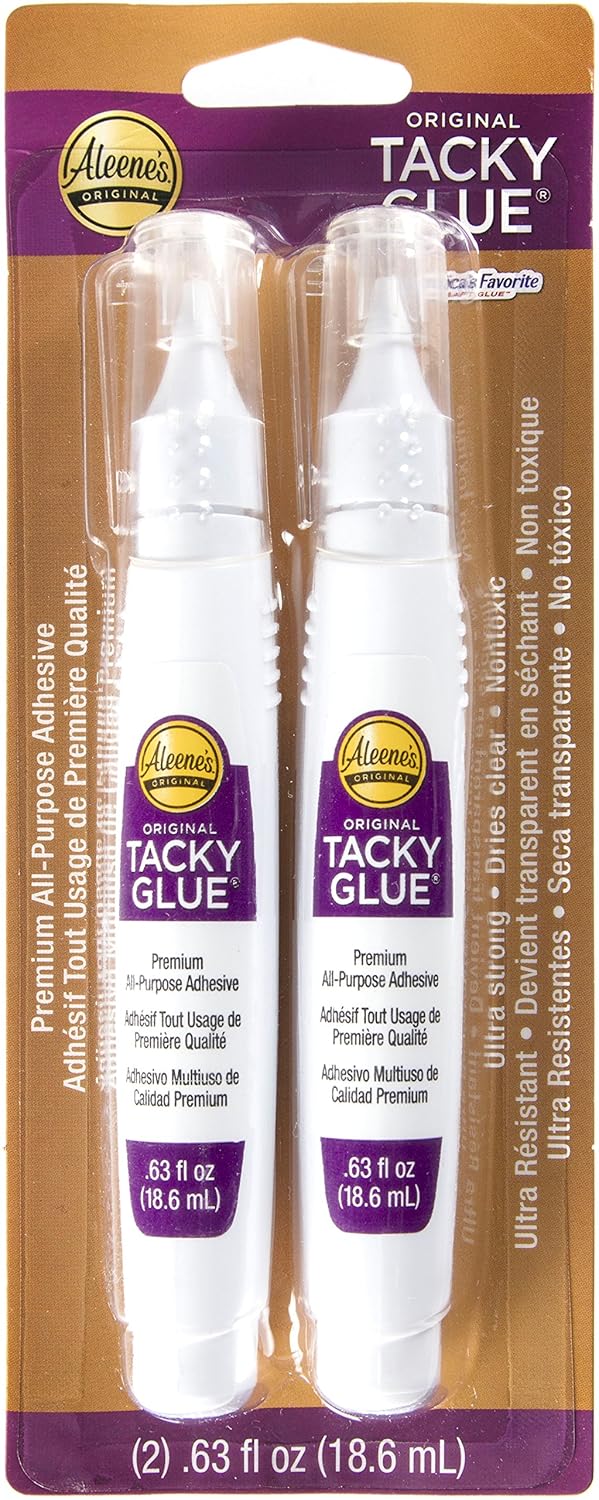
For gluing, as always, I used Aleene's Tacky glue pen for most of the project, except for the vellum and/or acetate panel. I would highly recommend to use some kind of solvent based glue for the transparent panel to ensure the acetates glues correctly and does not come undone and if you are using vellum, to avoid the warping that tends to occur when water based glues are used. I used UHU glue that comes on a fine tip container to allow precision application.
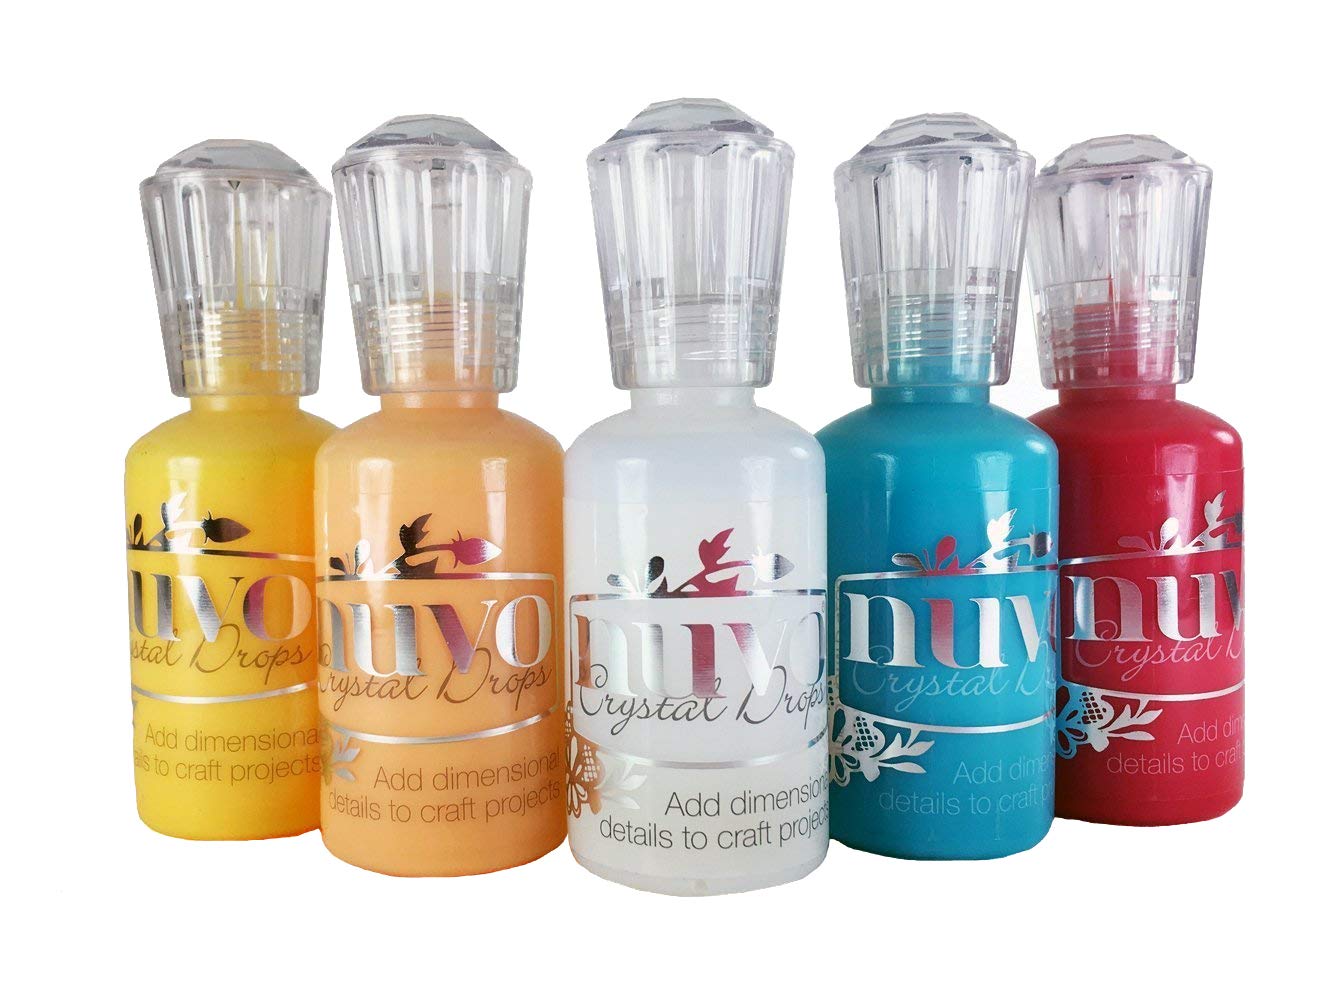
The tip of the Rudolph's nose was embellished using Red Berry Nuvo Drops, but now that I'm writing the blog post I realize I could have also used a tiny red rhinestone. There is a larger surface for you to place your embellishment.

I did include a QR code for people to scan and figure how to operate the card. I printed it using sticker paper and placed it ion the bottom platform so it would be hidden from view. You can download this code and add it to your card if you want to.

That's pretty much it, for assembling instruction, please watch the youtube tutorial and don't forget to subscribe and comment while you're there.
That's pretty much it, for assembling instruction, please watch the youtube tutorial and don't forget to subscribe and comment while you're there.


Supplies List
 |  |  |  |  |
 |  |  |  |  |
 |  |  |  |  |
 |  |  |  |  |
 |  |  |  |  |
 |  |  |  |
If links don´t seem to open, please right click and select "open link in a new tab", it should take you to a save file dialog. Let me know in the comments if links don´t work, thanks.
Beautiful!!
ReplyDeletestunning xx
ReplyDeleteAmazing!!!!
ReplyDeleteI've said it before, you are amazing.
ReplyDeleteAbsolutley Amazing Omar. Thank you so much :-)
ReplyDeleteOmar love this creation.I can't get it to download,it just brings up a picture of the files no option to download.
ReplyDeleteBlessings Jocelan
The download button is right above the comments section. Just scroll up to the top of the comments and look above it.
DeleteCould you download it? just click on the cloud with the arrow pointing down it should open up the download dialog on your screen. If you are on a mobile device, try using chrome instead of safari.
DeleteOmar, dear, thank you so much for these. I am "technically challenged"! When I hit the download button, all I get is a picture of the cuts. I do not know how to get them into Cricut Design Studio. Could you please help this ole gal?
ReplyDeleteWe’re yo able to download it? If not, please send me a message to omar@awesomesvgs.com
DeleteSharon, you just right click on the picture, you'll have the option to save, pick a file to save it in.
DeleteYour skills no no end thank you
ReplyDeleteThat's awesome. I look forward to making this. Thank you.
ReplyDeleteAbsolutely beautiful! Thank you for sharing your creations with us. I really appreciate the amount of work that you put in. Merry Christmas.
ReplyDeleteThanks Natalie
DeleteOH, Omar! I love this! My 8-year-old granddaughter goes to bilingual school. I would love to make the Spanish version for her teacher and maybe for other Spanish speaking family members. It just means I have to have it done in the next couple of days before school gets out for vacation. I will try! Thank you so much!
ReplyDeleteI hope you got them done in time! 🤗
DeleteOmar, I do not have a scoring tool. Is there any way to make it so that it shows scores lines without the tool?
ReplyDeleteI think you could use a light color pen to show you where to score and instead of changing the layer attributes to score, set it to write.
DeleteI will try that. Thank you.
DeleteThis comment has been removed by the author.
ReplyDeleteHi Hi, this is such a lovely creation - I would love to make this - however - Please could I have some help - I am using a Brother Scan n Cut - and we take svg files into a programme called Canvas - which Brother give us to use...however it has reduced your file down considerably - questions:: - 1. what size should the box part be? And what size should the globe part be please?
ReplyDeleteOmar Toro - re my above question - just so you understand - Canvas has reduced it down to 6inches wide by 12 inches deep!!! If I widen it to 8 1/2 inches it distorts the round globe to an oval!!!??? Please - How do I get it back to your size? - Sue
ReplyDeletebravo pour vos magnifiques créations et merci beaucoup pour le partage des fichiers et vidéos
ReplyDeleteThank you Omar! Your work is fabulous :D
ReplyDeleteOMG love this. I cant seem to find the spanish version. Just downloads the english version. Thank you soooo much for this card.
ReplyDeleteamazing card thanks so much
ReplyDeleteSúper hermoso!!! y chileno!! yo soy chilena, pero vivo en Mexico. Maravilloso tu trabajo
ReplyDeleteAwesome card Omar.You do a great tutorial
ReplyDeleteBlessing Jocelan
Hi Omar I loved your tutorial on the Faux snow globe.I have a Cameo 3 and I was wondering if you could help me ungroup these so I can cut them on my Cameo.When I try all the cuts are to close for me to seperate them they are to close for me to cut them with more room around them.Here is my email if you have an answer for me bjperr2@gmail.com Thank you for your help. Blessings Jocelan
ReplyDeleteThis is gorgeous Omar! Do you by any chance have a French version?
ReplyDeleteThank you so much for sharing such a beautiful card.
ReplyDeleteThank you so much for sharing your beautiful creation! This is exactly what I was searching for!
ReplyDeleteHermosísimo, gracias por hacerlo en español!
ReplyDeleteThis is so beautiful. I have some questions - will email you. Thank you for sharing your talents and creation. Wish you a Happy Christmas.
ReplyDeleteYour work is gorgeous. I really appreciate the QR code sticker idea and the embossing machine suggestion. Thank you for sharing.
ReplyDeleteThank you so much, this is beautiful and surprisingly easy to assemble. I've resized it to make it slightly smaller and added hinges to the base, so I could used it inside a regularly shaped card
ReplyDeleteso where do you have the downloadable svg file
ReplyDeleteAmazing design! My issue is that my Cricut Maker destroyed it, what with having to reduce the size to an 8-1/2 x 11 inch sheet of cardstock. So I decided to scale it up and move the pieces around, but only the circles and hex base ungrouped, even trying to do that in Inkscape. I can't seem to separate the rest. Can anyone help? Thank you!
ReplyDelete