
Long time no see.
I've had this card on my mind for a long time now. I wanted to do a card that was a little different and with a lot of movement when opened. Some of you might have seen the blueprint I posted on Awesome SVGs Facebook page, that's how most of my projects start, as a quick sketch and then off to the design board (actually is a Wacom Cintiq and Adobe Illustrator). This is one of my favorite pop up designs, I will build from here because the possibilities are endless and there's always room for design improvement.


This project was a collaboration with The Hungry JPEG site, an awesome resource of images and beautiful fonts that you can get a very low price. The Image and Font pack I used is the Splendid September Bundle, a collection of handlettered sentiments and images dedicated mostly to autumn. In the video tutorial you'll learn how easy it is to upload and design using these elements, so be sure to check it out and download yours before is gone.

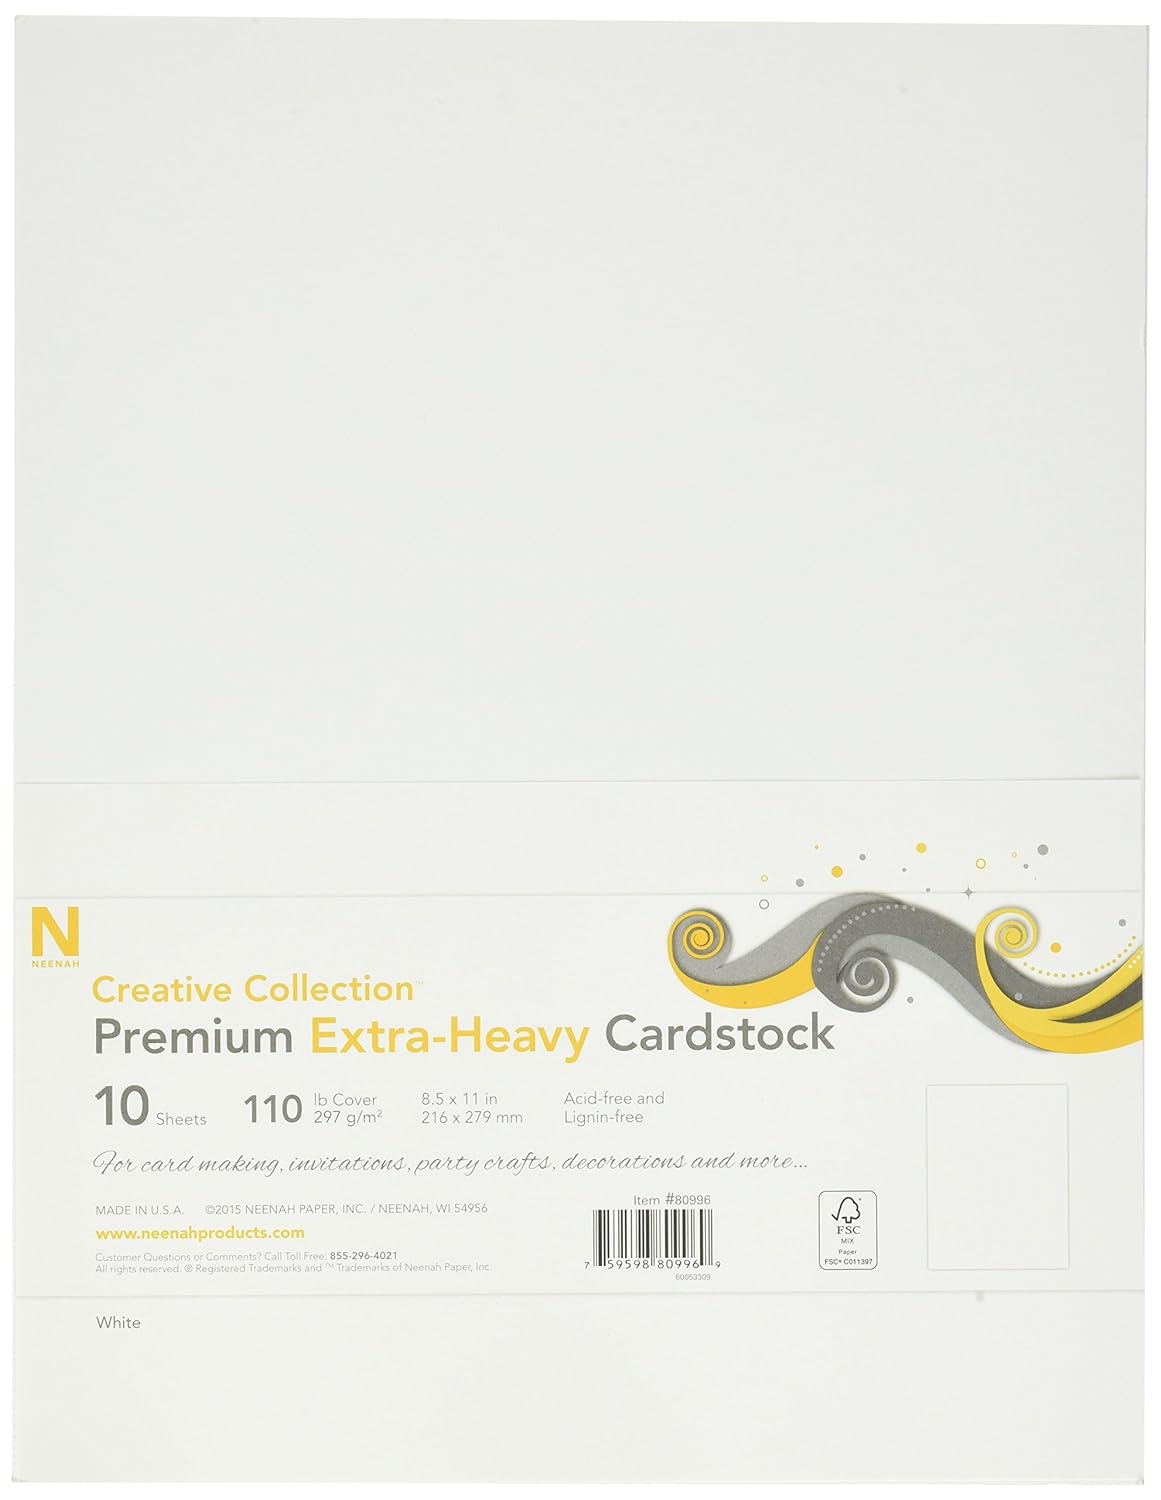
- Use heavy cardstock, the final card has a lot of movement and hinner cardstock might not work correctly due to lack of strength to move the mechanism
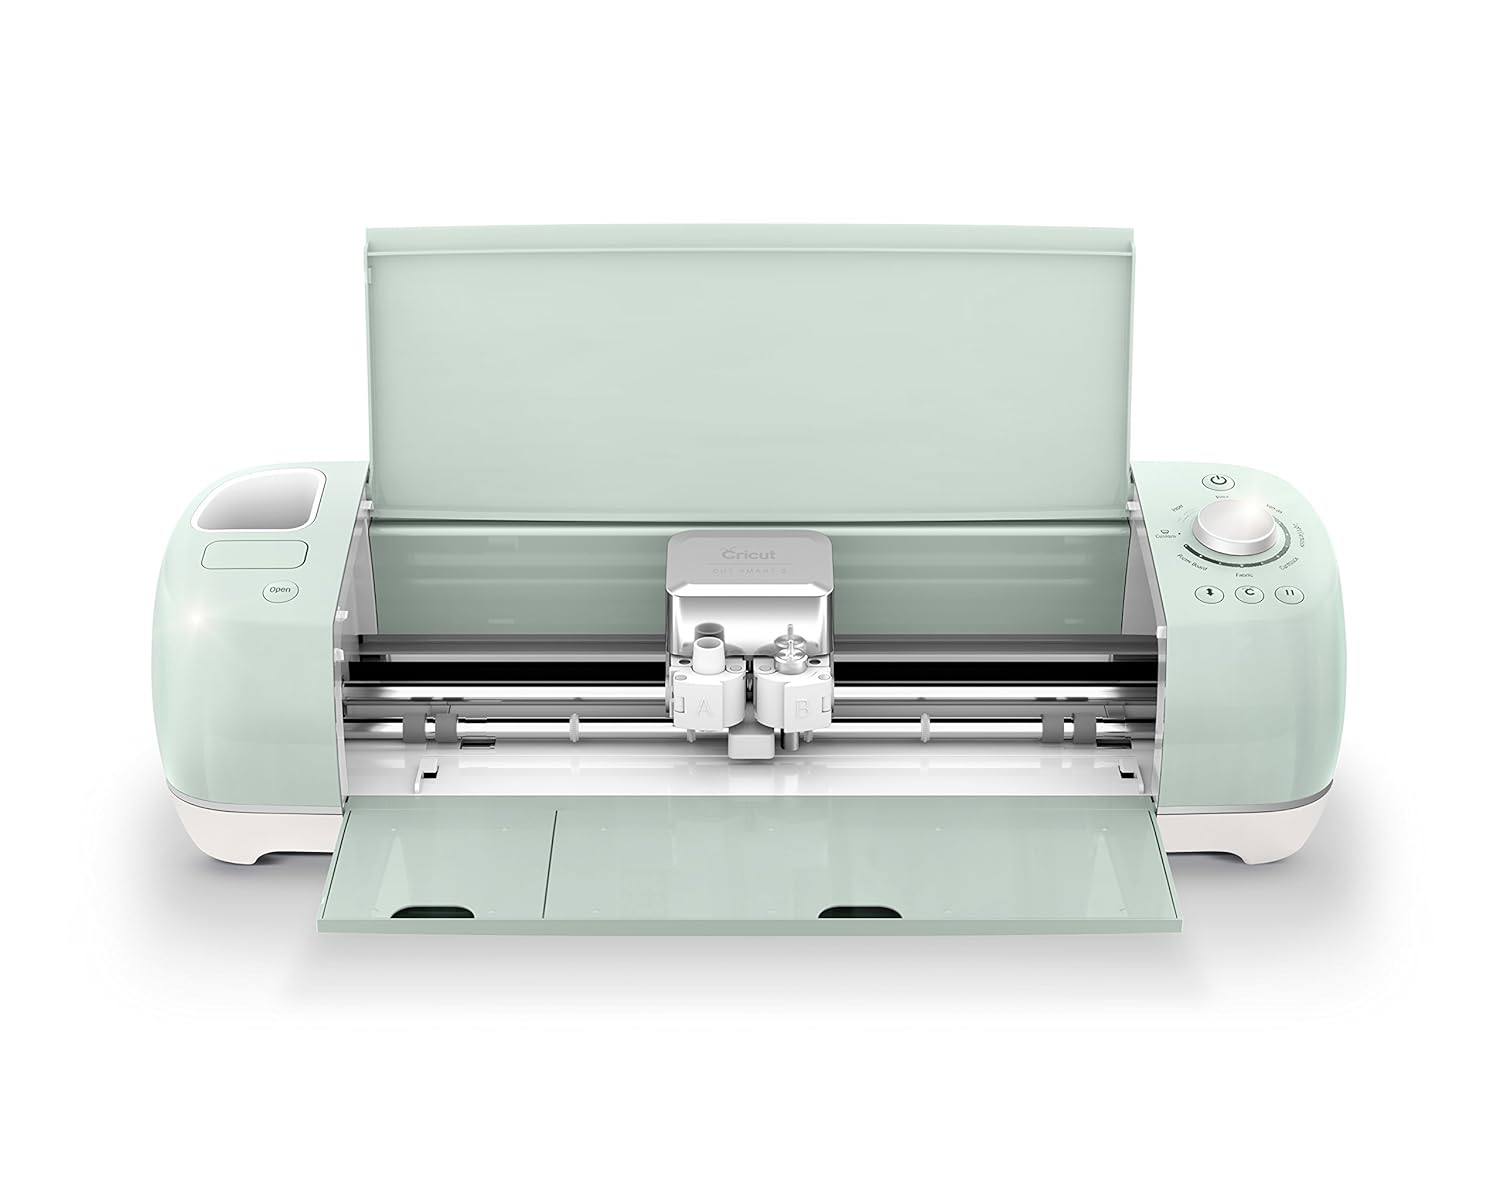
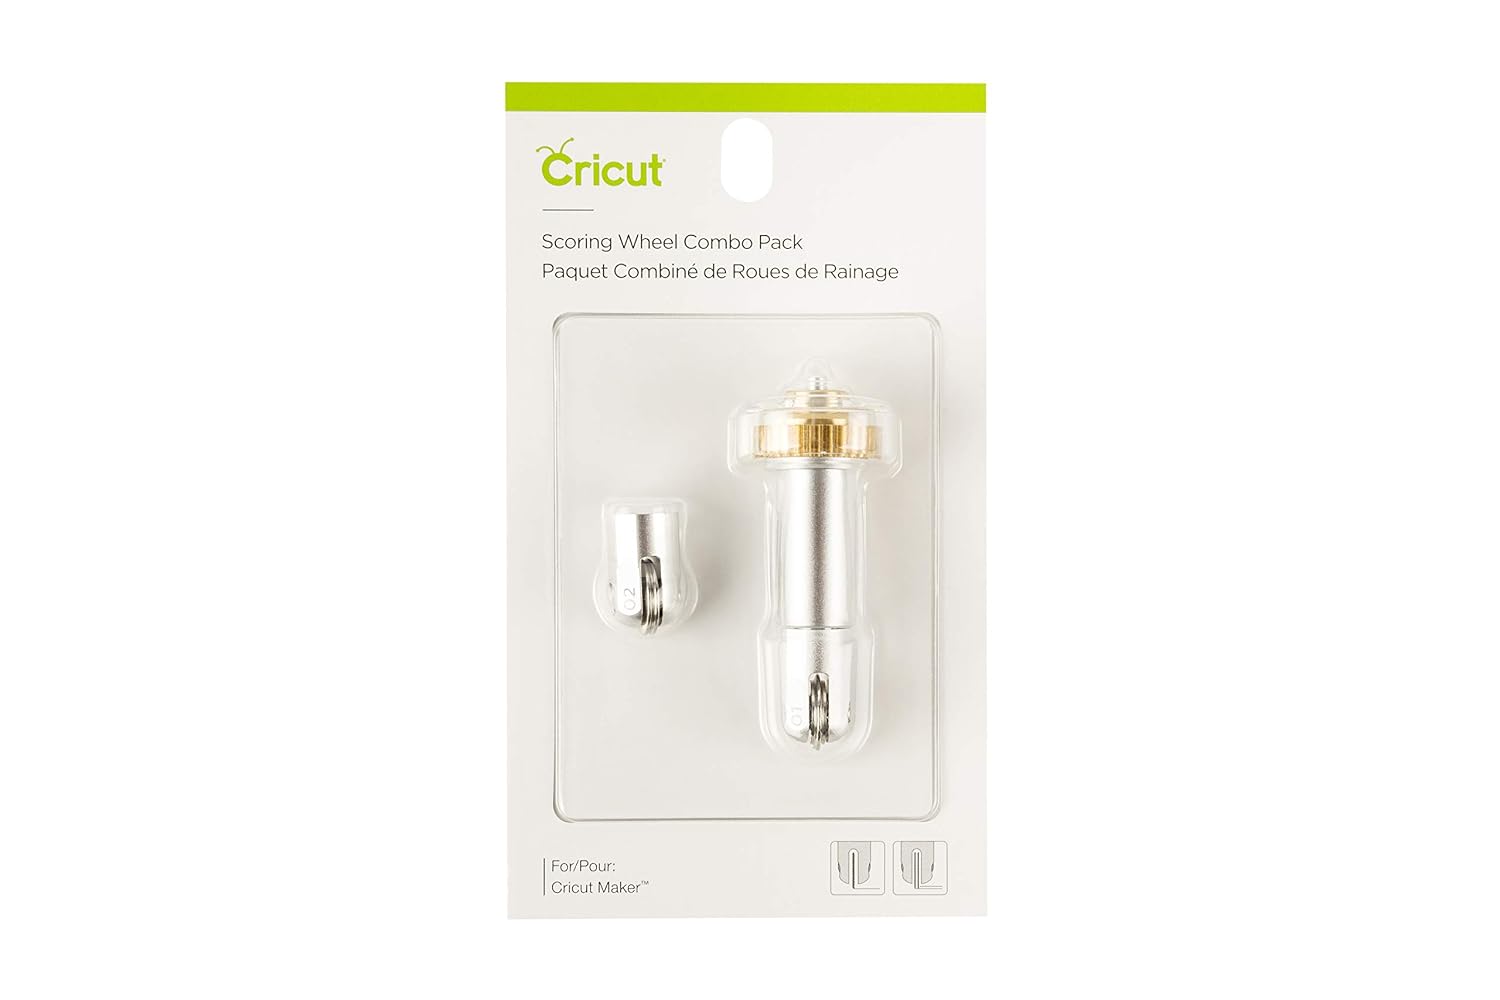
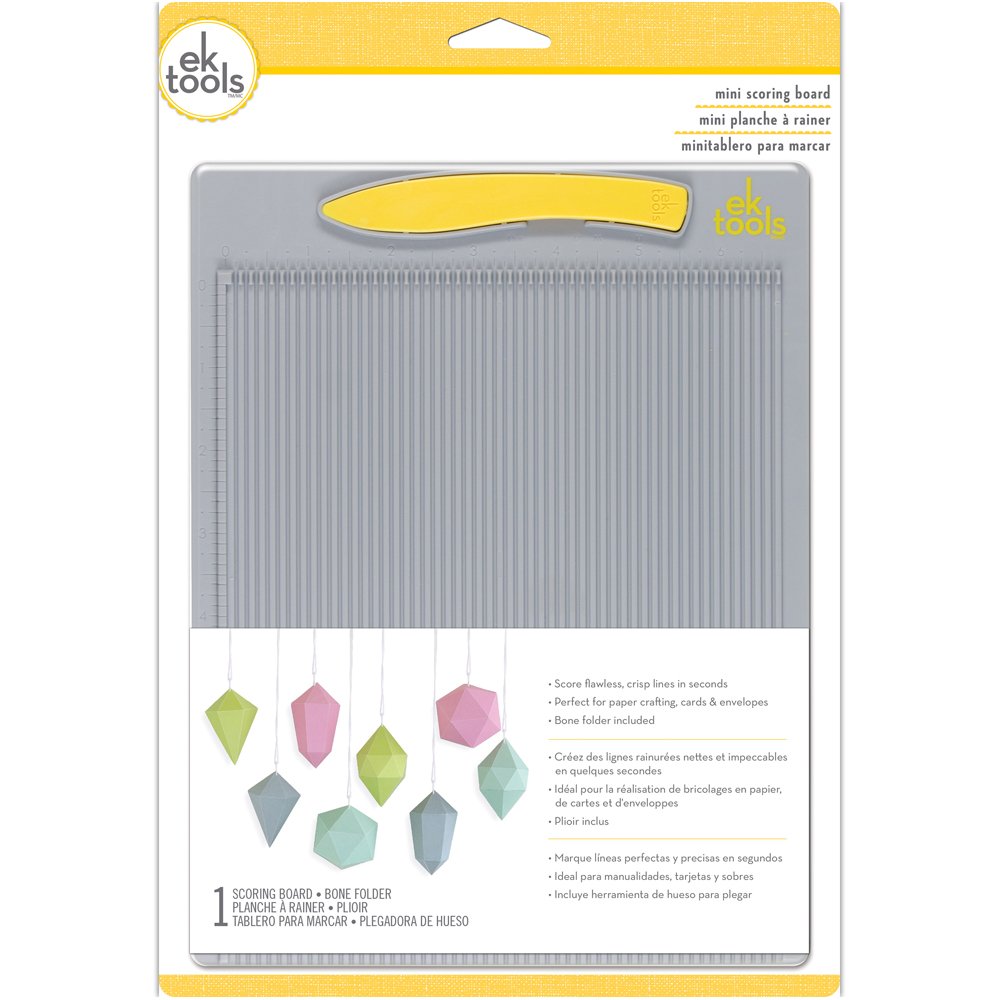
- I you are using a Cricut Maker, use de double scoring wheel for cardstock 80lb or above. If you are using a Cricut Explore, you can still use the Scoring Stylus, but it is a good idea to re-score the lines using a scoring board or a dull instrument and a ruler on a self healing cutting mat.
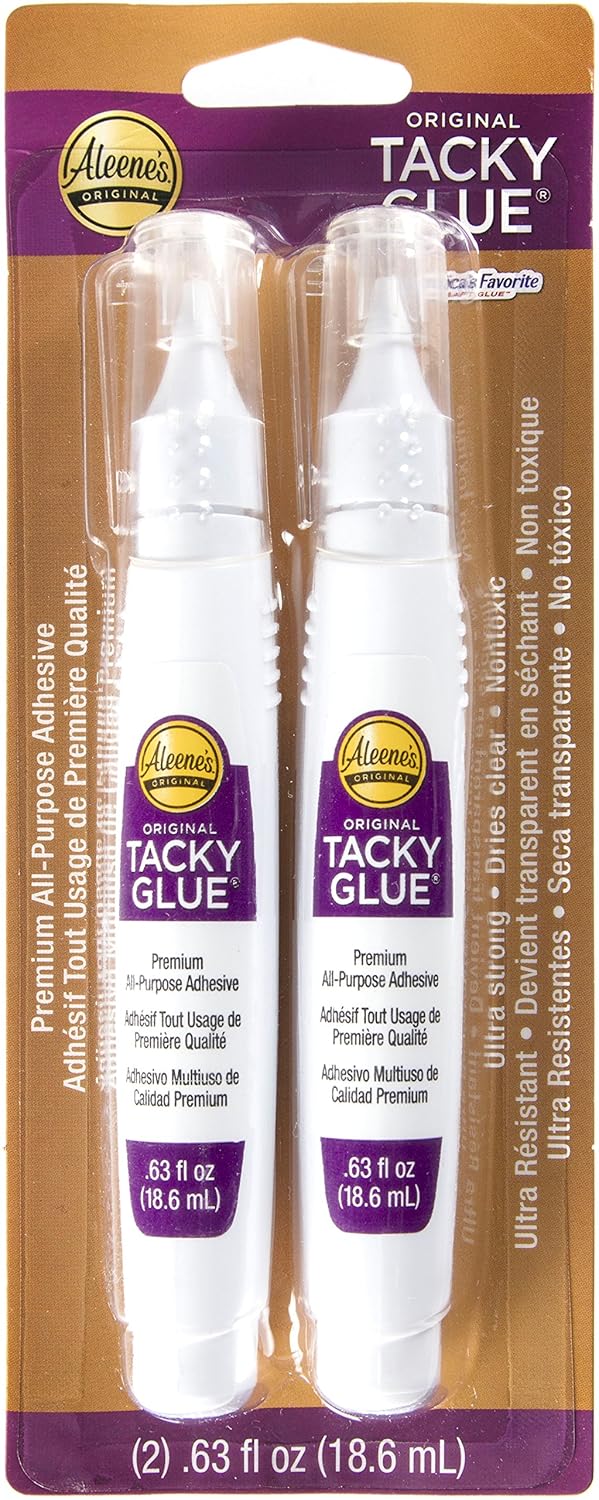
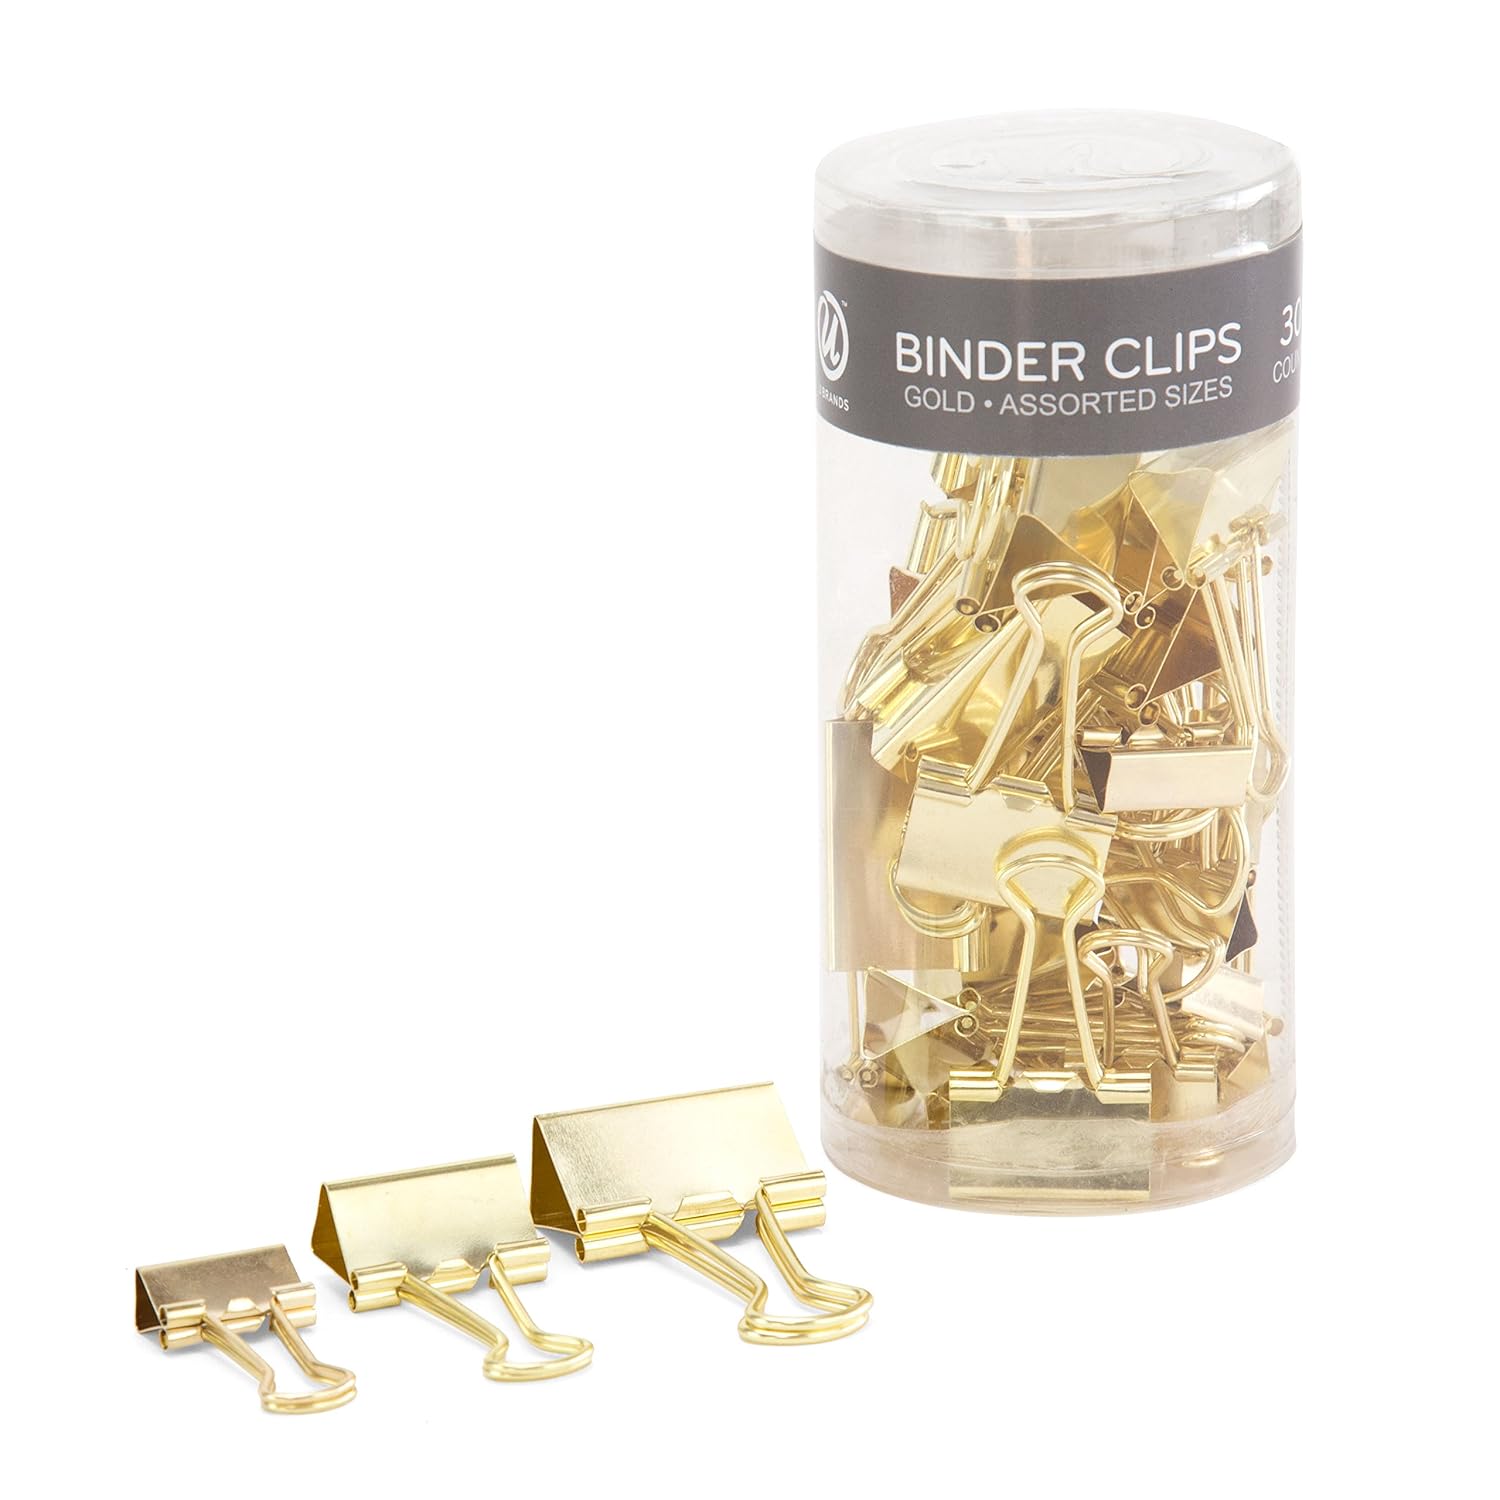
- I recommend to use liquid Glue as it reinforces and strengthens the cardstock
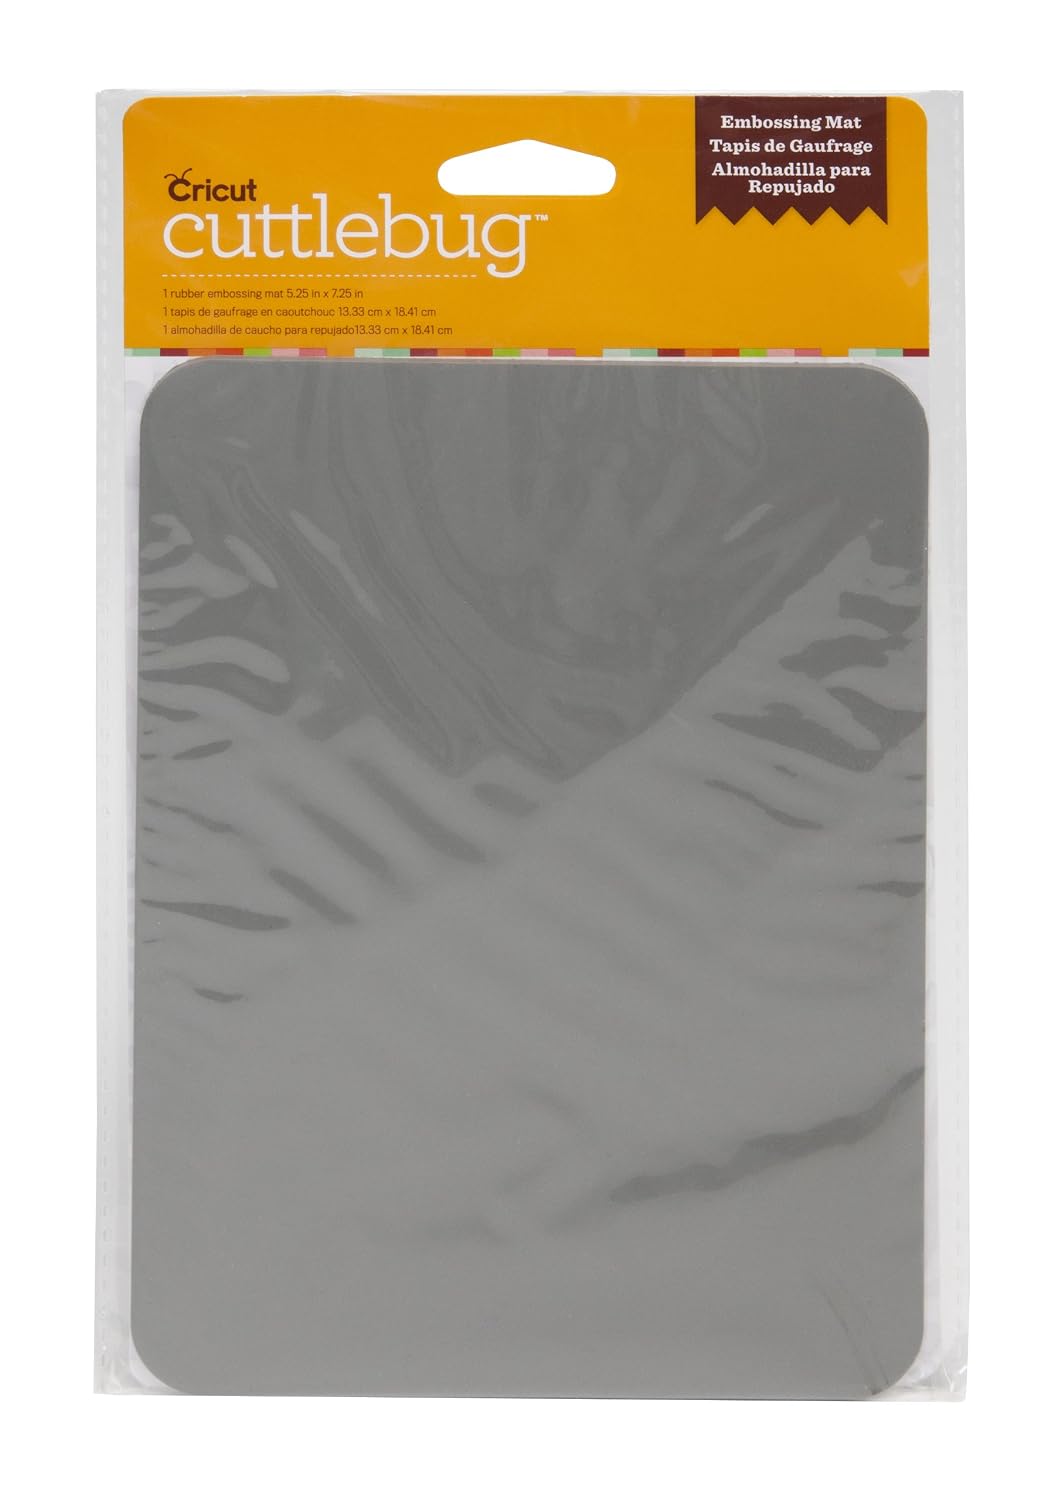
- Flatten your intricate cuts using a Rubber Embossing Mat in your embossing machine. I provide instructions to do this on a Cuttlebug, but you can use any die cutting/embossing machine with the corresponding sandwich.
The assembly of this project is very easy and you'll get an awesome result every time. Just make sure not to put your design elements beyond the top left quarter and to the left of the round shape provided for this purpose, or it could interfere with the opening of the card. Placing elements to the right or to the bottom of this circle is perfectly ok, just ensure they are contained so they don't show when the card is closed.


 |
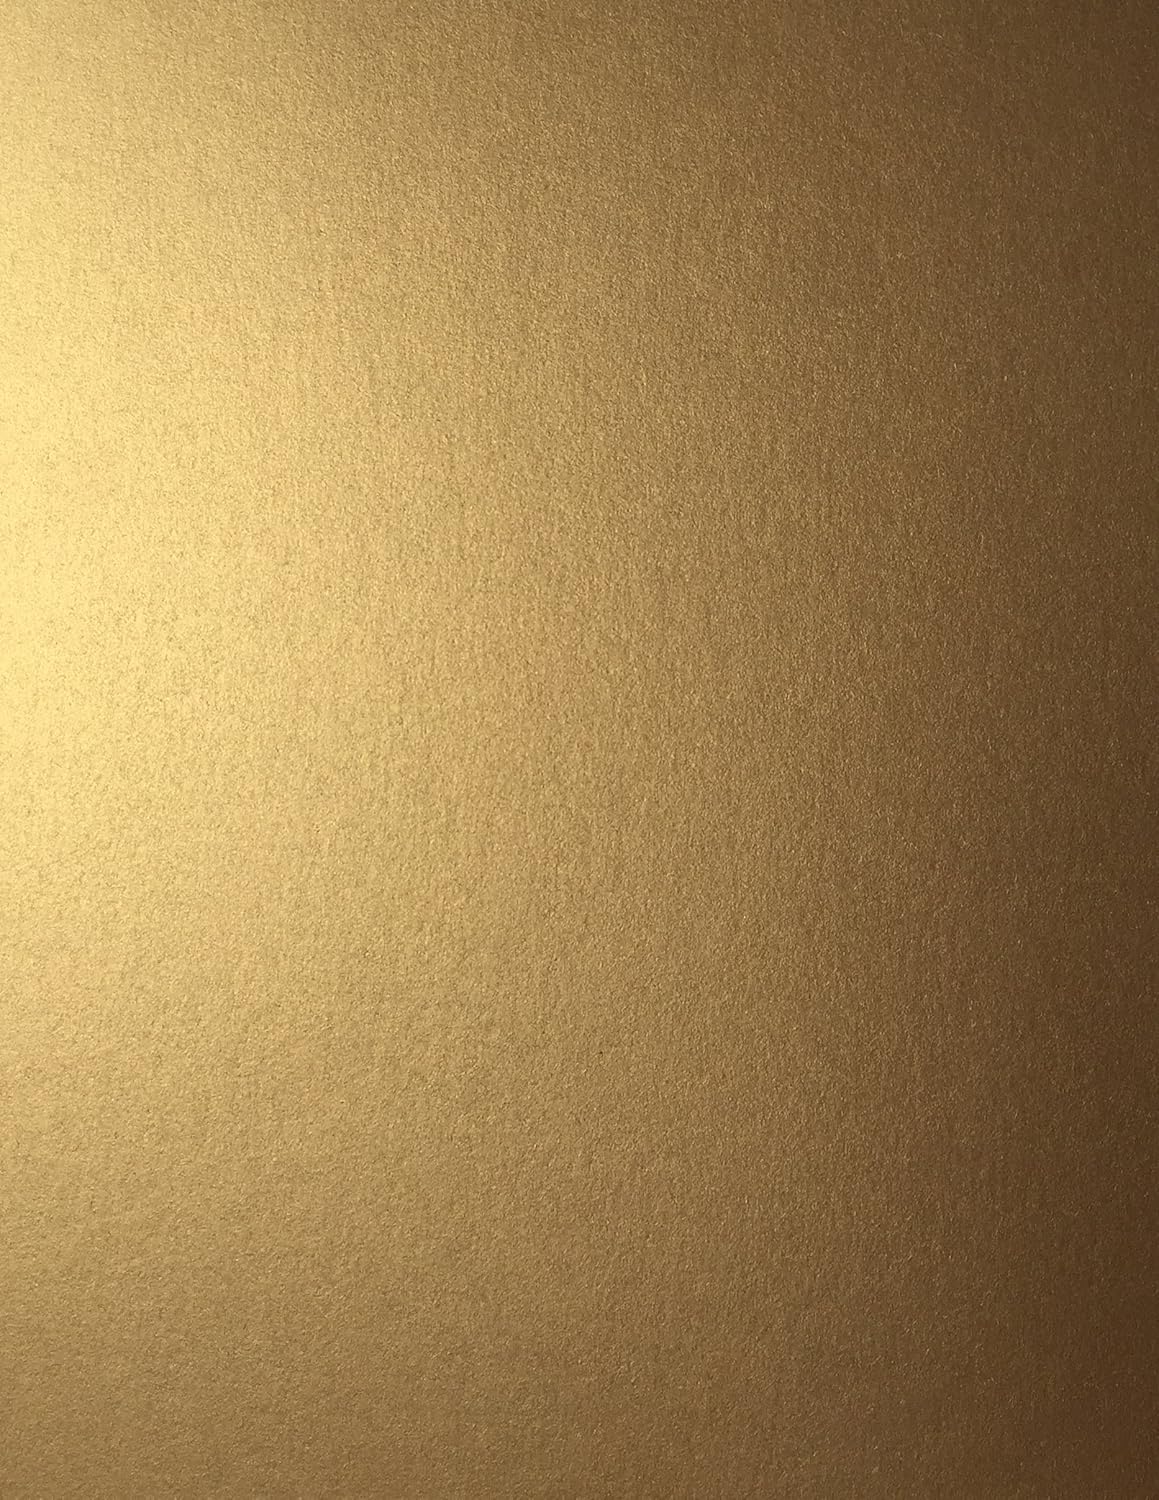
| Flattened intricate cut and the beautiful shine of the antique gold cardstock |
 |
| Printing on textured cardstock really enhances your projects and is gives it a much professional look |
 |
| Adding gold on top is the cherry on top, I really love the look |

Finally, if you haven't done so yet, please subscribe to my youtube channel to support more free projects like this one, it is free and you will never miss another tutorial again.
Enjoy!
 |  |  |  |  |
 |  |  |  |  |
 |  |  |  |  |
 |  |  |  |
If links don´t seem to open, please right click and select "open link in a new tab", it should take you to a save file dialog. Let me know in the comments if links don´t work, thanks.
Hola le acabo de madar muy poco dinero pero es lo que yo puedo para darle las gracias portodo su trabajo
ReplyDeleteMe encanta lo que hace
Gracias
Great tutorial, Omar! I like the hint about running cut pieces through the diecutter to flatten. Gracias por todo.
ReplyDelete