
I hope everyone is safe and healthy.
Today I bring you a new pop up card project. I used the Faux snow globe design and updated it so it was easier to cut and assemble.

The card is a pop up that can be folded flat to fit a standard A2 size envelope.

The inserts are scanned images from real watercolor paintings I did a while ago. I arranged and layered the inserts so they would look like a flower centerpiece of some sort.


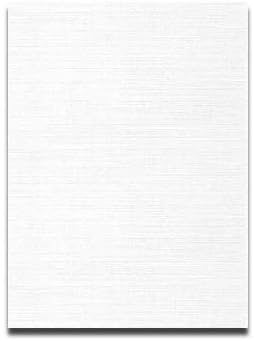
I used linen textured 80 lb. white cardstock to print the images to give them a bit of extra texture, but you could use smooth paper as well, since the images are scanned to retain all the transparency of the watercolor technique. it's better to use a thicker cardstock for the inserts, because the small parts could be bent during mechanism activation, preventing the proper functioning of the card.

For some reason, Design Space does not import the correct size of the PNG images, so once you upload them to design space, import them to your canvas and resize them to 6.566 inches wide, keeping the proportions locked. This measurement is right on the file name for you to remember, so, there's no need to go and look anywhere else.
The heart insert works better if it's cut from a very heavy cardstock (110 lb. or higher). In this case I used two 65lb. cutouts glued together to strengthen the cardstock. Just make sure to use liquid glue that dries hard.
For the Card Base I created 2 different files, one with Scored folding guides card base and one with Cut folding guides, depending on your machine type and preference.
 |
| Cut folding lines |
 |
| Scored folding lines |
Advantages and disadvantages of each method:
Scored lines:
- Not visible in the final card. (cleaner look)
- Need longer to prepare the file (extra steps in design space)
- Harder to see in the cardstock
- Need extra tools (scoring wheel or scoring tool)
- Some machines can not accommodate scoring tools
Cut Lines:
- Easier to see and fold.
- No need for extra tools on your machine.
- All cutting machines can cut dashed lines.
- Visible in the final design. You get these sort of jagged folds on the cardstock.

Other than the folding guides, the design is exactly the same.
The Card Base Embellishment panels, are small squares that can be stamped or another cut design can be added to them. Maybe a heart or a simple butterfly cutout would look nice, but I wanted to keep the base simple.

Please follow the video instructions to prepare the file and assemble the card. If you haven't, don't forget to subscribe and leave a comment if you have any questions.
Enjoy!
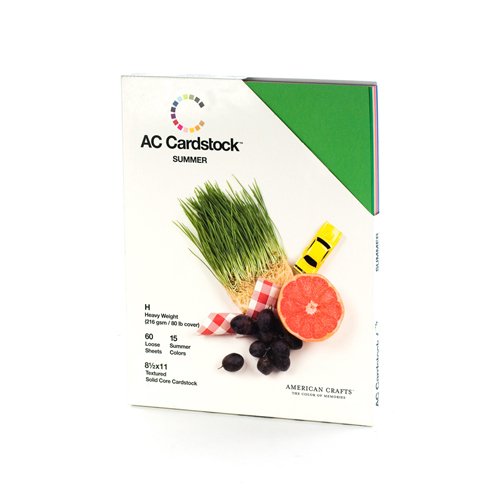
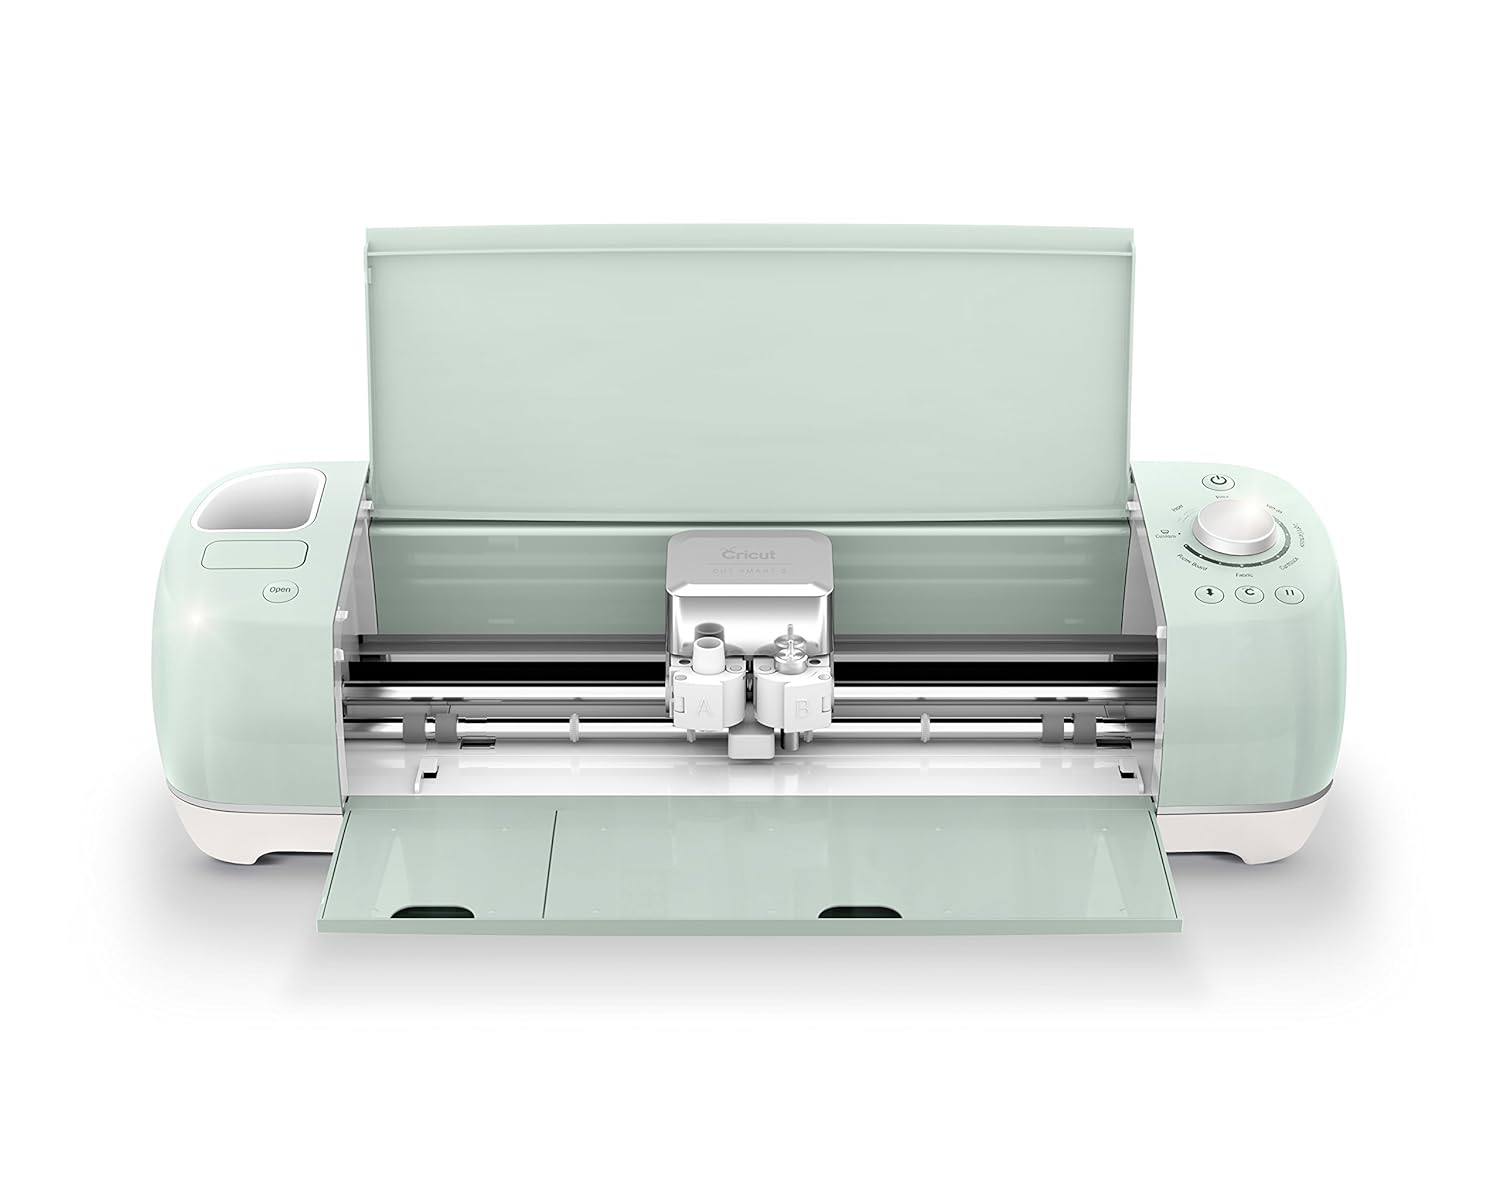
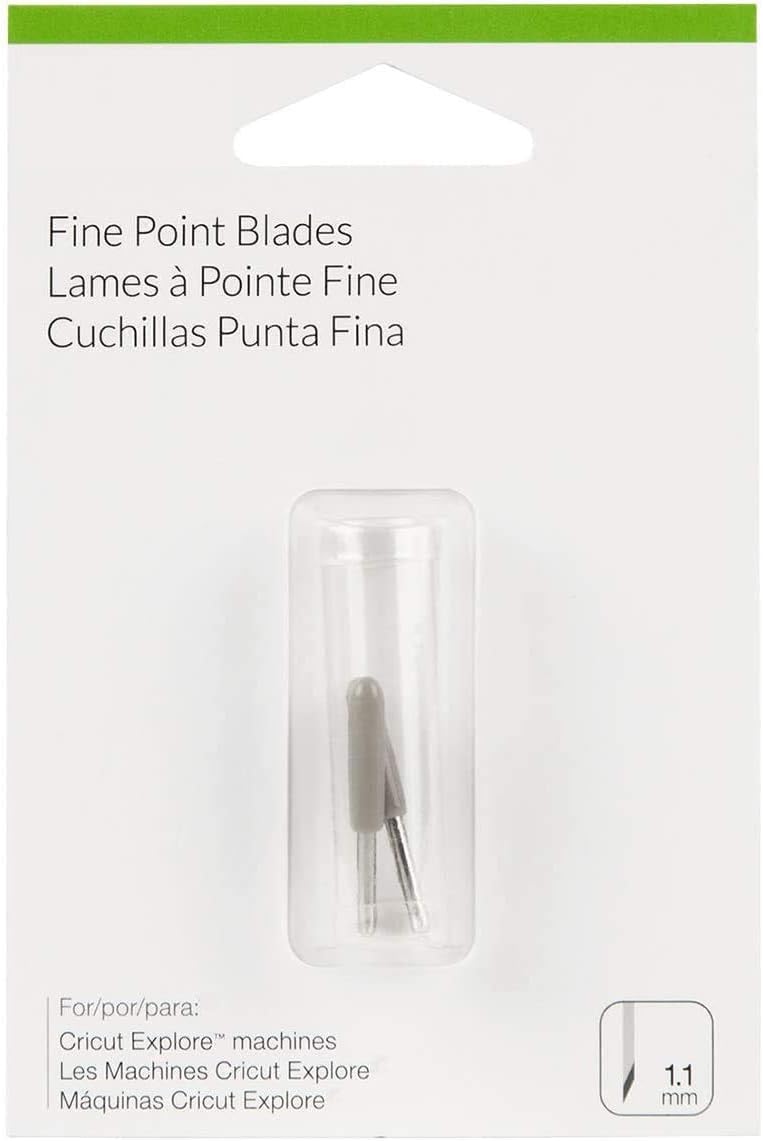
Supplies List
 |  |  |  |  |
 |  |  |  |  |
 |  |  |  |  |
That is indeed an awesome svg! Thank you so much for sharing your card design and beautiful watercolor graphics. Also, thank you for showing the detailed assembly video and how to add cut lines to graphic files.
ReplyDeleteThank you Omar.
ReplyDeleteThank you! I have a Scan N Cut. Are SVG's included, you only list Silhouette and Design Space.
ReplyDeleteThank you! Wanted to do something special for my father that I haven´t seen since covid started... Going to make one tomorrow.
ReplyDeleteThis is absolutely beautiful! Thank you Omar!!!!
ReplyDeleteOmar, your work is pure artistry. In fact, art meets architecture Thanks for sharing!
ReplyDelete