Hello everyone!
It was my my friend María José's Birthday last week. She is a coffee fanatic, so we decided to give her a Starbucks Rewards Card and I made a cute card to go with it, and here it is.

This is going to be a long post, but it is mostly photos, so don't panic.
The idea is from a Japanese site called
Kagissipo. They have stunning pop up cards and you can download a couple of projects in PDF format for free to print, hand cut and assemble. This, I figured out myself, so you will not find it in their site.
It took me a while to perfect it and this is an improved version of the card I actually gave to my friend.
And here we go.
Start by scoring, writing and cutting all the pieces with the right side of your cardstock facing up on the mat, except for the coffee foam piece.
 |
Coffe Foam piece must be written, scored an cut on the wrong side of the cardstock,
so the placement lines drawn stay hidden. |
 |
| Wrong side must be written. |
 |
| Right side of the cardstock must be inked |
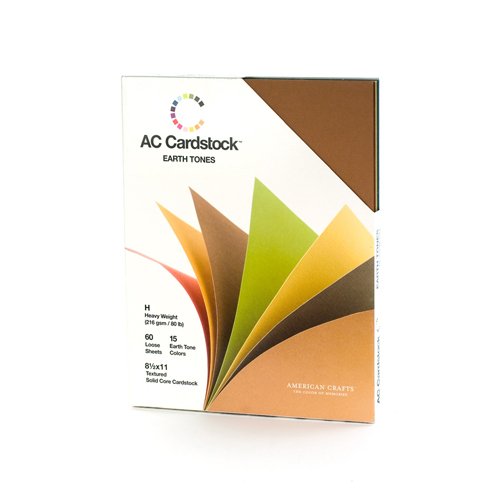
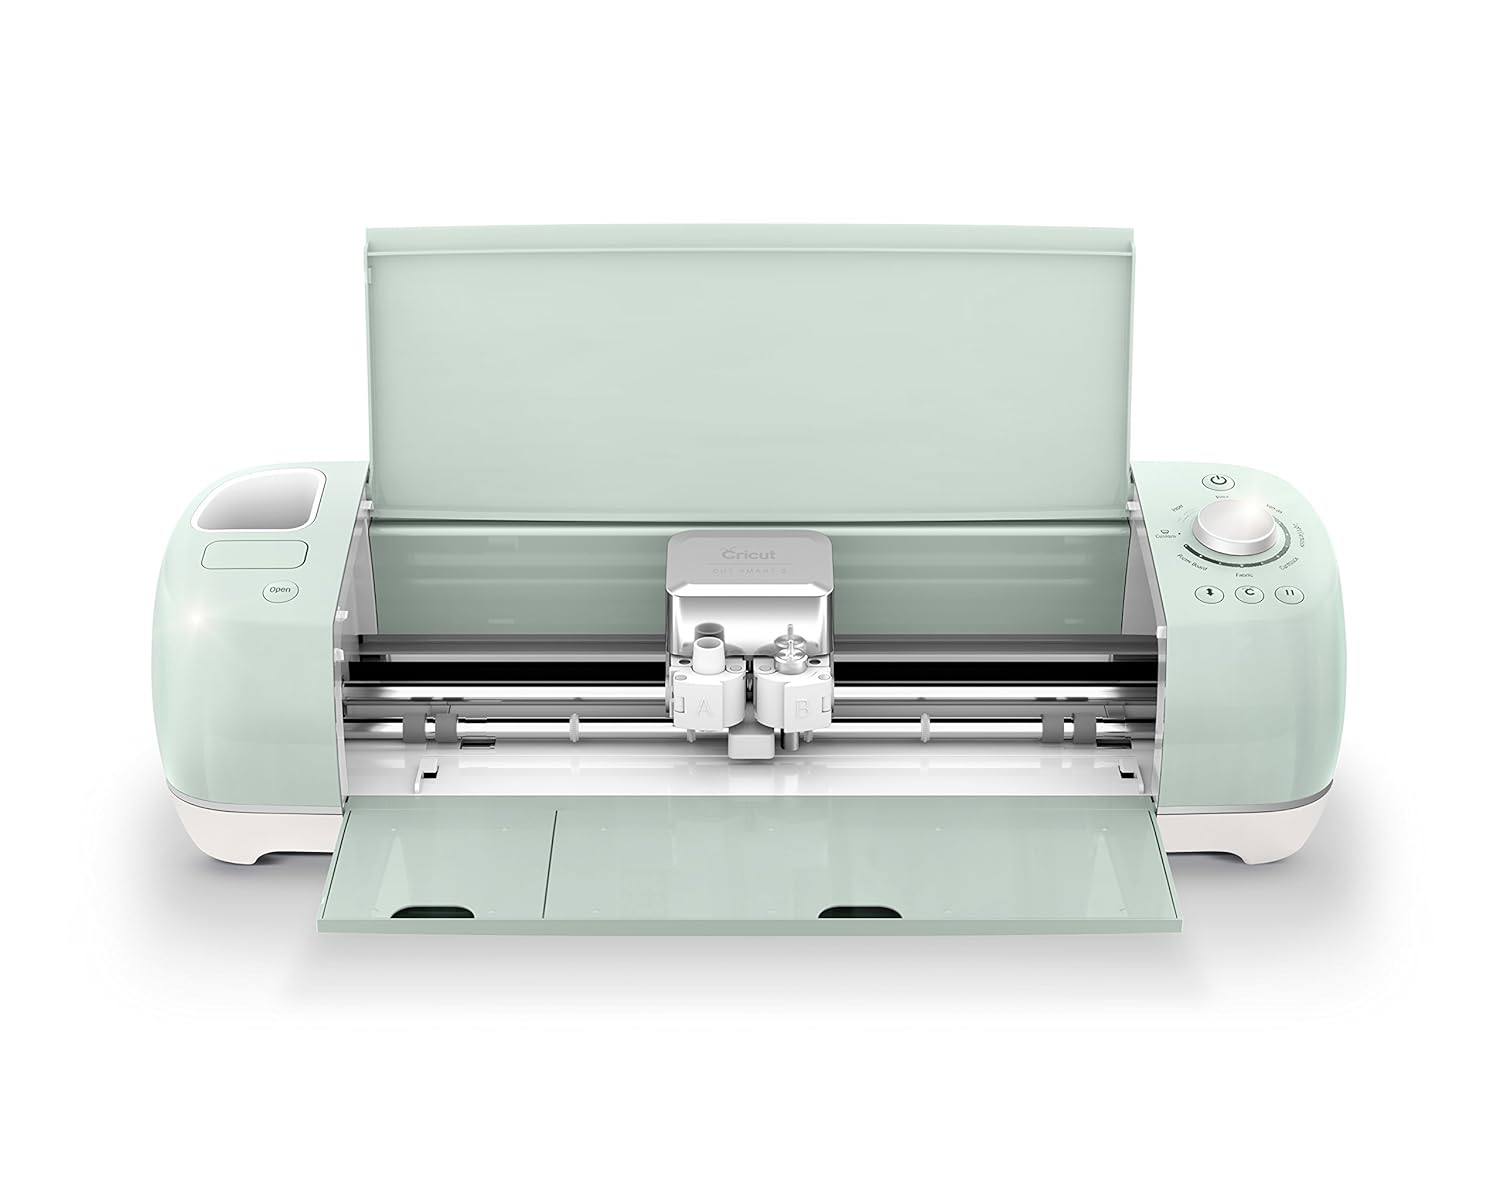
In Design Space, you must Un-group the whole SVG, and Attach the scoring and writing lines to the shape underneath, then change your machine functions according to the colors of the paths: Blue lines represent scoring lines and Yellow paths with dark brown outlines represent writing lines. I used mostly the earth tones paper pack of the American Crafts Cardstock. It is not a very good cardstock for detailed intricate images, but it worked great for this project and you avoid the hassle of having to choose matching colors.
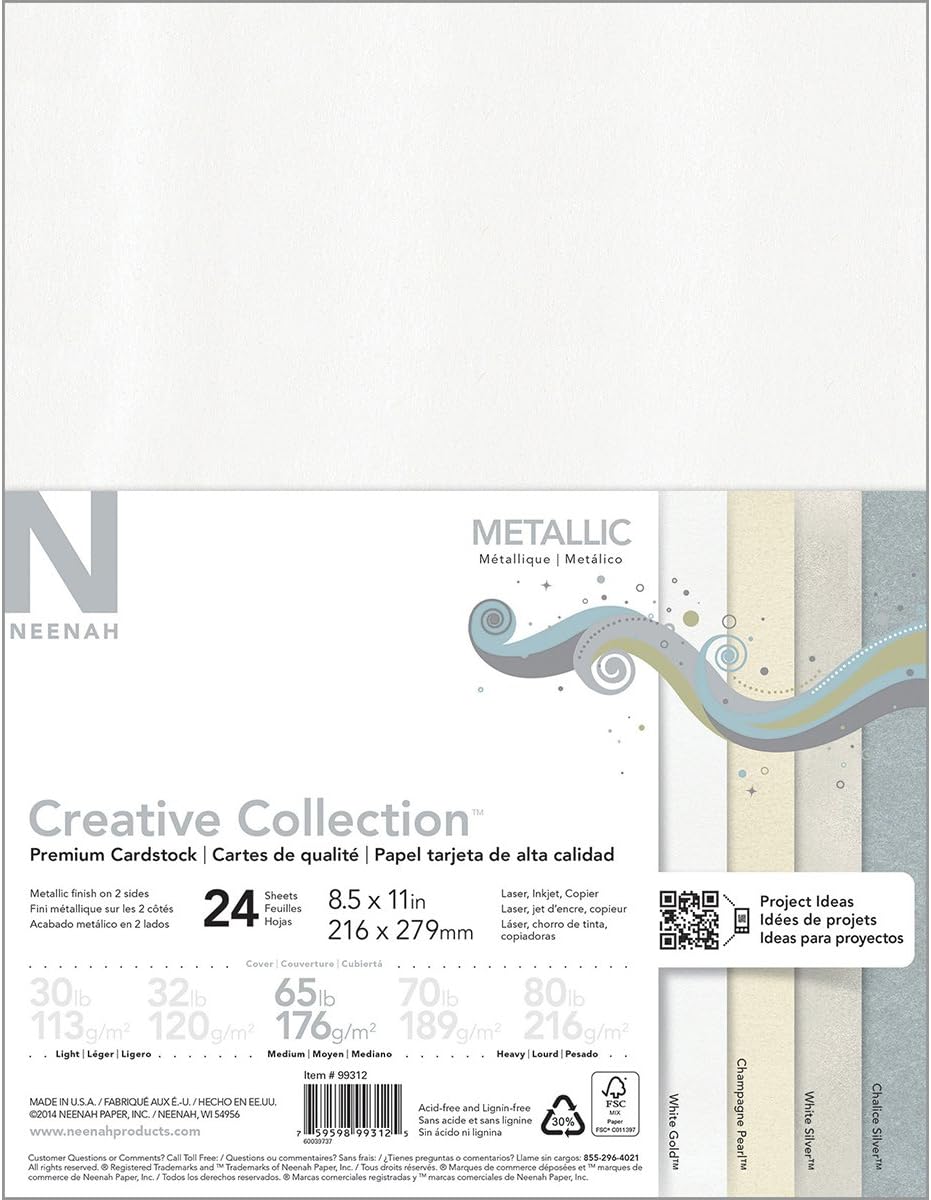
The reinforcing panels cardstock (white paths) were made with Neenah Solar White 110 lb cardstock, a sturdy paper that helps the card to lay flat when opening it. Finally, the spoon was cut from Neenah Metallics 65 lb cardstock, very shimmery and double sided also.
 |
| Attach writing and scoring lines to the corresponding paths. |
The assembling looks complex but it is actually very easy.
Start by inking the edges of the pieces shown below.
 |
Upper left: Cup sides, ink the bottom edge, the top edge will be covered with the yellow band
Upper right: Front panel
Lower left: Saucer
Lower center: Coffee Foam
Lower right: Inner panel |
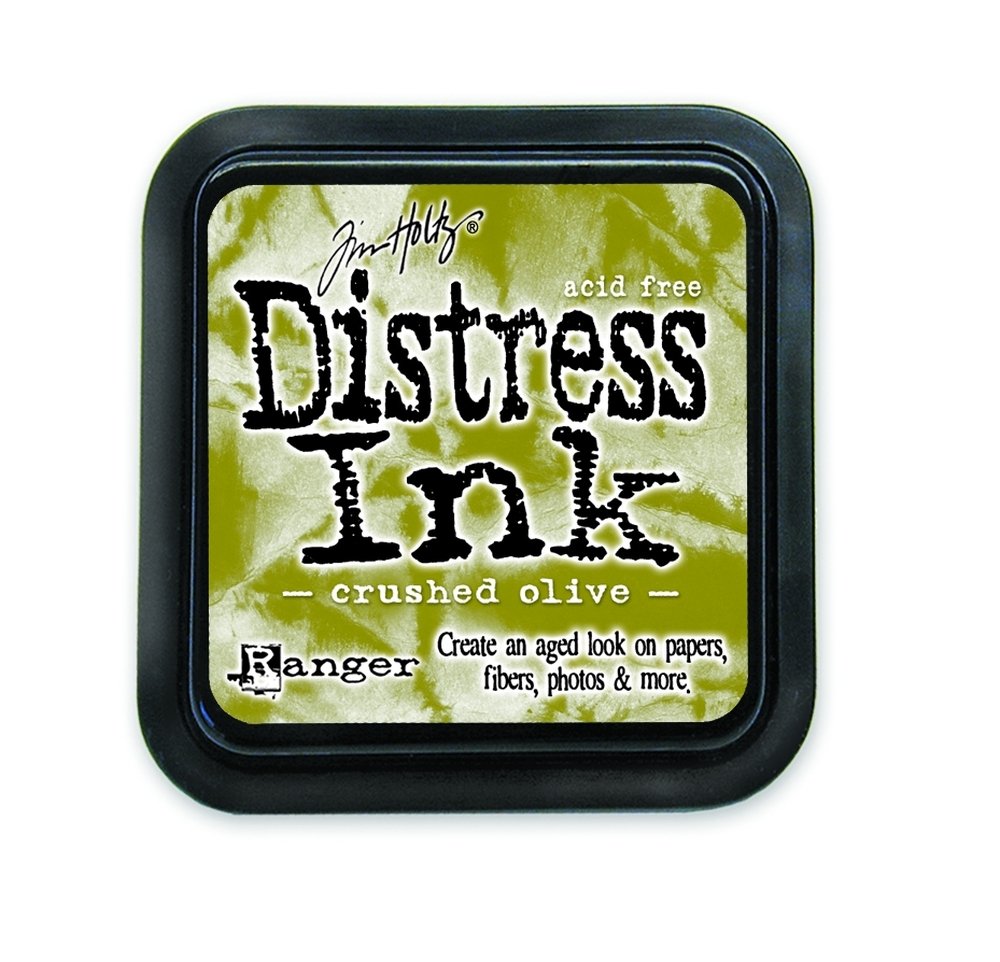
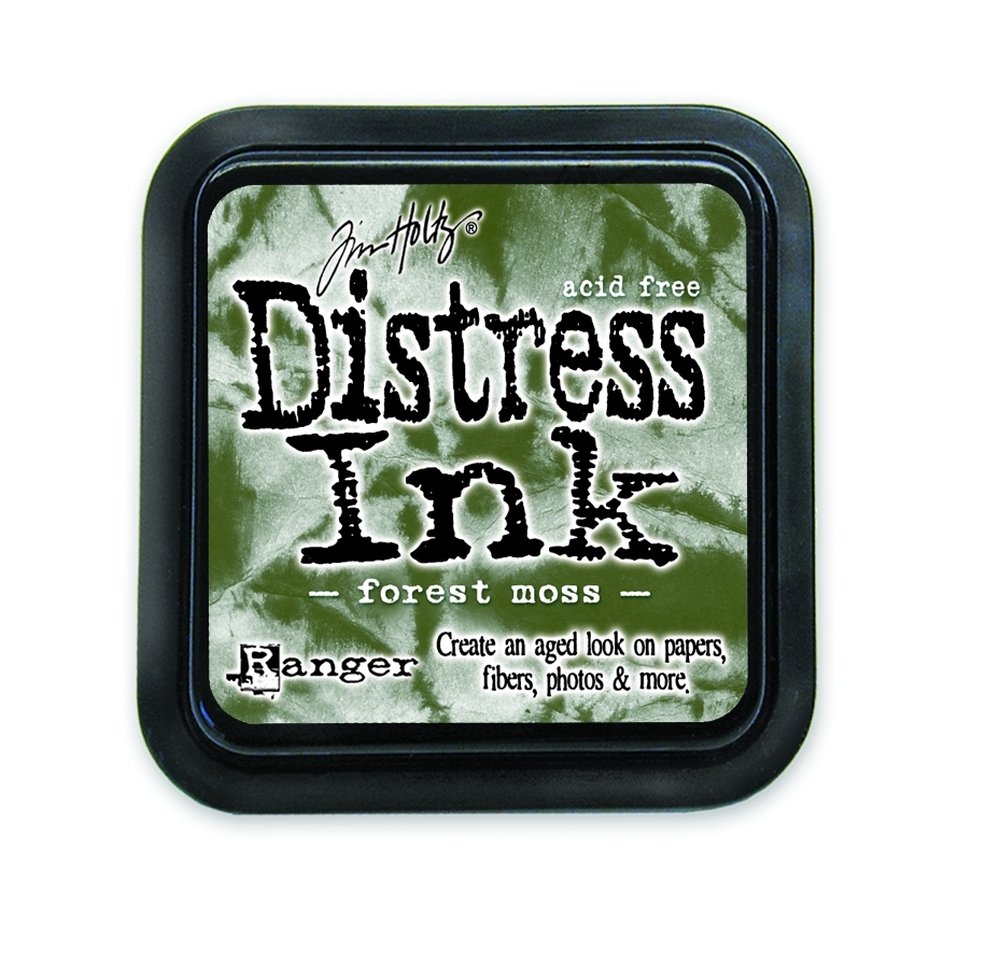
The cup and saucer were inked using Crushed Olive Distress ink on a dauber, for the coffee foam I used Tea Die. I embossed the front panel with the Wood Grain and Goosebumps Set from We R Memory Keepers Folder and then I inked it with Forest Moss Distress Ink on a Mini Ink Blending Tool. Finally I inked the inner panel with Vintage Photo Distress Ink, also on a Mini Ink Blending Tool.
Once you are done inking, fold the scoring lines and use a bone folder to make sharp creases.
Assemble the Cup side, gluing the tab to the other end.
 |
| Add glue to the tab |
 |
Press firmly for a few seconds.
This glued fold will be the back of the cup. |
Glue the Coffee Foam in place.
 |
| Insert the Foam tabs in the horizontal slots of the cup side |
 |
| Make sure the tabs are all the way into the slots |
 |
| Add glue to the upper part of the tab |
 |
| Fold the tab upwards and press firmly |
 |
| Check the correct gluing by pressing the creases on the cup side |
Attach the handle.
 |
| Add glue to the tabs |
 |
Slide the tabs of the handle on the vertical slots of the Cup side,
pointing to the front of the cup |
 |
| Make sure the creases meet the slot edges and press. |
Glue the cup rim.
 |
| Add glue to the back of the rim |
 |
| Match the notch with the cup handle |
 |
| Press with your fingers keeping the cup flat, this will ensure proper placing of the rim. |
 |
| Press the creases to ensure proper popping up. |
Prepare and adhere the popping reinforcement.
 |
| Fold the tabs and the center, following the score lines |
 |
| Add glue only to center back of the reinforcement piece |
 |
| Press together |
 |
| Open the upper flaps (the square ones) |
 |
| Add glue to the upper flaps |
 |
| And glue to the center of the drawn shapes underneath the Coffee Foam |
 |
| Flatten the whole thing and press firmly (make sure no glue flows outside the flaps) |
 |
| Press the cup to check for correct movement |
Glue the lower flaps of the pop up reinforcement to the Saucer.
 |
| Fold flaps outward |
 |
| Add glue to the flaps |
 |
| Glue in place following the drawn lines on the saucer |
 |
| Fold the saucer slightly to make sure your reinforcement piece matches the crease |
 |
| Fold all the way and press firmly |
Glue the Cup side to the saucer.
 |
Fold back the tabs of the saucer.
This will help gluing the saucer to the inner panel later |
 |
| Slide the tabs of the cup on the outmost slots of the saucer |
 |
| Make sure they are inserted all the way in |
 |
| Add glue to the outward facing part of the tab. |
 |
| Fold the tab and press firmly |
 |
| Repeat on the opposite side |
 |
| Tabs glued correctly |
 |
| Give the whole thing a good press |
Adhere the saucer to the inner card base.
 |
| Use the saucer slots you folded previously to attach the saucer to the card base |
 |
| slide them all the way in. |
 |
| Add glue to the tab |
 |
| And press firmly towards the edge of the panel |
 |
| Add a piece of tape to reinforce the glueing |
Assemble the Card Base.
 |
| Fold the Card Base following the three scoring lines provided |
 |
| Add glue to the base reinforcements and glue in place matching the outer edges |
Prepare the front embellishments.
 |
Assemble the cup following this order.
First, shadows of the lid, and shadow and highlight of the cup |
 |
Glue the shadows of the lid to the lid base.
Use a pair of tweezers for small parts |
 |
| Glue the lid to the cup |
 |
| Add the cup label on top and finally, the whole image to the cup offset path |
 |
| Add Foam tape to the back of the cup. |
 |
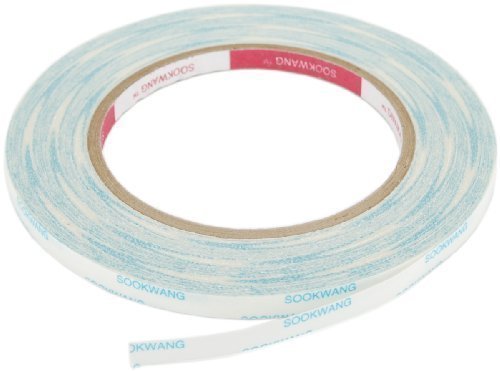
| Using a strong double sided tape, glue the front panel on top |
 |
| Place the cup and the sentiments in place |
Attach the inner panel to the card base.
 |
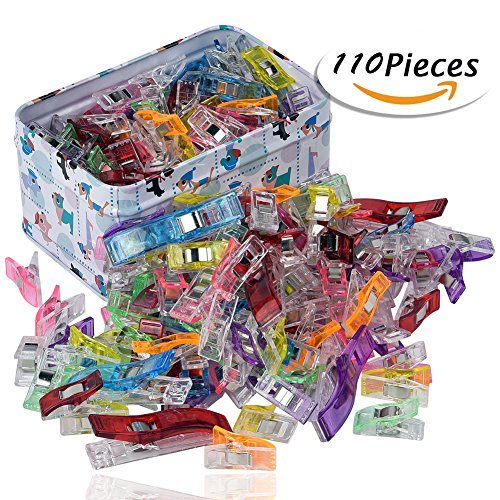
To keep the folded crease on the card base, I used some sewing clips.
These provide flat strong hold while manipulating the parts |
 |
| Clips help hold the card base crease |
 |
| Add glue to the right side of the panel |
 |
| Match the center of the card base and press |
 |
| Fold flat and press a bit more |
 |
| Put your gift card in place |
 |
Add glue to the left side of the inner panel
avoiding the gift card |
 |
| And with your card base halfway open, press the corners |
Glue the spoon in place.
 |
| Use a tape runner on the back of the spoon |
 |
| And also on the handle |
 |
| Glue in place |
Aaaaaaaaand you're done!
I hope you enjoy making this project as much as I did.
Have fun!!!
Supplies List
If links don´t seem to open, please right click and select "open link in a new tab", it should take you to a save file dialog. Let me know in the comments if links don´t work, thanks.


LOVE This :-) Thank You xxx
ReplyDeleteThank you so MUCH!!
ReplyDeleteThank you for this.
ReplyDeletegreat tutorial and card!!! you should have a you tube channel!!!
ReplyDeleteI sent you $ in support of this wonderful popup, but forgot to let you know that I LOVE it! Can't wait to see and make more like it! Janine.rudnick at gmail.com
ReplyDeleteamazing design and instructions
ReplyDeleteThis is exactly what I was looking for! Question though, the blue rectangle, is that only to represent an actual Gift Card? I don't see it being used in your tutorial! Great job! I saw the Japanese sight too and was trying to figure out how to do it on my Cricut, then I saw your photo! You save me some time!
ReplyDeleteYes, the blue rectangle is just a prop that represents the gift card. We used a Starbucks gift card to give as a gift with the card. Kagissipo site is amazing. They use a lot of print then cut though and you can buy their designs on Etsy if you are interested.
ReplyDeleteThanks for stopping by.
Велике дякую за покрокову інструкцію! Дуже допомогли!
ReplyDeleteЭто первая открытка с чашкой кофе, где работают все механизмы. Большое спасибо!
ReplyDeleteThank you so much!
ReplyDelete