

Disclaimer: All images that feature original OAK Tree Stamps content are watermarked due to some copycatting experienced in the past. I apologize if you cannot see images well enough.

There are three panels on this card:

Center panel: a white panel with two flaps on the sides to hold the left and right panel.
Right panel or stage: holds the paper pieced stage floor and back curtain.
 Frame:

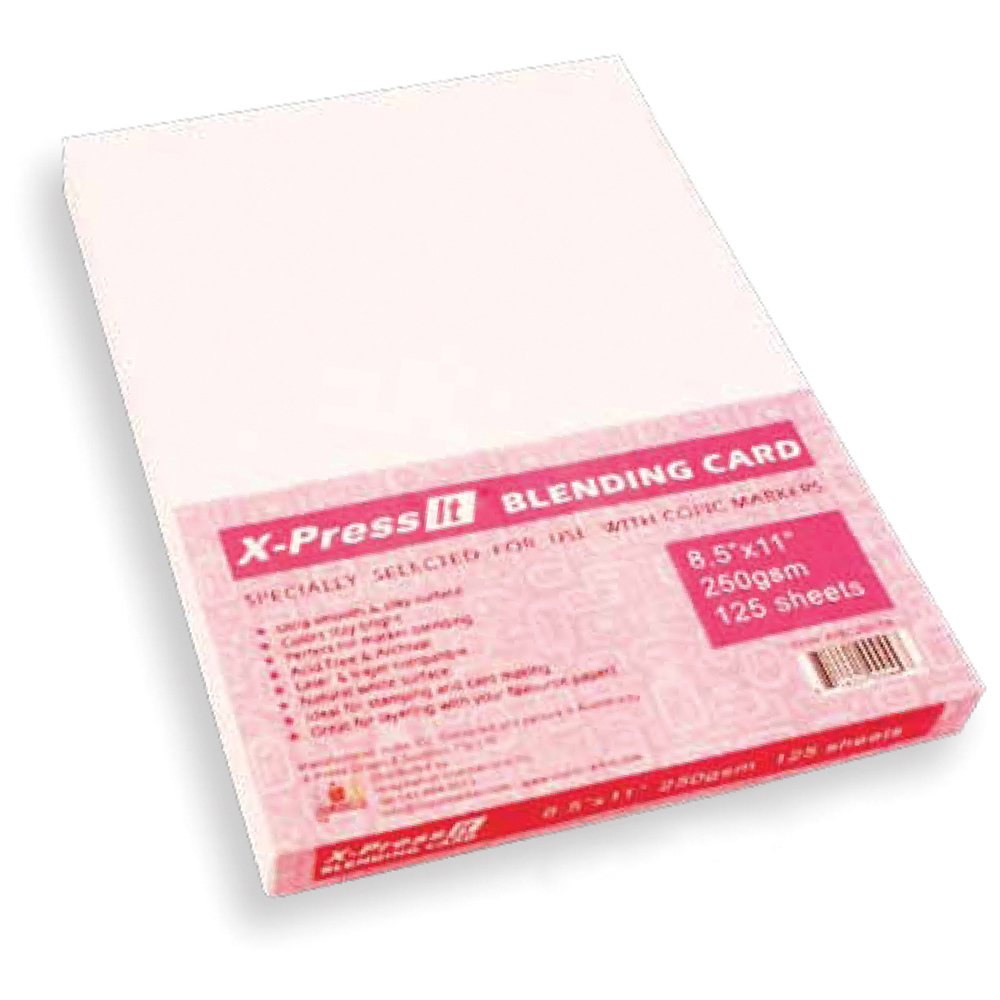
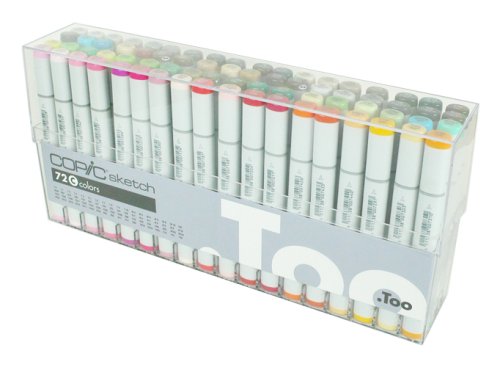
The four ballerinas were stamped on Copic's Xpress Blending Card using Tsukineko's Memento Black Tuxedo Die Ink. I love the fact that this cardstock holds color and allows blending beautifully.

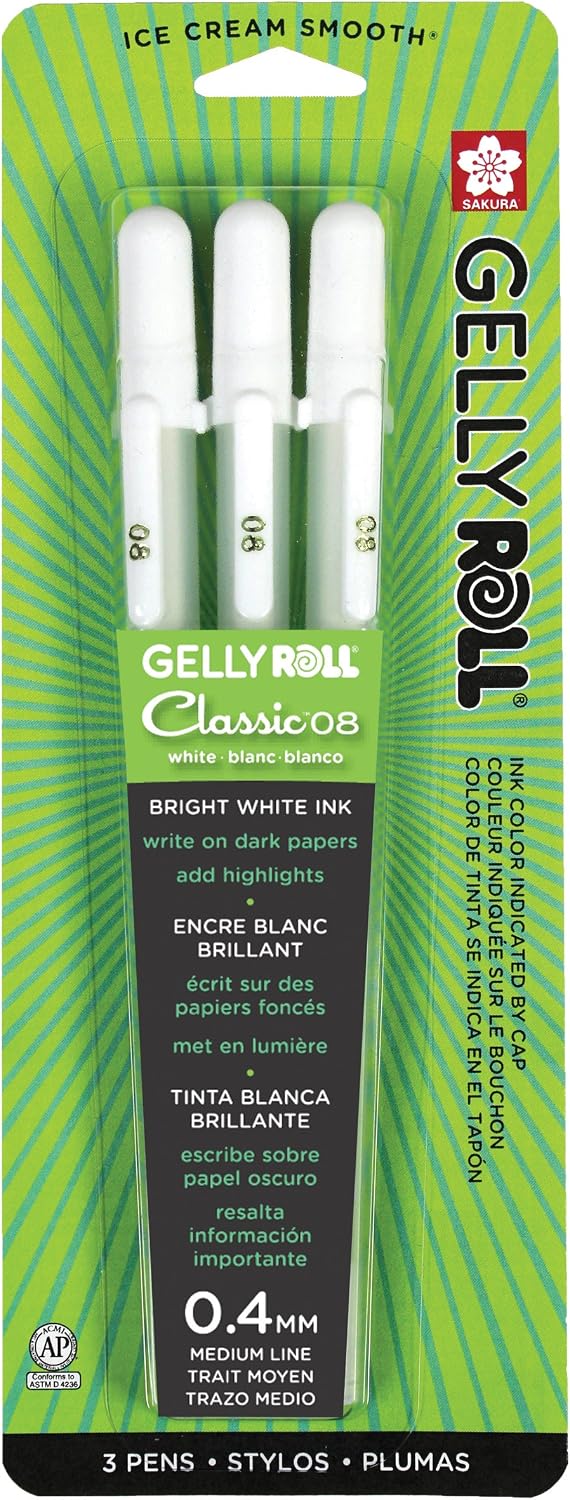
I colored the images using 3 tones for each color, applying my lighter color first and blending with the darker with a medium tone. I drew some highlights with a Sakura white gel pen and applied two coats of Clear Wink of Stella to the dresses to make them shiny


I colored the images using 3 tones for each color, applying my lighter color first and blending with the darker with a medium tone. I drew some highlights with a Sakura white gel pen and applied two coats of Clear Wink of Stella to the dresses to make them shiny


The back of the girls are part of the print then Cut expansion set released this week. They were printed on a Brother Laser Printer and cut on my Cricut. After that, they were colored using the same technique described above.
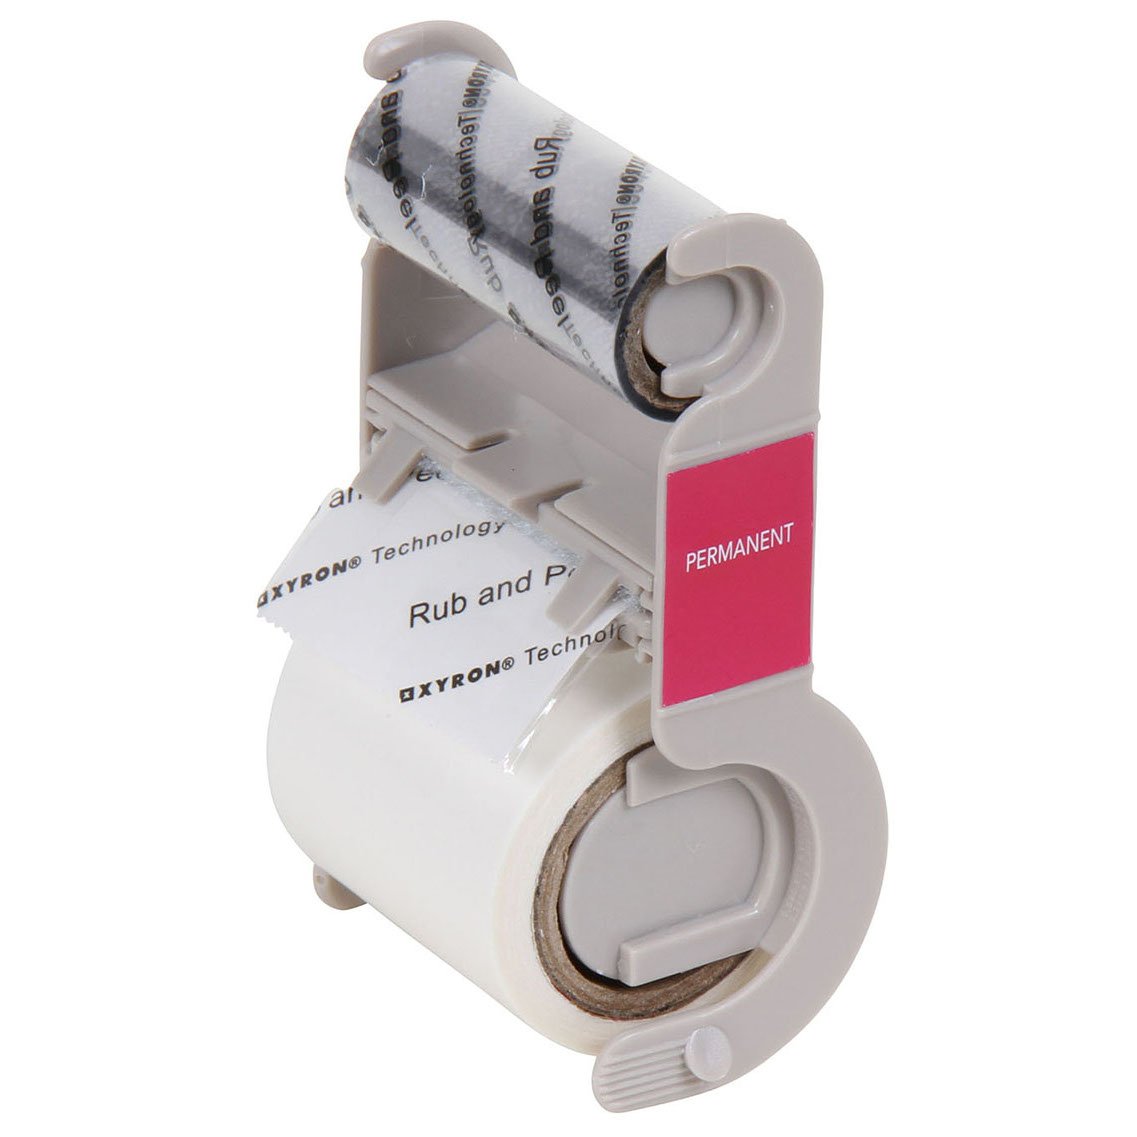
 To join the fronts to the back I used a Xyron X Sticker maker. It is the first time I use this device and let me tell you, I'll be using it a lot more. I sandwiched a red thread between both sides to hold the ballerinas and allow them to spin.


They were inked using Aged Mahogany Distress ink using a mini blending tool and the highlights were made using a Cretacolor White Chalk Pencil blended with the tip of my finger to make it look softer and in a certain way, more real. I glued them using an Aleene's Tacky Glue Pen and did the same for the top half circle embellishments. I then glued them on top of the front frame.

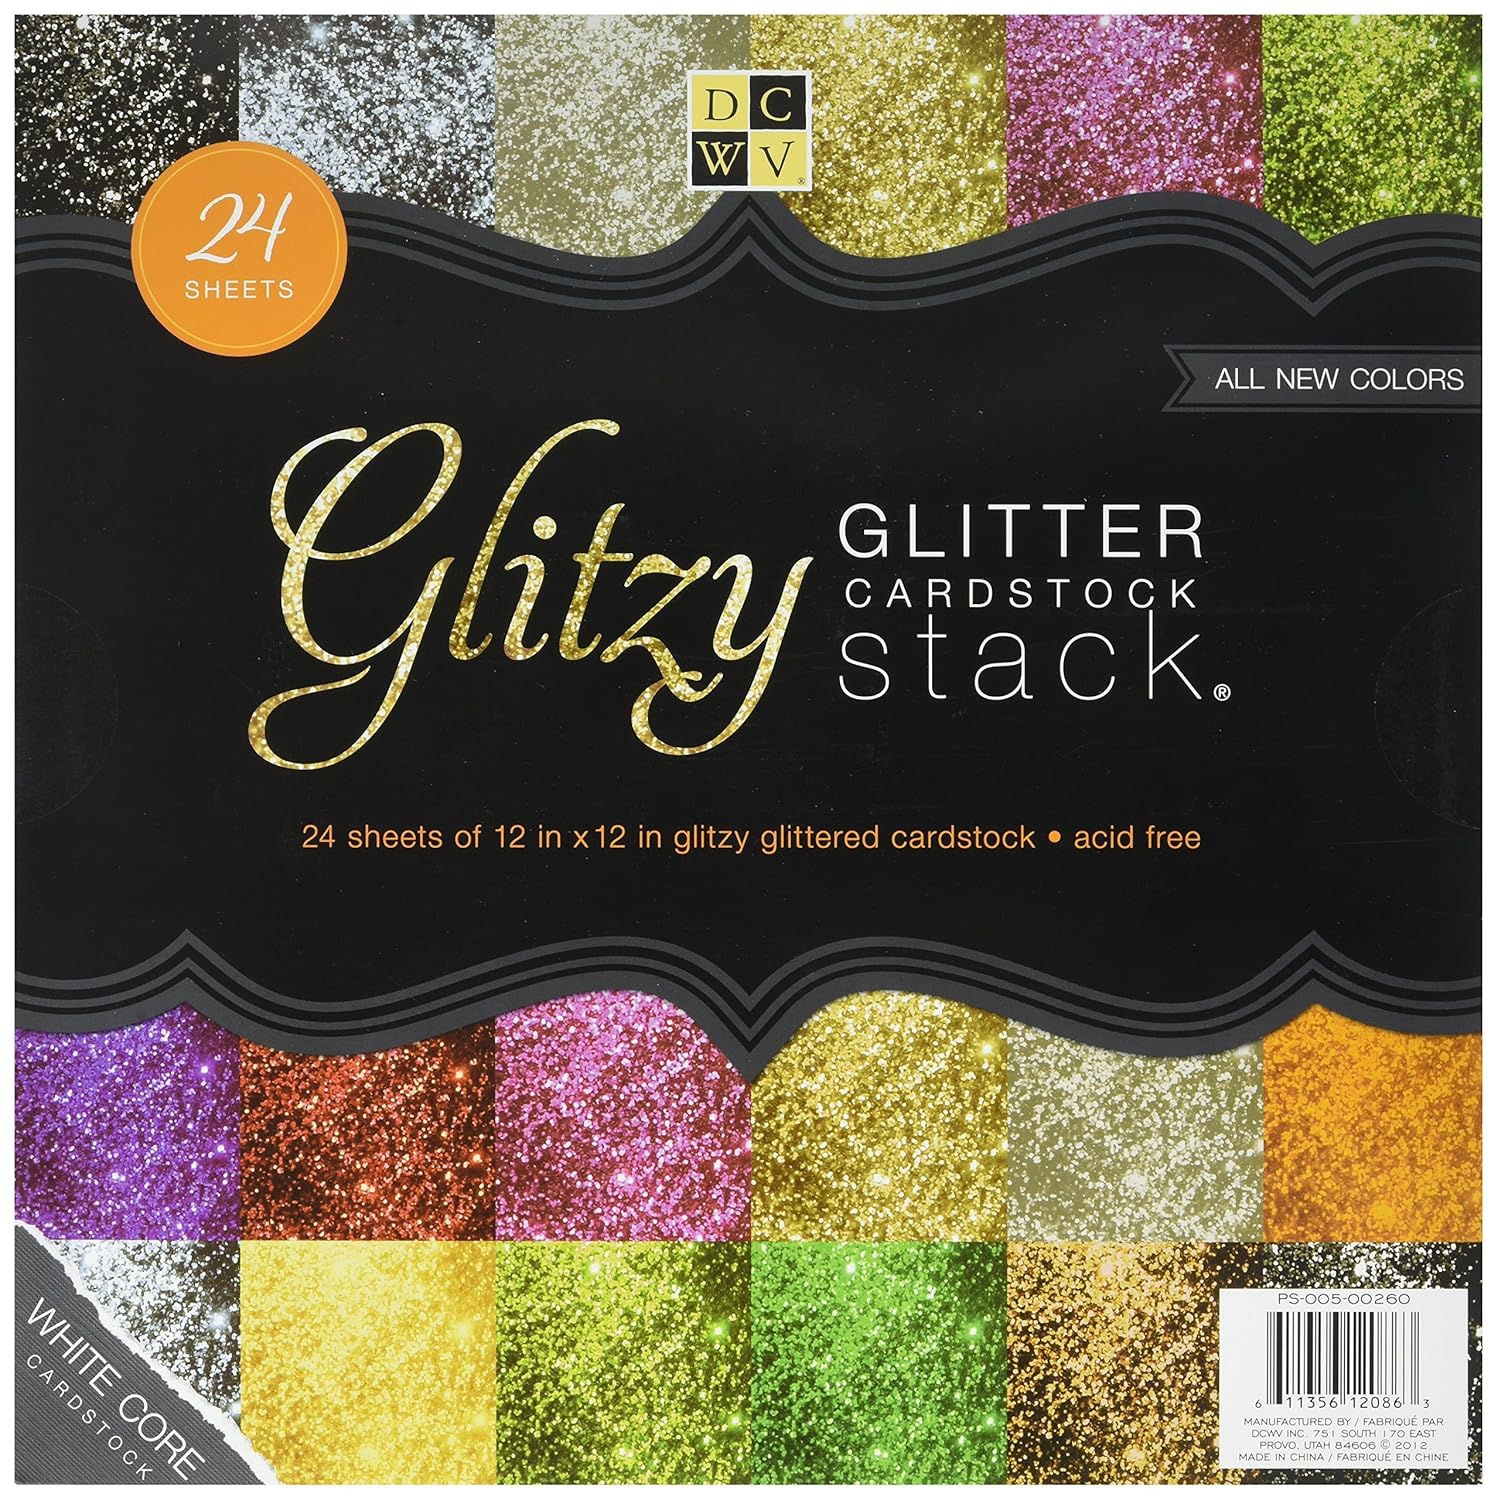
The sentiment is two layers of white cardstock and a layer of sliver glitter DCWV cardstock on top. I glued them using a wet glue since it hardens the thin die cut when dried. Finally, I popped it using very thin pieces of foam tape. I will never get tired of saying it, this cardstock is awesome!

The right panel or Stage. I'm very proud of this one.
The curtains are made from the same Neenah Creative Red cardstock was inked using a piece of scrap cardstock as a guide to simulate the folds of the back curtain. This time I used a Dauber that for smaller details. I also used the white chalk pencil to add highlights.

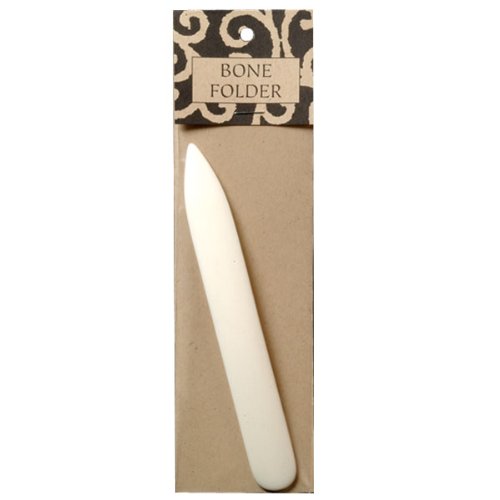
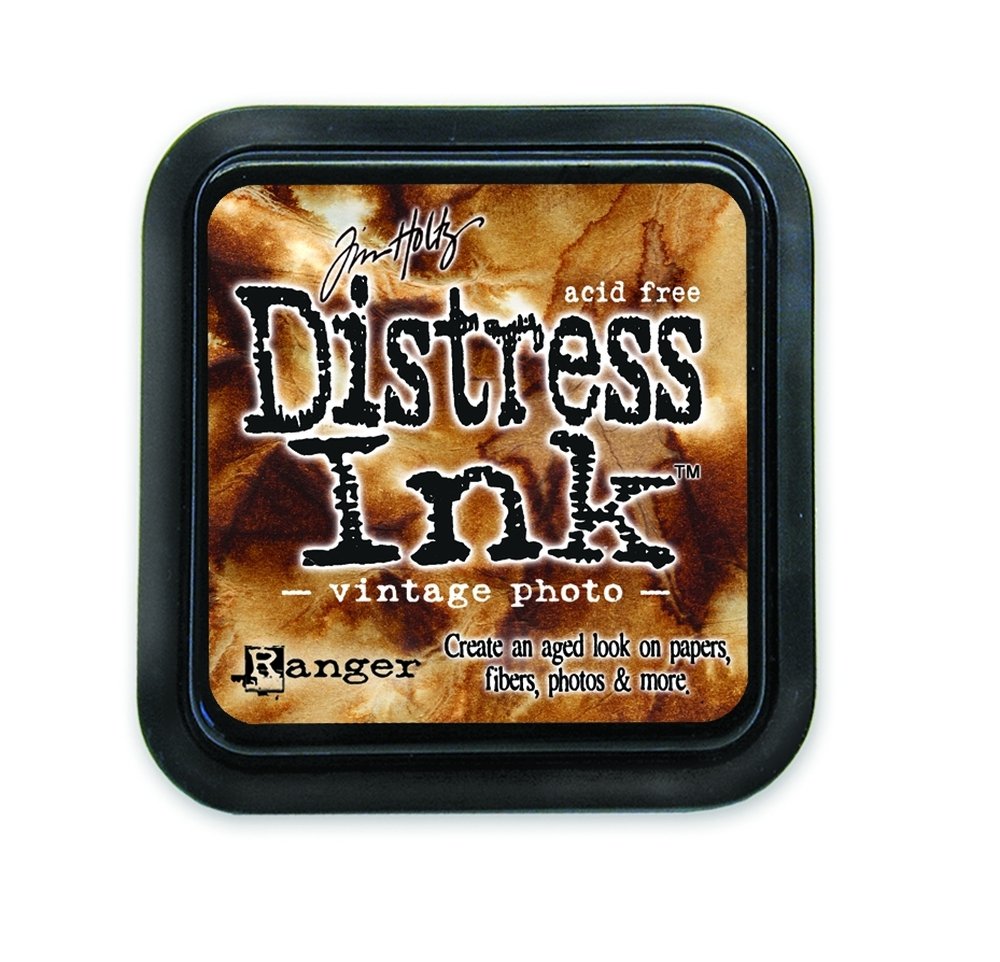
 The floor is a light brown 65 lb cardstock. I scored vertical lines in a fan patter fashion using my scoring board and then I inked it using Vintage Photo Distress ink. I then drew the texture using the tip of my bone folder to create thin woodlike lines that are seen when light hits the surface.
 Both peices were glued to the right panel with my ATG gun.
I wanted to keep the inner sentiment simple and encouraging.
Since The Center Panel is larger than what Cricut allows for Print Then Cut, I include this panel as a PDF file so you can print it and cut it using a paper trimmer.


I wanted to keep the inner sentiment simple and encouraging.
Since The Center Panel is larger than what Cricut allows for Print Then Cut, I include this panel as a PDF file so you can print it and cut it using a paper trimmer.

To finish the card, use score tape to join the left and right panels to the center one.
Before sending this card, make sure to twist the ballerinas and close the card, that way when your recipient get it, all the little girls will twirl frantically.

Enjoy.
Instructions
- Import SVG files in DS
- Cut
- Print Center panel from PDF file and cut manually following the outside line
- Assemble
- Enjoy!
Supplies List
 |  |  |  |  |
 |  |  |  |  |
 |  |  |  |  |
 |  |  |  |  |
 |  |  |  |  |
 |  |  |  |  |
 |
If links don´t seem to open, please right click and select "open link in a new tab", it should take you to a save file dialog. Let me know in the comments if links don´t work, thanks.
No comments:
Post a Comment