


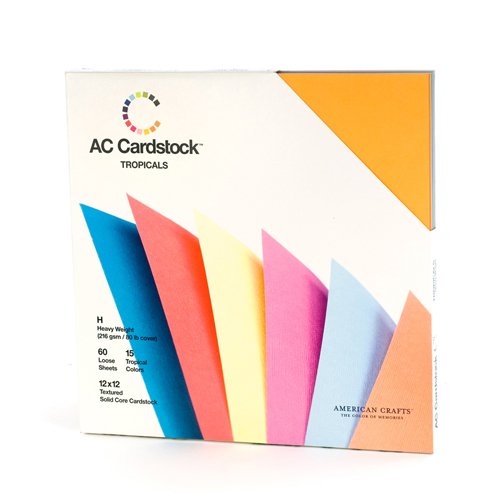
I find it better to use a 12" x 12" paper to cut the base card in one step, but you can also use an 8,5" x 11" sheet of cardstock but will have to cut it separately.
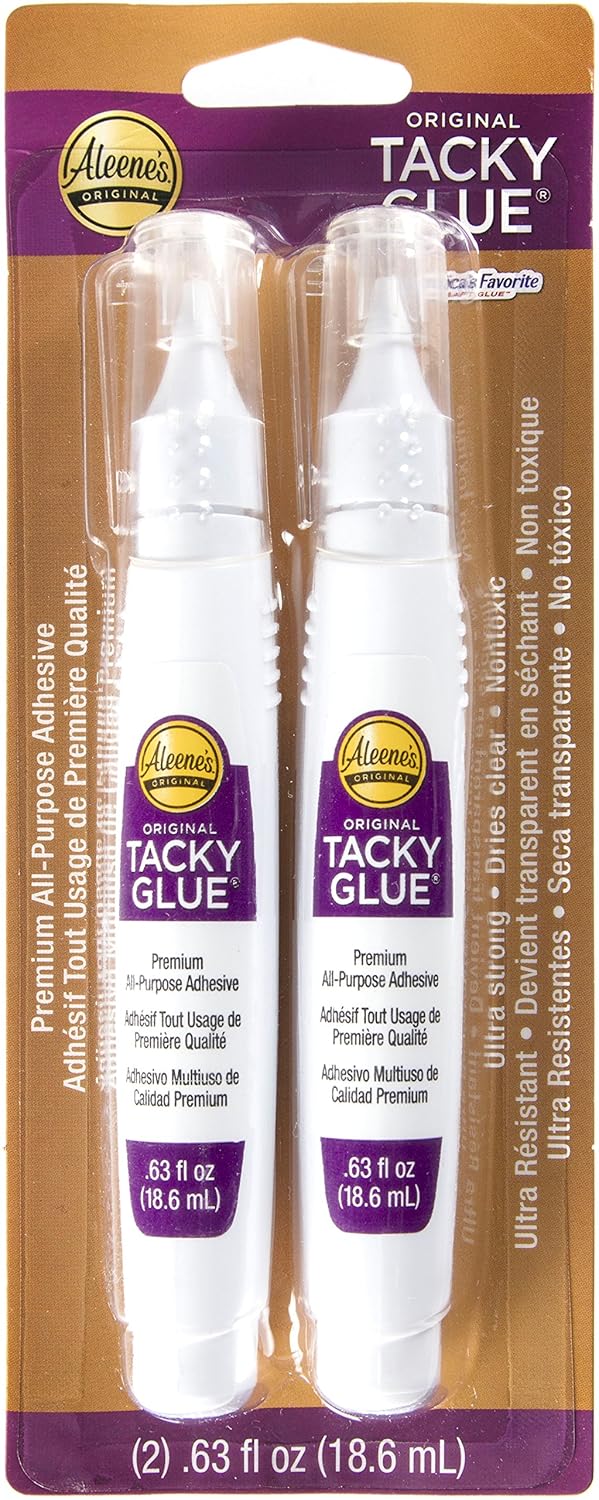
There's no need to use heavy cardstock, your regular 65 lb. paper will do. Don't be afraid if it's too flimsy at first, it stiffens after you glue the frame embellishments., just make sure to use a liquid adhesive like Aleene's Tacky Glue, it dries super fast and hardens as it dries.
I made sure to add a lot of dimension to the card. I did not want it to be just a folded card, so I popped the characters with foam tape and double layered the backing of the swinging parts with two colors of cardstock.


I like the contrast of the purple frame against the orange ones on the other side of the card.
The swinging panels are an amber color cardstock inked with Distress Inks (Frayed Burlap, Spiced Marmalade, and Wild Honey) to give them a little depth.

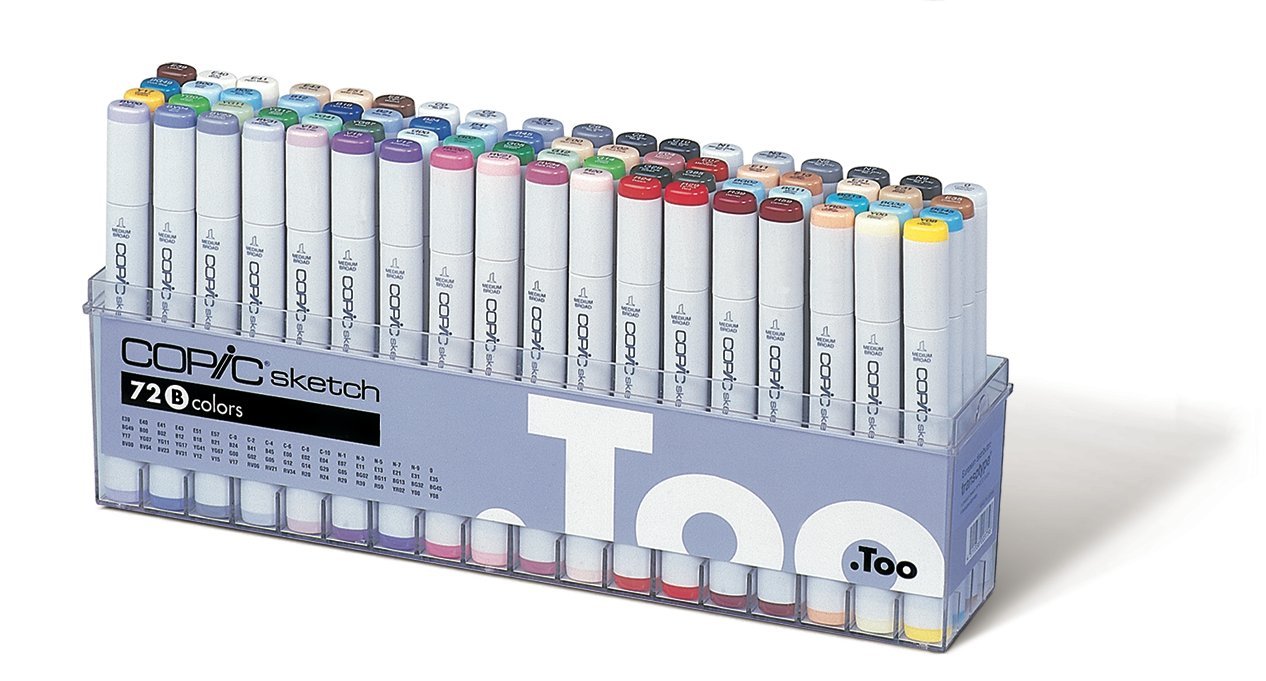
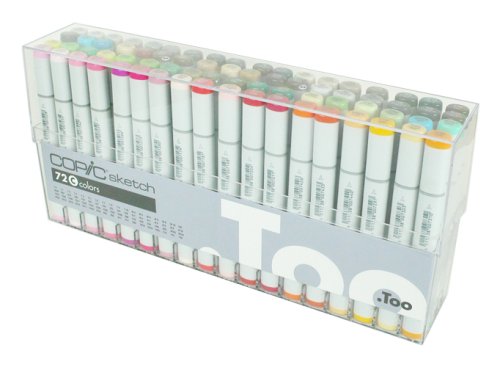
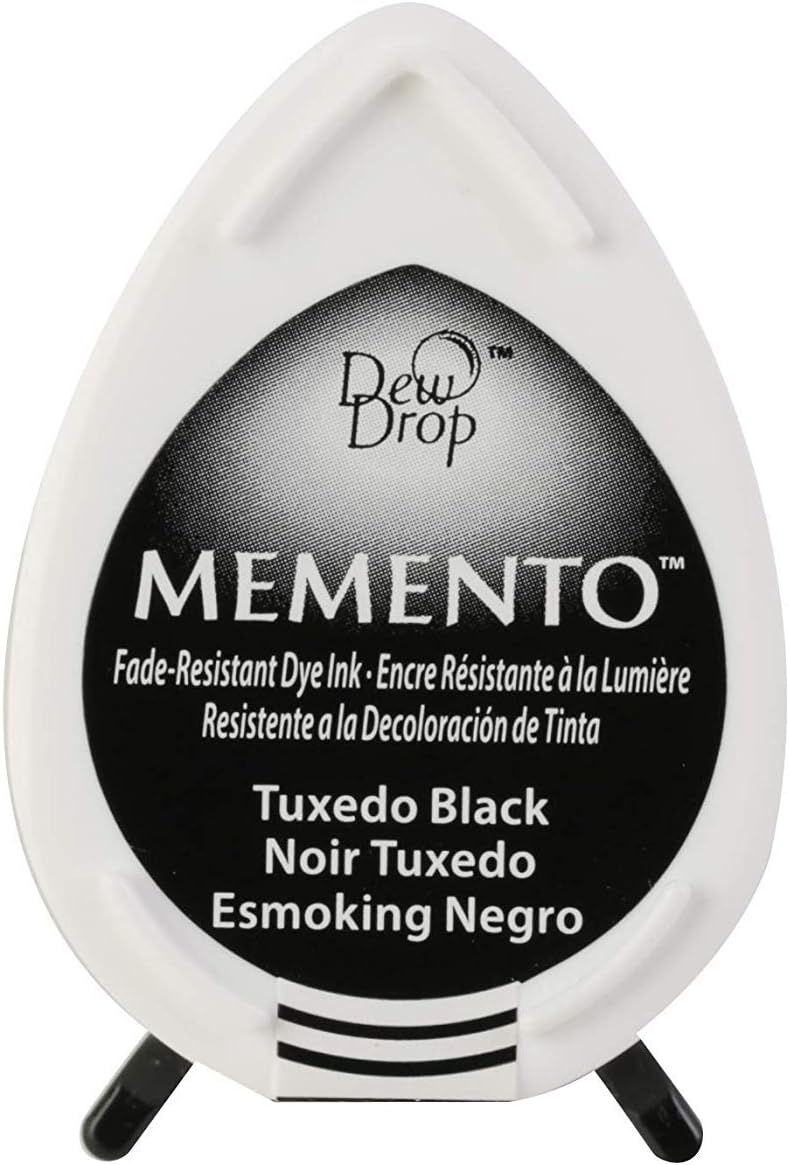
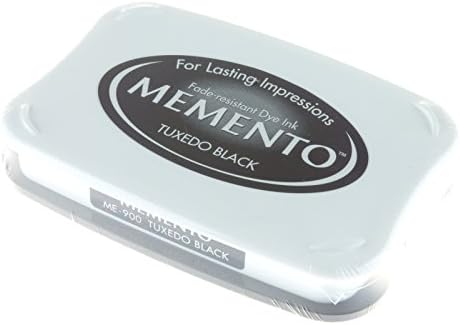
The coloring was done using Copic markers on the stamped images Remember to use a dye ink like Tsukineko's Memento Black Tuxedo so it doesn't smudge when coloring.
There's no need to fuzzy cut around the images, the SVG file provided here has the offset path for both of them. The cardstock used for coloring is Copic Express Blending Card, great for achieving smooth color transitions with alcohol markers.
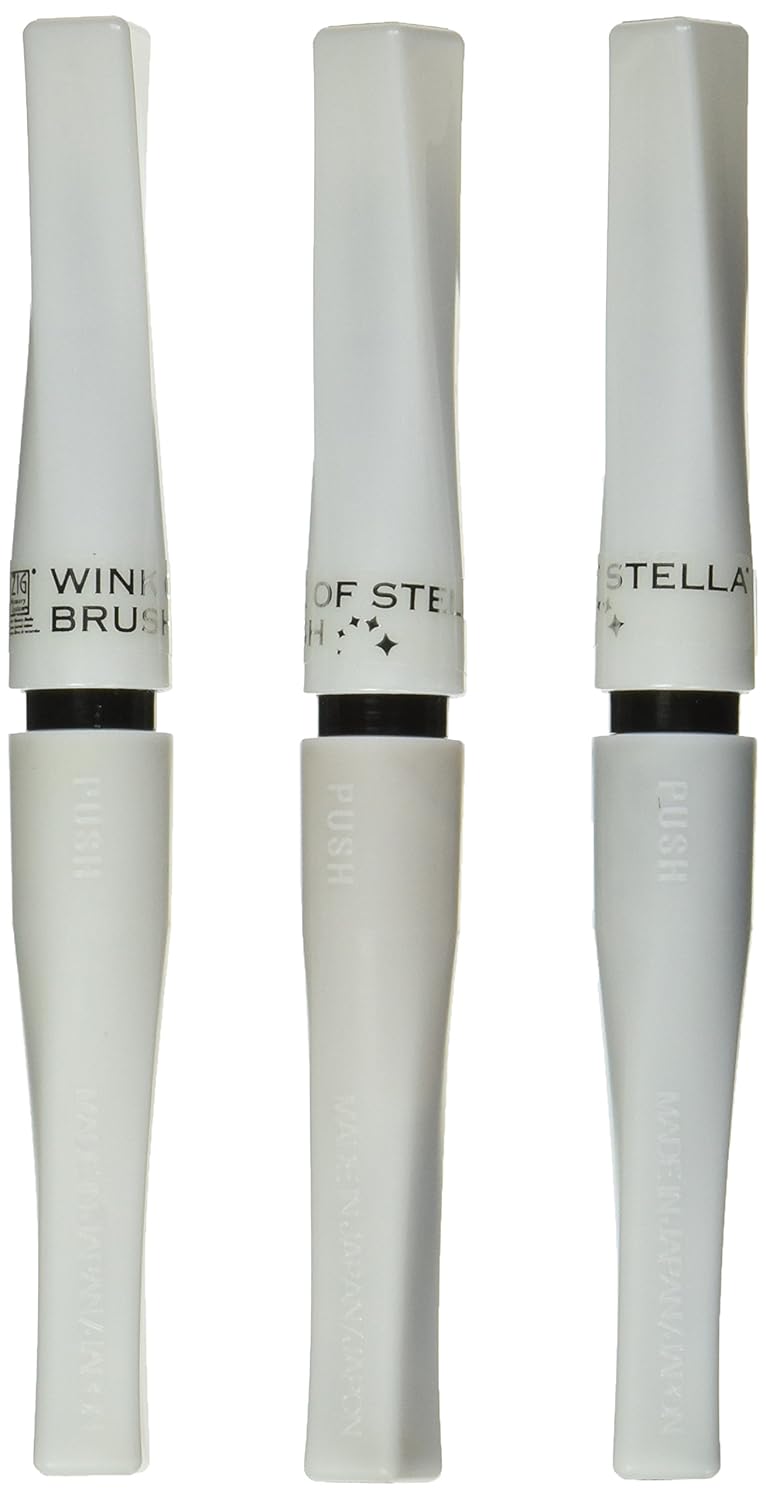
The images on this set are 3" tall and have simple lines very easy to color. For the little witch, after coloring her I used a litlle Wink of Stella Clear Glitter Brush to add a little shimmer (I'm also obsessed with this brush). And added highlights with s Signo Uniball white gel pen.

I got a 3 color set of that Wink of Stella Glitter brushes and used the Gold on the words cutout in the center panel. It is something you have to try, Gold Glitter in dark Cardstock works wonders.

For the little mummy I used warm grays for the bandages and gave him or her, a darker color skin, red hair and piercing green ayes to make his face pop. The highlights were done with COPIC's Opaque White ink on a really fine brush. If you want fine and really opaque lines, this is the product for you, don't get me wron, I love my Signo Uniball and Pilot White gel pens, it is just that I loved the feel off brushed highlights, it is a lot more organic I guess.

You can also reverse the folds and display the card differently. A last thing, the orange frames were a very light orange color, so I made them brighter using Ripe Persimmon and Scattered Straw Distress Ink.

This card fits perfectly in an A2 envelope, so have your postage stamps ready to mail the card.


Instructions
- Import in DS
- Resize to 13.39 inches wide
- Cut
- Assemble
- Stamp!
- Enjoy
Supplies List
 |  |  |  |  |
 |  |  |  |  |
 |  |  |  |  |
 |  |  |
If links don´t seem to open, please right click and select "open link in a new tab", it should take you to a save file dialog. Let me know in the comments if links don´t work, thanks.
No comments:
Post a Comment