
This time I wanted to make a card for anyone out there in need of some inspiring words, whether it's a graduate or someone going through some difficulties.
I used the Print Then Cut ready images that come with the Hello Spring! set from Oak Tree Stamps.

The front of the card was done with the writing feature of the Cricut Explore using a Signo Uniball Silver Gel Pen on the Chomas Creations Pen Holder. That is how you can achieve thin continuous lines everytime.


The inside of the card, has four layers: the back layer (light blue), Cloudy Mountain layer, Boy layer, Grass and flowers layer.

For the paper piecing inside the card I used 65 lbs cardstock. The mountains were inked with Distress Inks on a blending tool.

The sentiment was written using a Sakura white Gel Pen also on the Chomas Pen Holder. These pens always deliver an even line and the coverage is awesome every time.

I'll give you specific instructions for the printed images.These where printed on Copic Express Blending Card with a Canon Pixma iP7200 ink jet color printer using the Print then Print then Cut technique to get the best resolution possible. I love how blending card allows perfect ink coverage from COPIC markers as well as from inkjet printers. The offset paths you see are included in the SVG file and you must import the colored images that come in the Hello Spring! Digital Set into Desing Space and resize them using these values:
Boy: 2.3 inches wide
Blue Flower: 0.90 inches wide
Red Flower: 0.93 inches wide
Center the images in the offset paths, select both and hit flatten. that will merge the images and will allow you to print and cut the digital image with the white offset path. Make sure to deselect the bleed option to avoid black or gray halos around your paths.

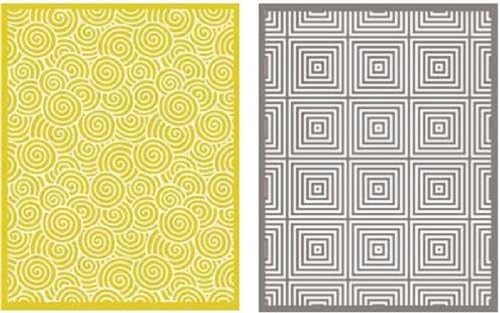
The clouds were embossed using the We Are Memories "Twirl #2" Folder and glued to the darker offset paths. A small piece of mounting tape was used to place them on the mountains and the back panel.

- Import in DS
- Resize Front Panel to 5.32 inches wide
- Resize Inner Panels to 5.514 inches wide
- Ungroup
- Change function for the writing layers (starry front and inner sentiment)
- Change function for the scoring layers (there's one layer of scoring lines for the light blue pop up panel and one for the grass lower panel where the sentiment is written).
- Attach scoring lines to light blue planel
- Attach scoring line to grass panel
- Attach starry front to dark blue panel
- Attach sentiment to grass panel
- Attach images to offset paths
- Cut
- Assemble
- Enjoy!
Instructions are kind of complicated I know, so feel free to write me an email if you need extra help. omartoroa@gmail.,com
Supplies List
 |  |  |  |  |
 |  |  |  |  |
 |  |  |  |  |
 |  |  |  |  |
 |  |  |  |  |
 |
No comments:
Post a Comment