
It's been a while, and finally a video that I've been working on for months is uploaded on the YouTube Channel.
I share with you all my tips and tricks to get amazing intricate cuts every time with your Cricut Machine

I talk about 4 main aspects that you should take into account, these are:
1. Your machine, accessories and tools
2. The paper you use
3. The design of the actual SVG file
4. And how to refine the final piece.
I have used the same procedures in the past on a Cricut explore and they work just as fine as on my Maker now.

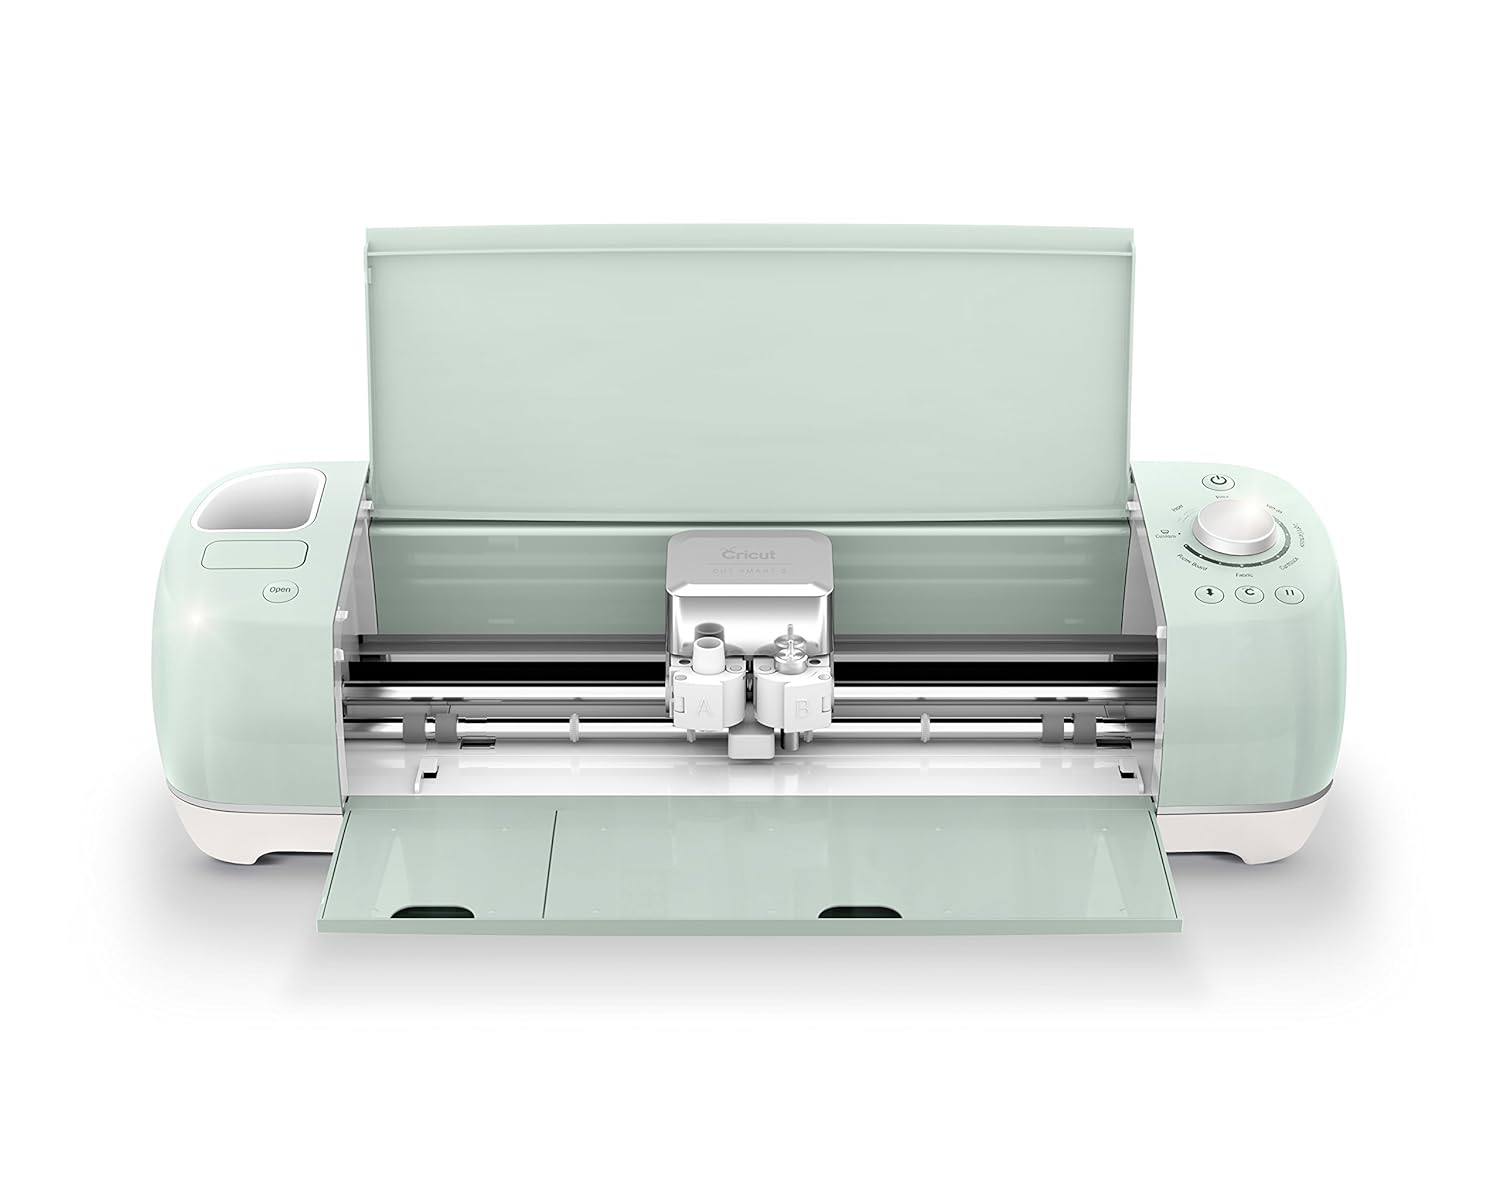
- Cutting Machine
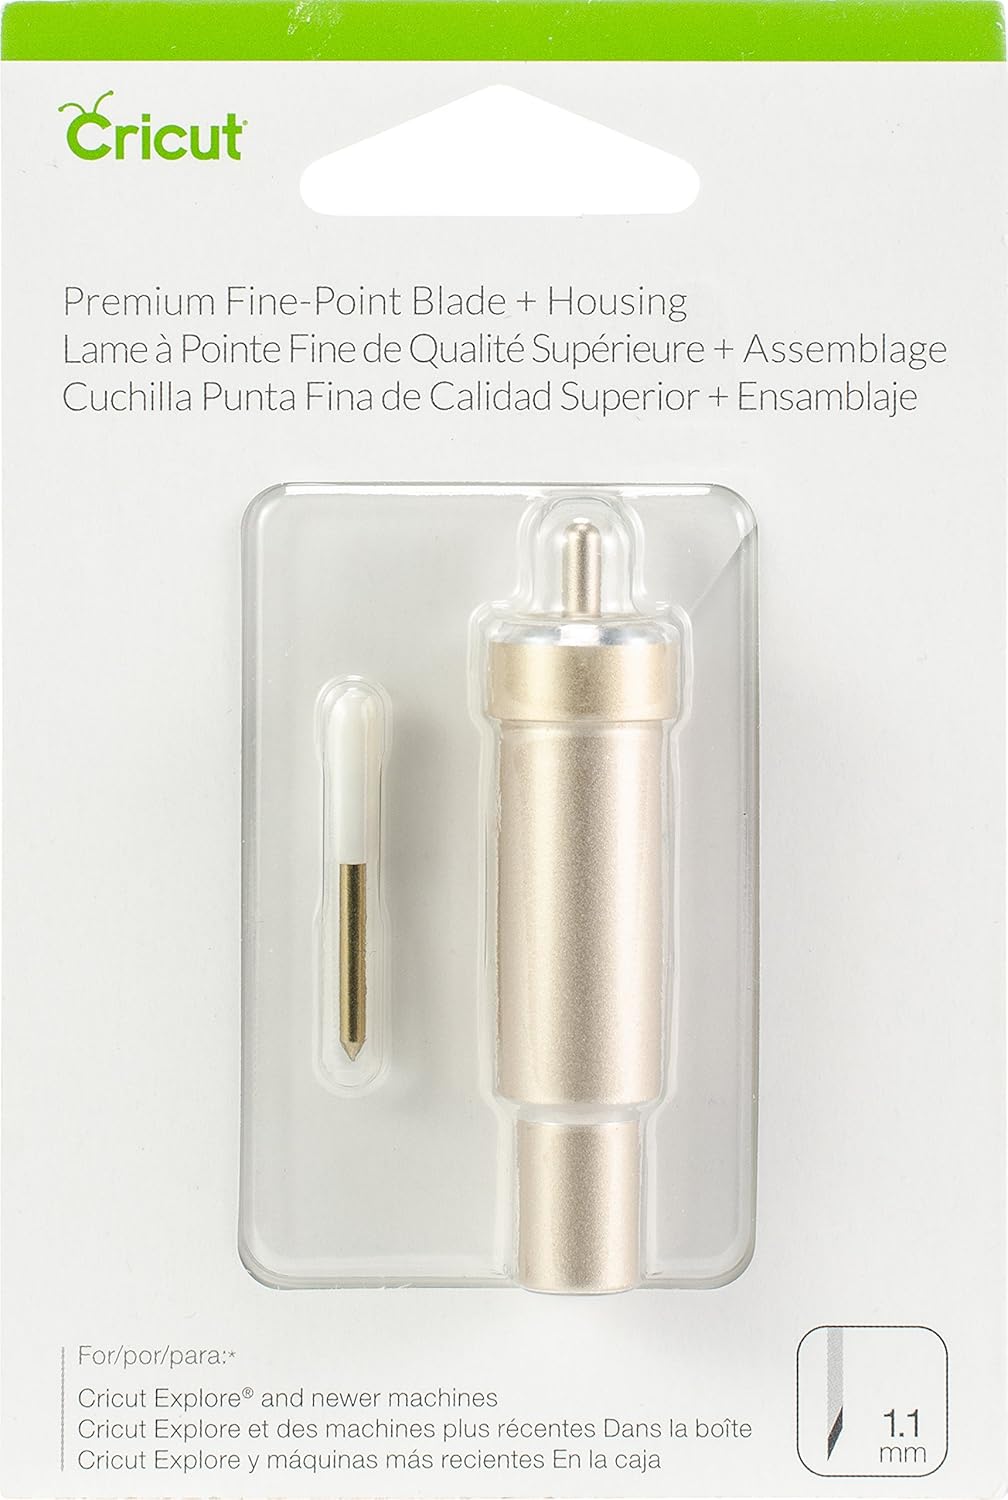
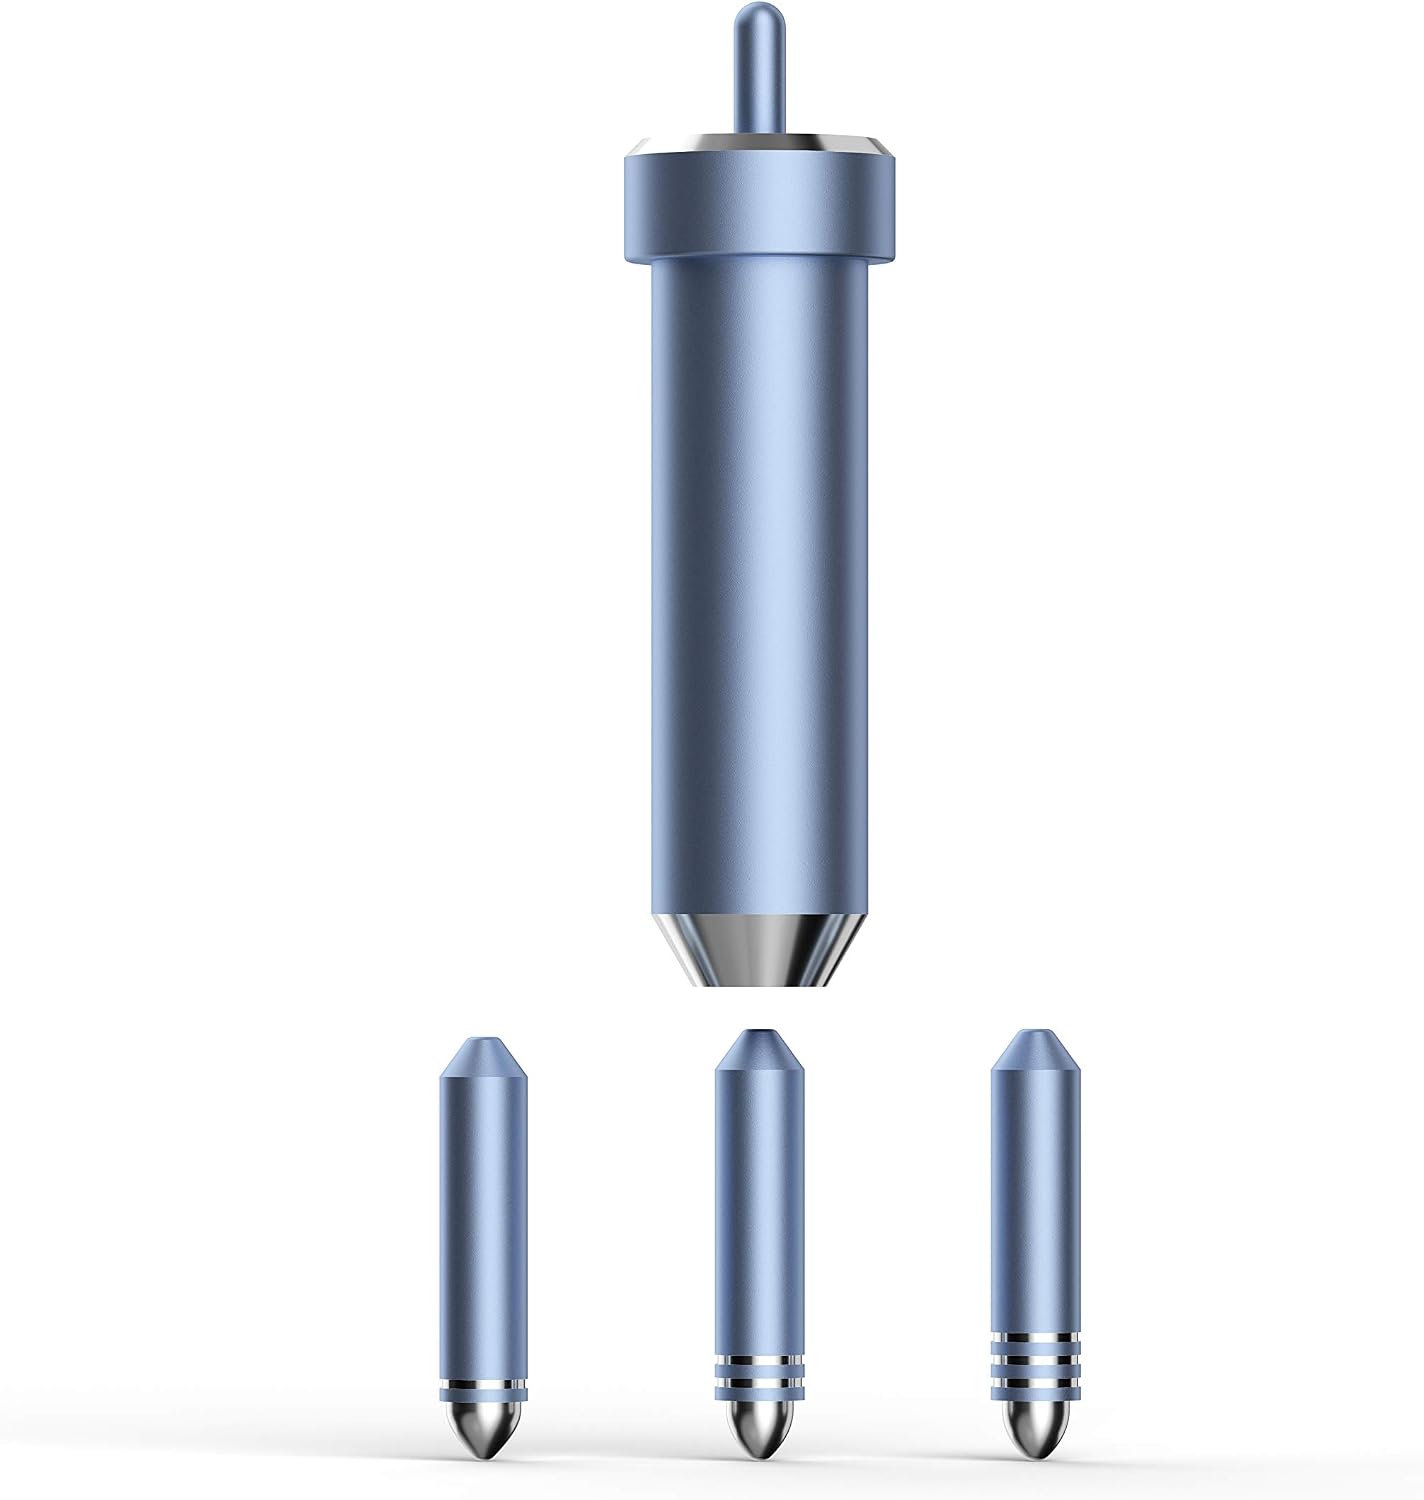
- Blade:

- Use a different blade for , paper, or fabric or fun foam, or vinyl, etcetera.
- I have not found any difference when cutting cardstock using the deep point blade or the fine point blade and for the most part I use the latter when cutting materials from 18 pound paper up to 110 pound cardstock.
- Clean your blade after, and sometimes during, an intricate cut

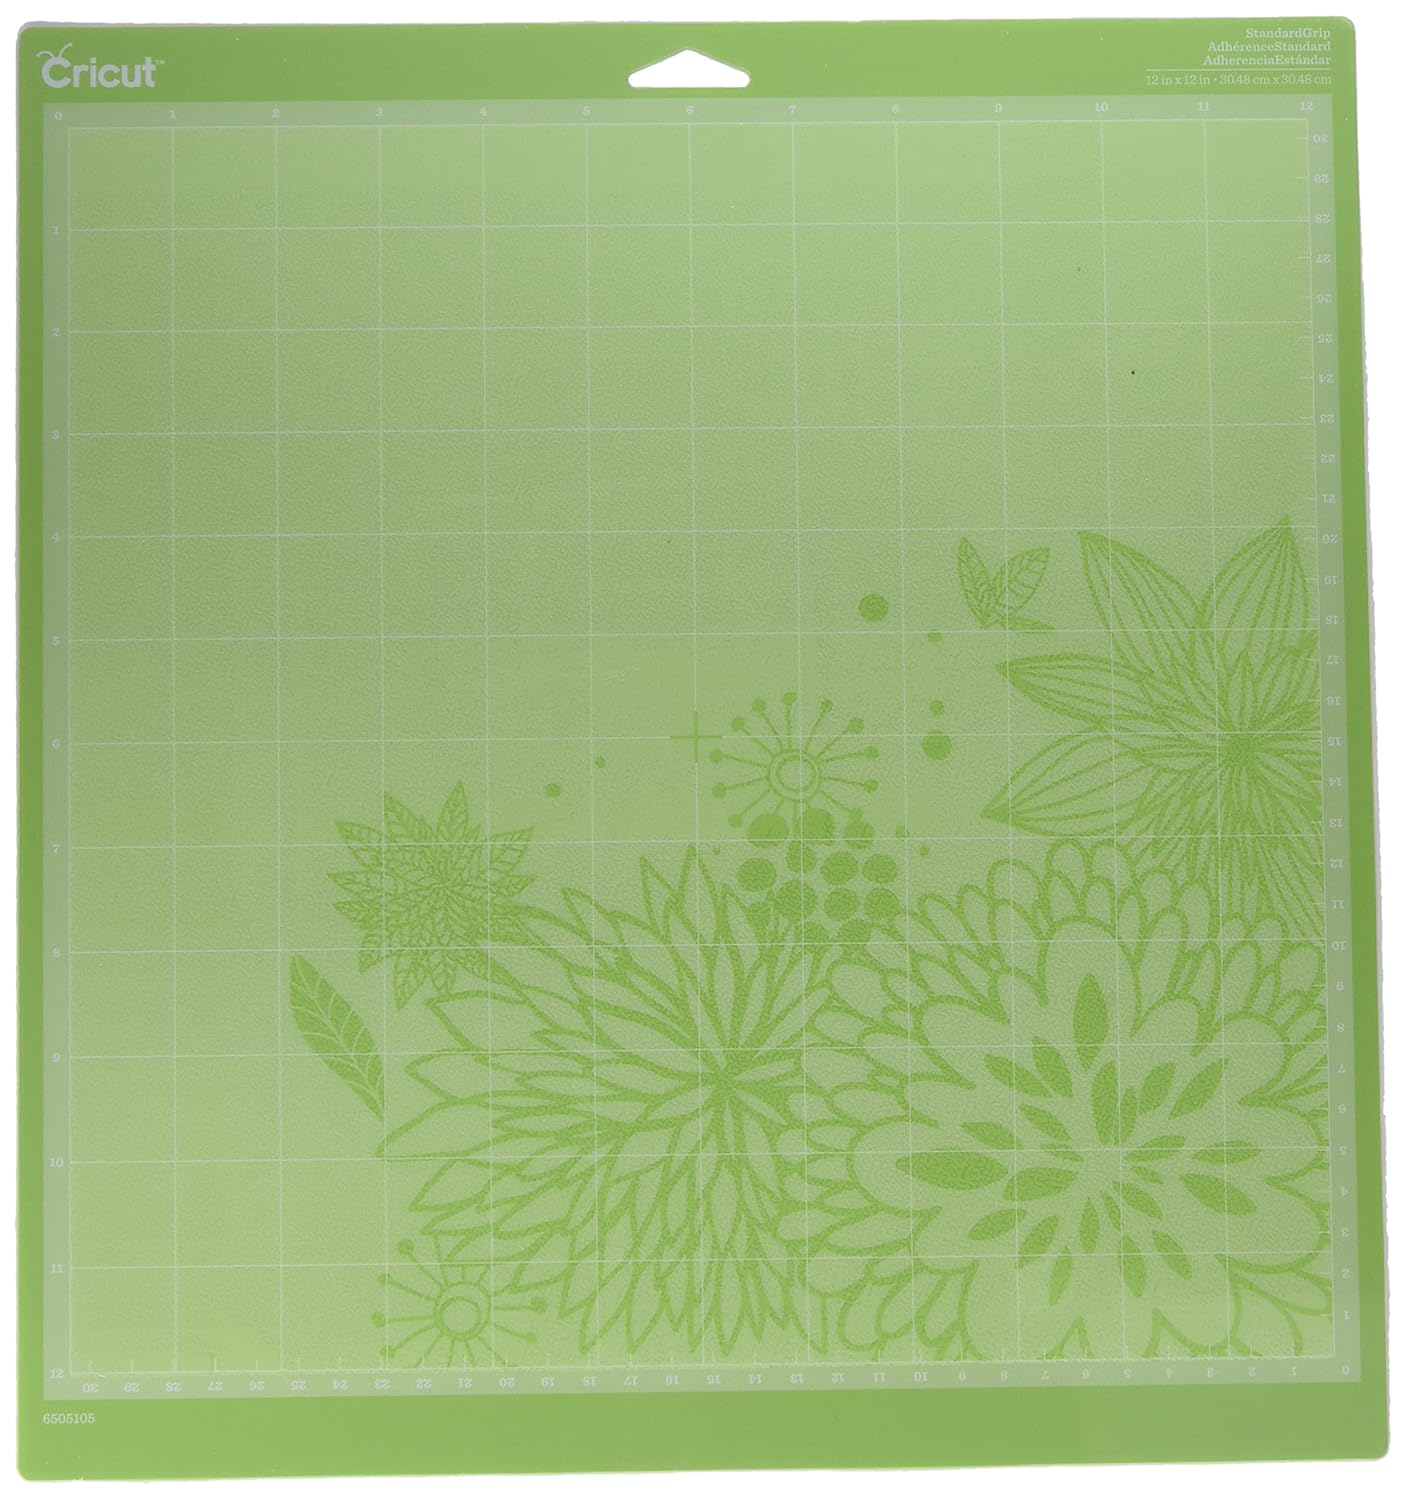
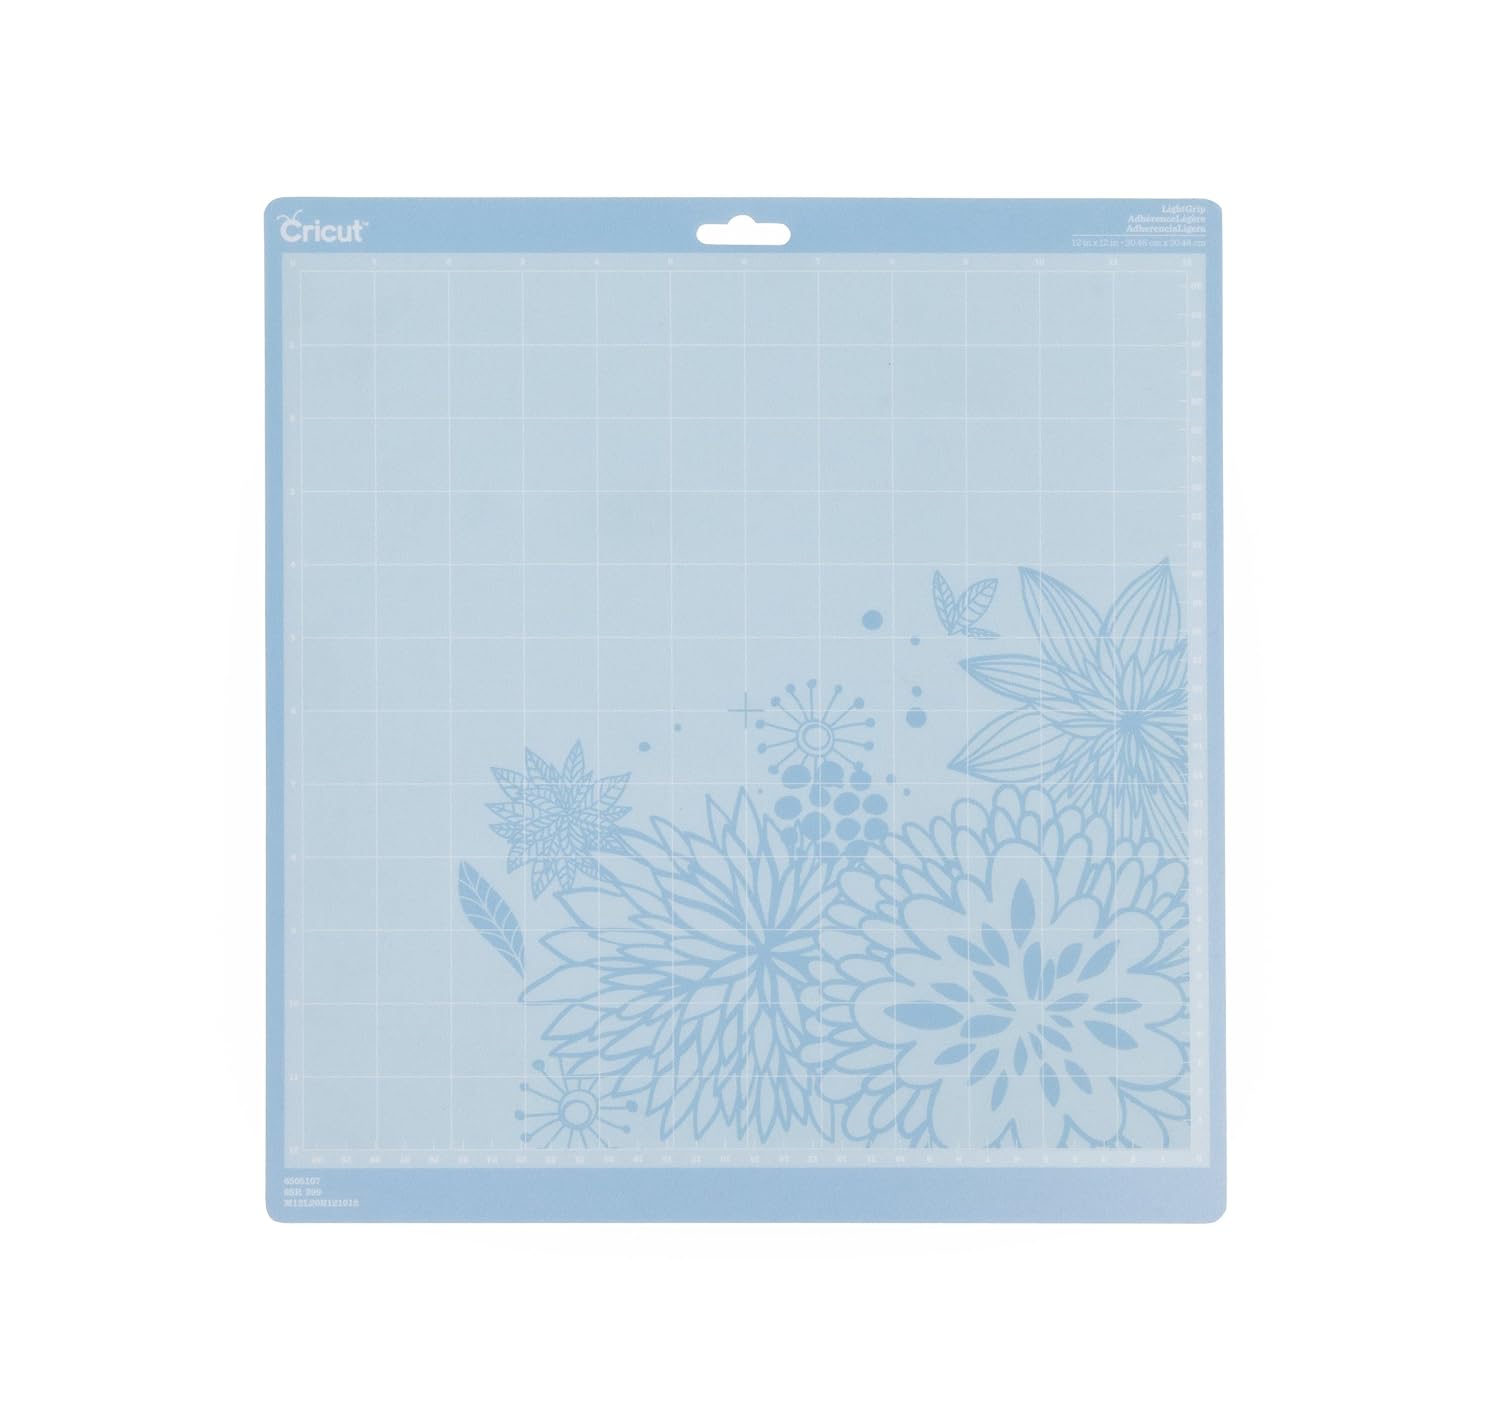
- Cutting Mat:
- Make sure the mat is flat and not warped.
- You need a good grip on your mat to make sure the material doesn't shift during the cut.
- A light grip or a regular grip mat are good for intricate cuts.
- I have used a few alternative brand mats and have not found many differences
- Keep a mat only for intricate cuts and changing it often.

- Machine Settings:
- This best setting to get good results varies greatly from material to material and I have found that is different also between machines, so you might need to create a custom new setting for intricate cuts for each paper type and thickness you intend to cut. My usual settings are:
- 65lb cardstock: pressure: 210 Multi cut: 2x Blade type: Fine-Point Blade
- 80lb cardstock: pressure: 280 Multi cut: 2x Blade type: Fine-Point Blade
- 110lb cardstock: pressure: 310 Multi cut: 2x Blade type: Fine-Point Blade
- Do a 2 pass cut instead of adding too much pressure.
- If there are areas that are not cut all the way through, hit the go button again on your machine to do another pass or two.
- Other Tools:
- Brayer:
- It is used to evenly smooth the paper on the mat and allowing it to adhere completely to the adhesive underneath

- Tape:
- Use small pieces of washi tape to secure the paper onto the mat.
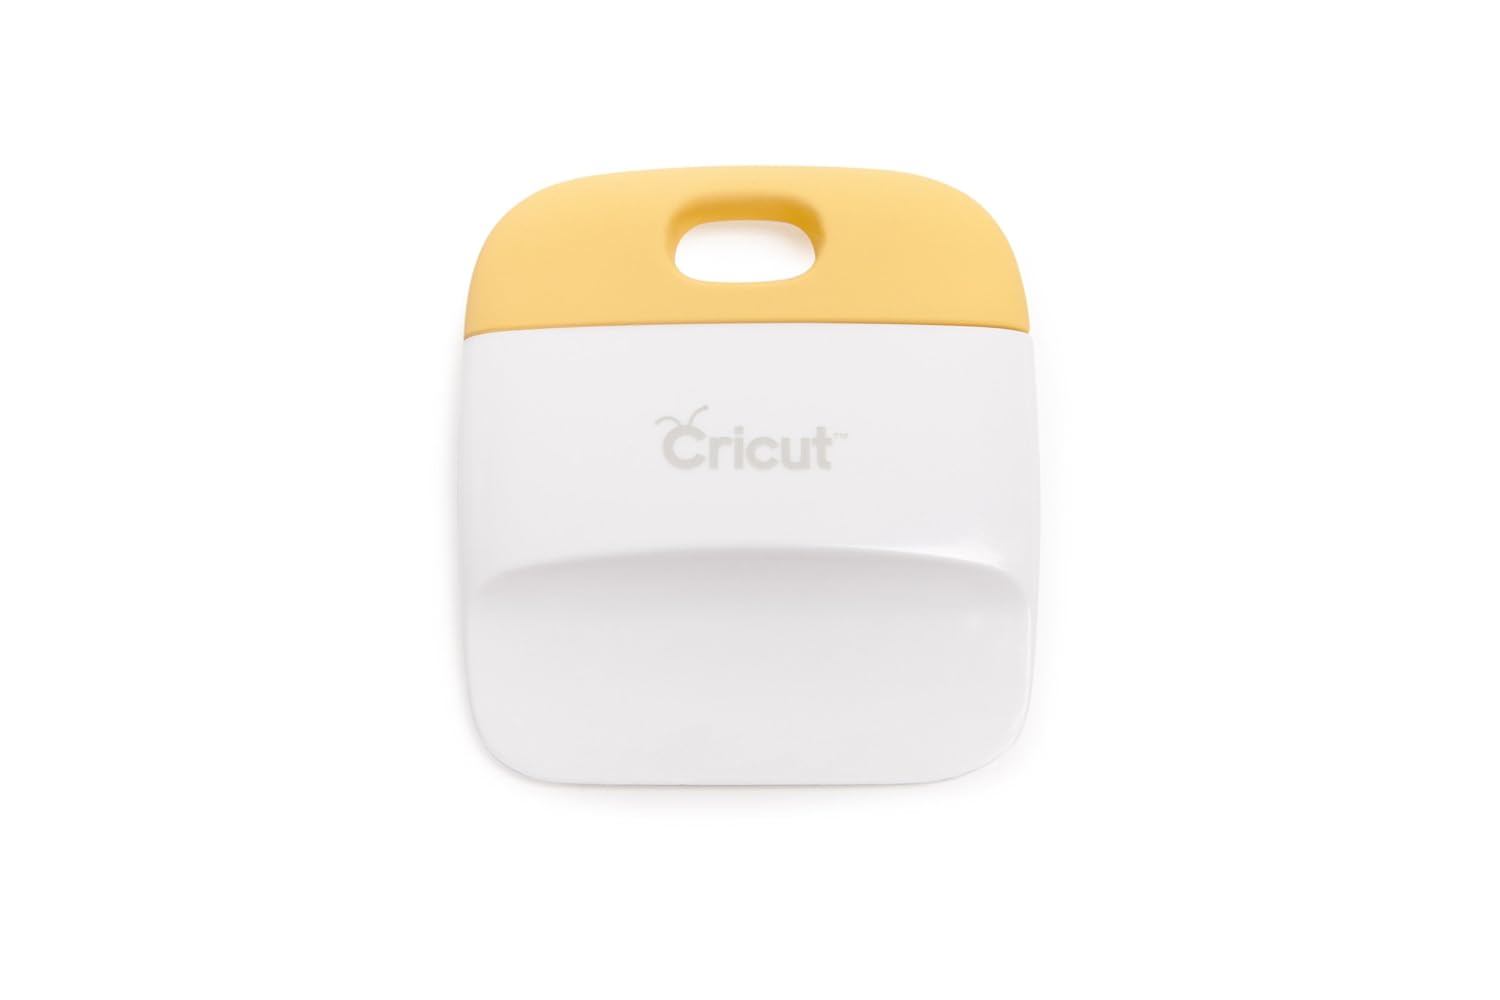
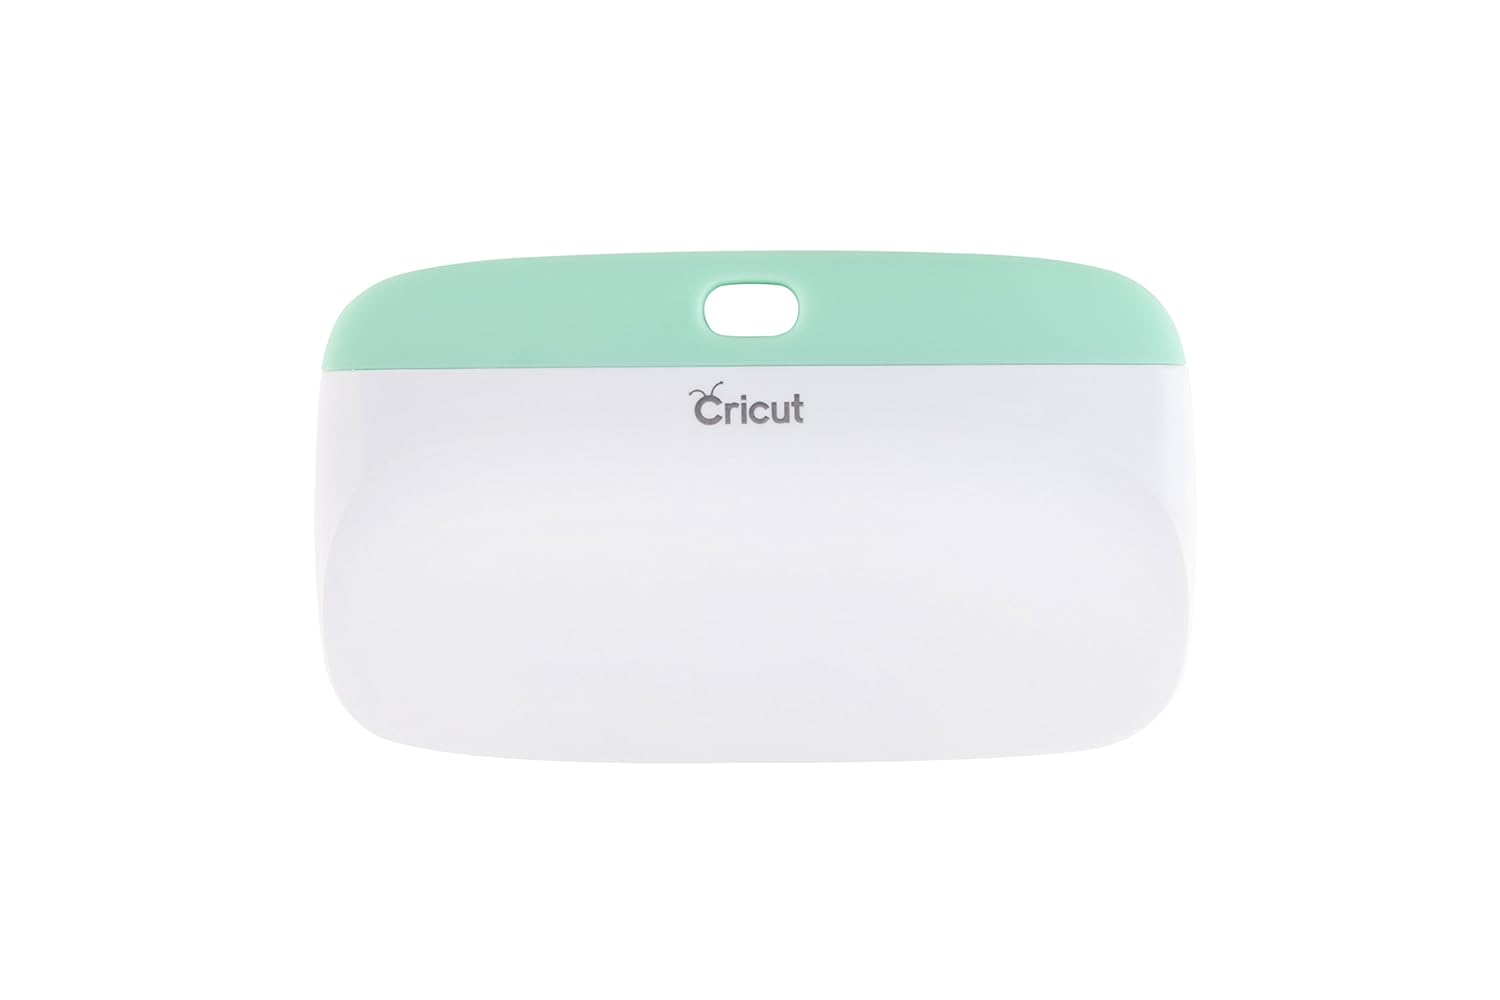
- Cricut scraper and scraper XL:
- Great for removing bits and pieces of cardstock from your mat.
- Can also be used instead of a brayer to smooth out the paper on the mat.
- Scoring tool:
- Helps pack the paper pulp together and allowing the blade to glide smoothly.
- The debossing tool or the medium foiling tool point are also a good choice for the maker.
- Prepare the project before cutting it if you intend to use the scoring tool. Create a copy of the cutting layer, change the operation, align them together and finally attach them.

- The paper:

- Quality:
- High quality paper is necessary.
- Stay away from kraft or recycled paper as they have larger pulp particles that tend to rip when cut.
- Weight:
- Paper weight does not necessarily correlate with paper quality.
- Thicker and heavier paper needs higher cutting pressure and probably more blade passes on your machine.
- If your project calls for thicker embellishments, try using two or more sheets of a lower weight paper to achieve the desired thickness of your project. when you try cutting new materials.

- Type:
- Regular cardstock: also known as standard cardstock or plain cardstock, is a versatile and commonly used type of heavy paper. It has a smooth surface and usually comes in white or off white color.
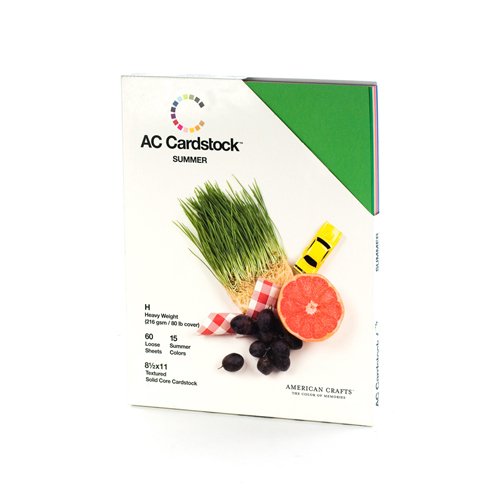
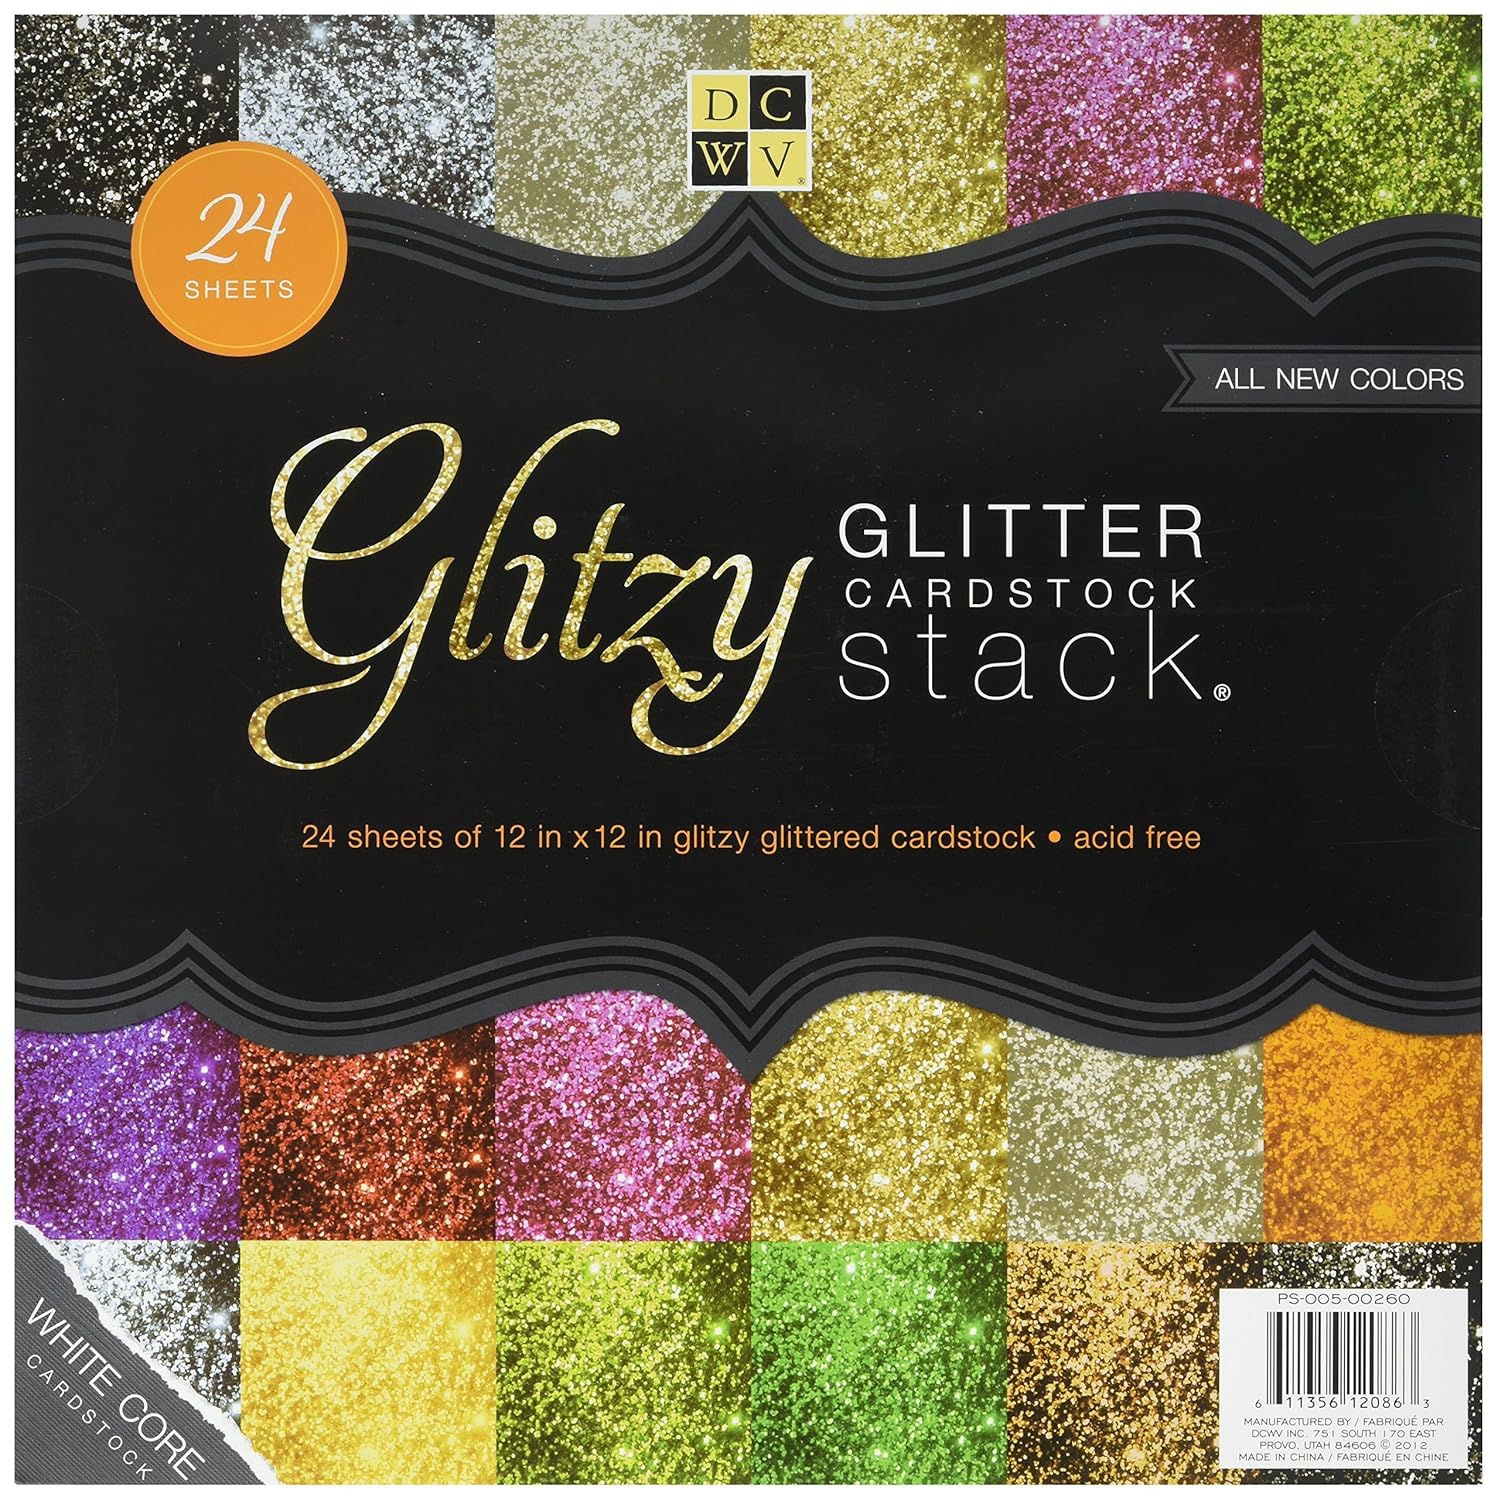
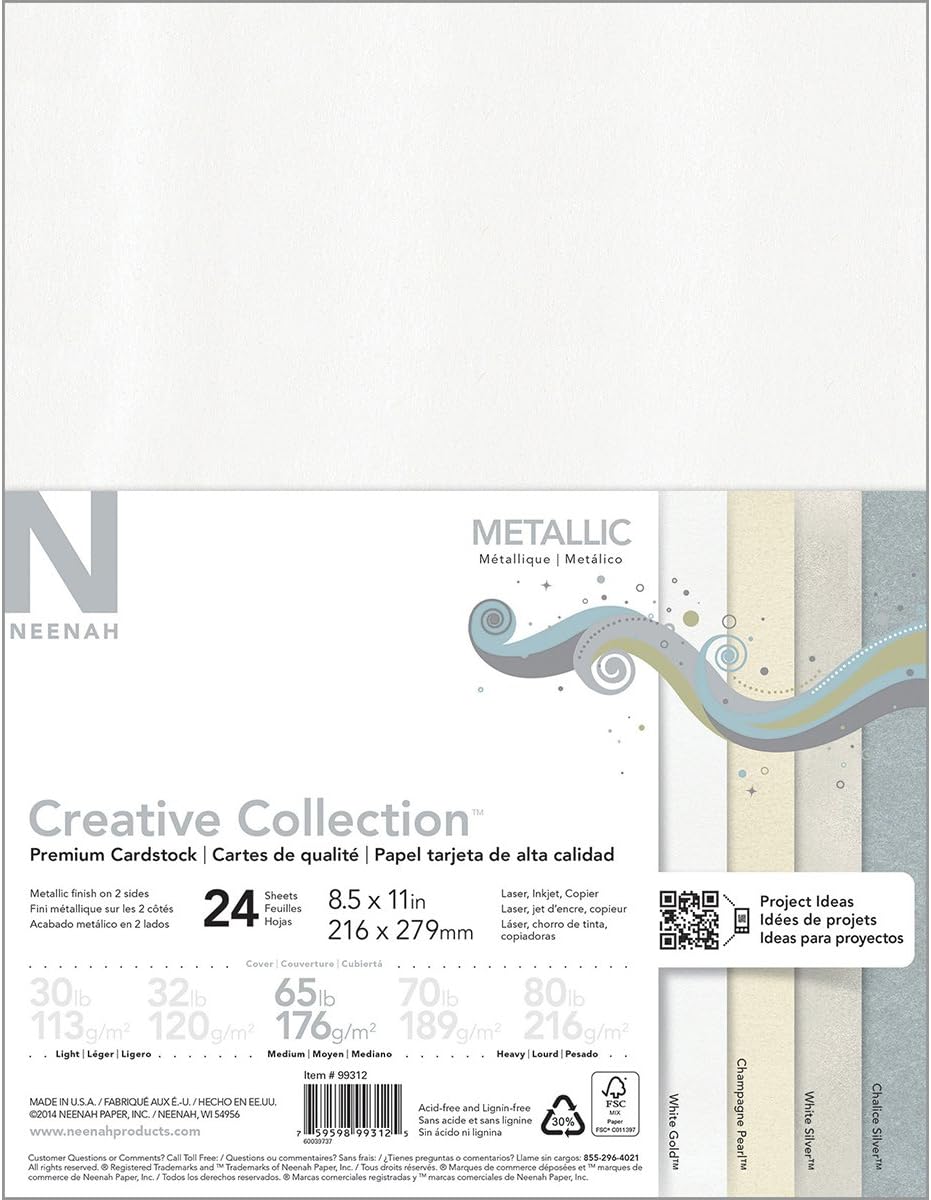
- Specialty cardstock is a special kind of paper that is created, coated or textured for a specific use. This is usually the paper that delivers the best intricate cuts. I specially love the creative collection from Neenah in all their varieties. I also like American Crafts textured cardstock and Die cuts with a view, their glitter paper is the best.


- Storage:
- I have found no difference in storing paper flat or vertical as long as it is protected from bending or scratching too much.

- SVG file:
- Round corners:
- A high quality design has small rounded corners instead of sharp points. They look sharp in the final design, but have enough of a curve for the blade to smoothly make the turn this compacting the fibers evenly avoiding ripping the paper.
- Zoom in close on your design corners and make sure those sharp corners meet the criteria for an intricate cut, otherwise consider changing to a lighter or a higher quality cardstock.
- Line Thickness:
- high quality papers allow for thinner lines in the design.
- Try not to go lower than 1mm thick which is about 0.04 inches.
- Removal from the mat:
- Intricate designs are very delicate and hard to remove the project from the mat just by lifting it. Remove them by bending the mat slightly and pull the design away diagonally. It will avoid curling or ripping the project.
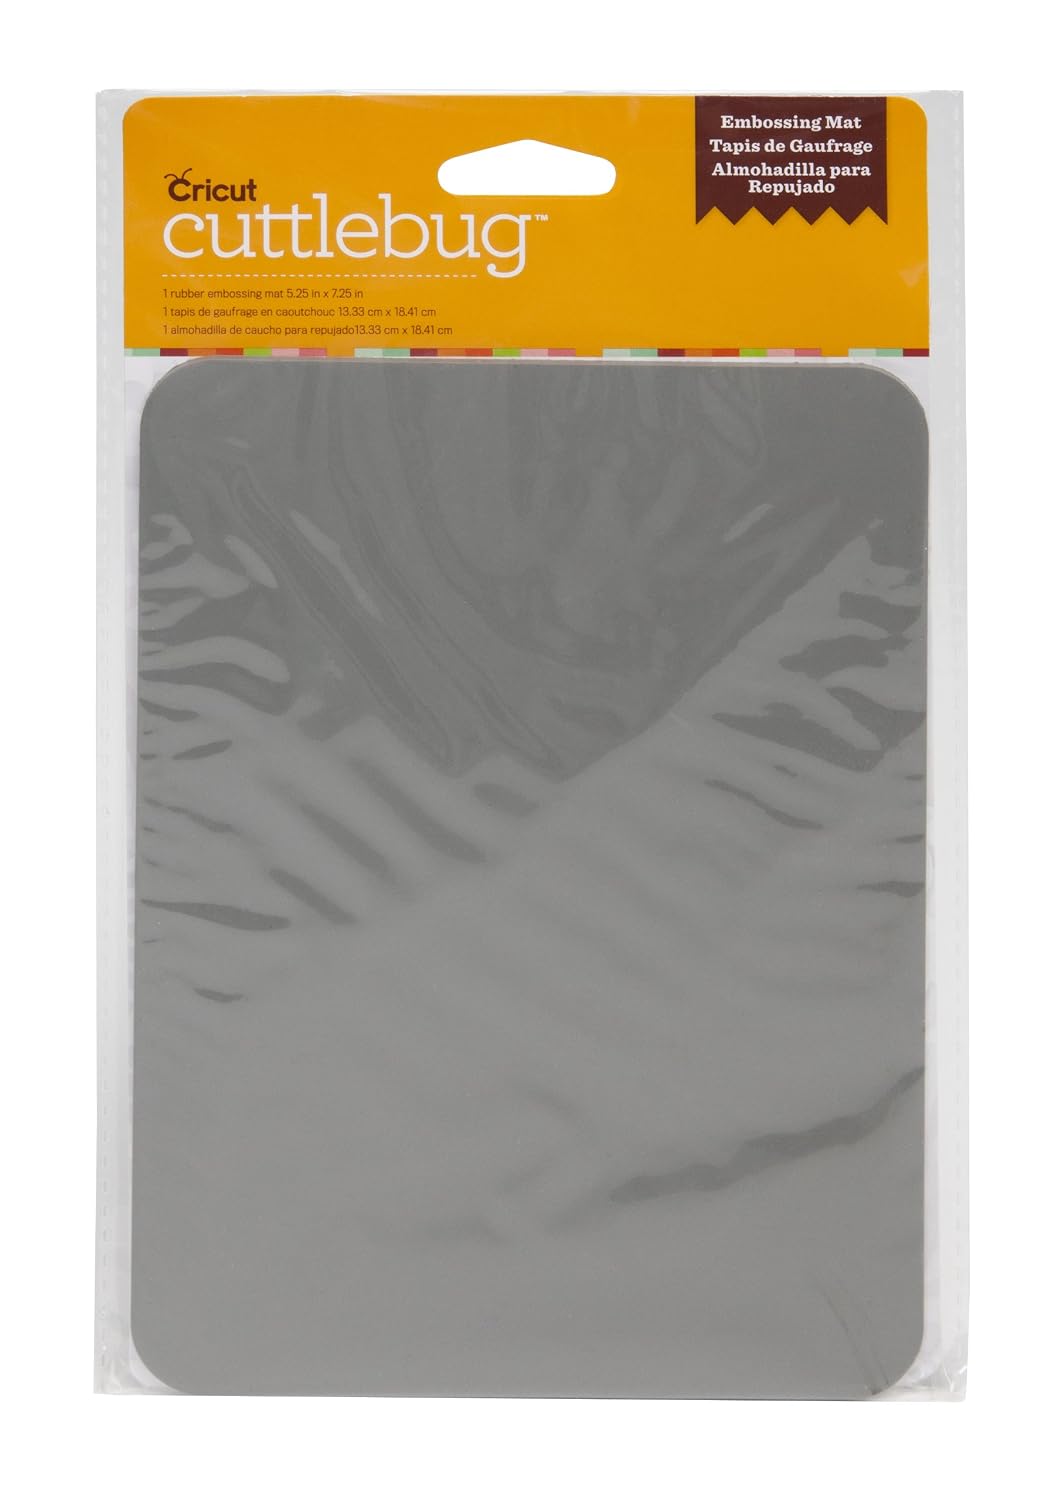
- Refining the cuts:
- Using an embossing machine and a Rubber embossing mat that will flatten all the jagged edges, nooks and crannies your final piece might have.
Finally, be patient and don’t be discouraged if things don’t go the way you expect at first.

Experiment with different brands of paper and keep in mind that a same brand may not be consistent with their quality every time.
Keep a record of your findings.

Here is a troubleshooting notecard of things to check when having difficulties with your projects. Try to follow it sequentially as it will give you a better understanding of what’s going wrong.
I hope this information was useful to you and that you are able to tackle those difficult designs every time.
Supplies List
 |  |  |  |  |
 |  |  |  |  |
 |  |  |  |  |
| |  |  |  |
If links don´t seem to open, please right click and select "open link in a new tab", it should take you to a save file dialog. Let me know in the comments if links don´t work, thanks.
Enjoyed your video. Where do I find the SVGs cut file for the lace design.
ReplyDeleteLinda, the SVG link is under the supply list pictures that says DOWNLOAD.
DeleteGorgeous card and great tutorial! Thanks, Omar for sharing this lovely file.
ReplyDelete