
I just wanted to drop by with a quick tutorial to create offset cuts for your stamps, or as I like to call them: Electronic Dies.

- First, you need to create and cut a known size shape on your machine. I've found a square of 1"x1" is perfect. Always use a dark color cardstock, black is preferable.
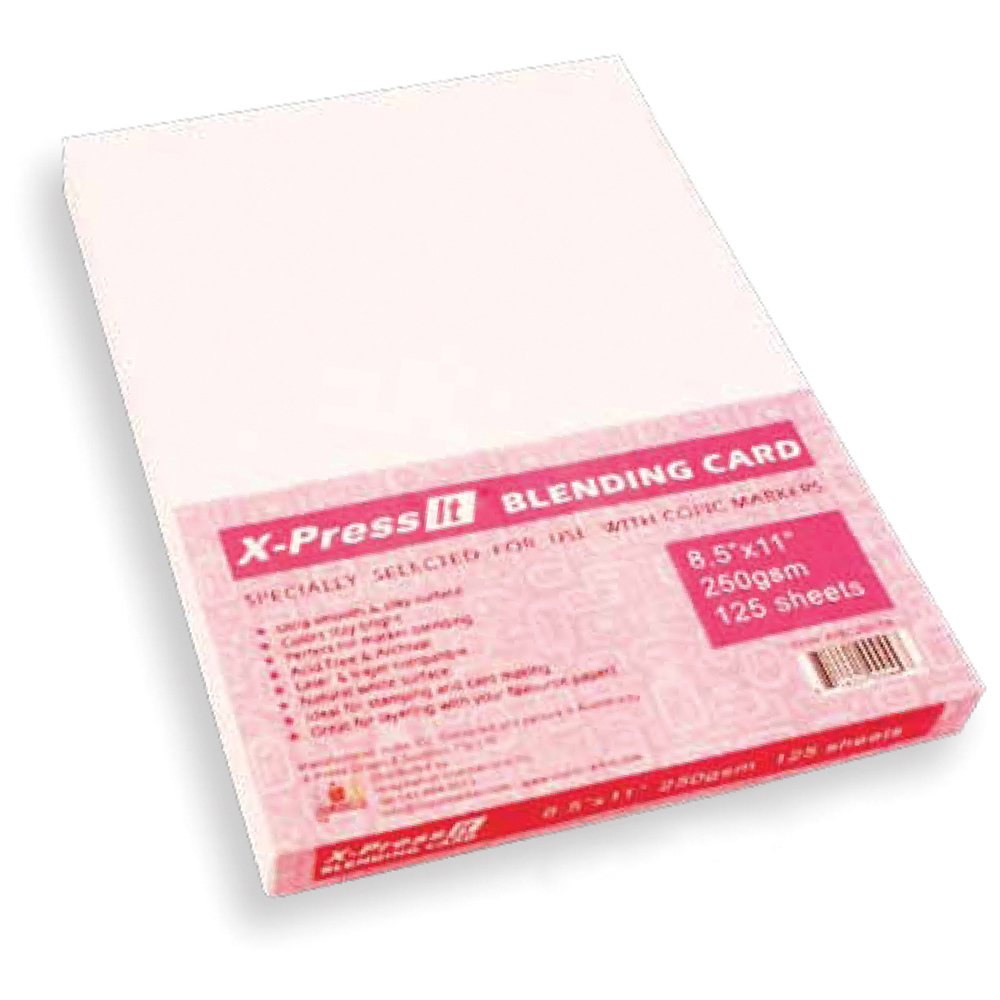
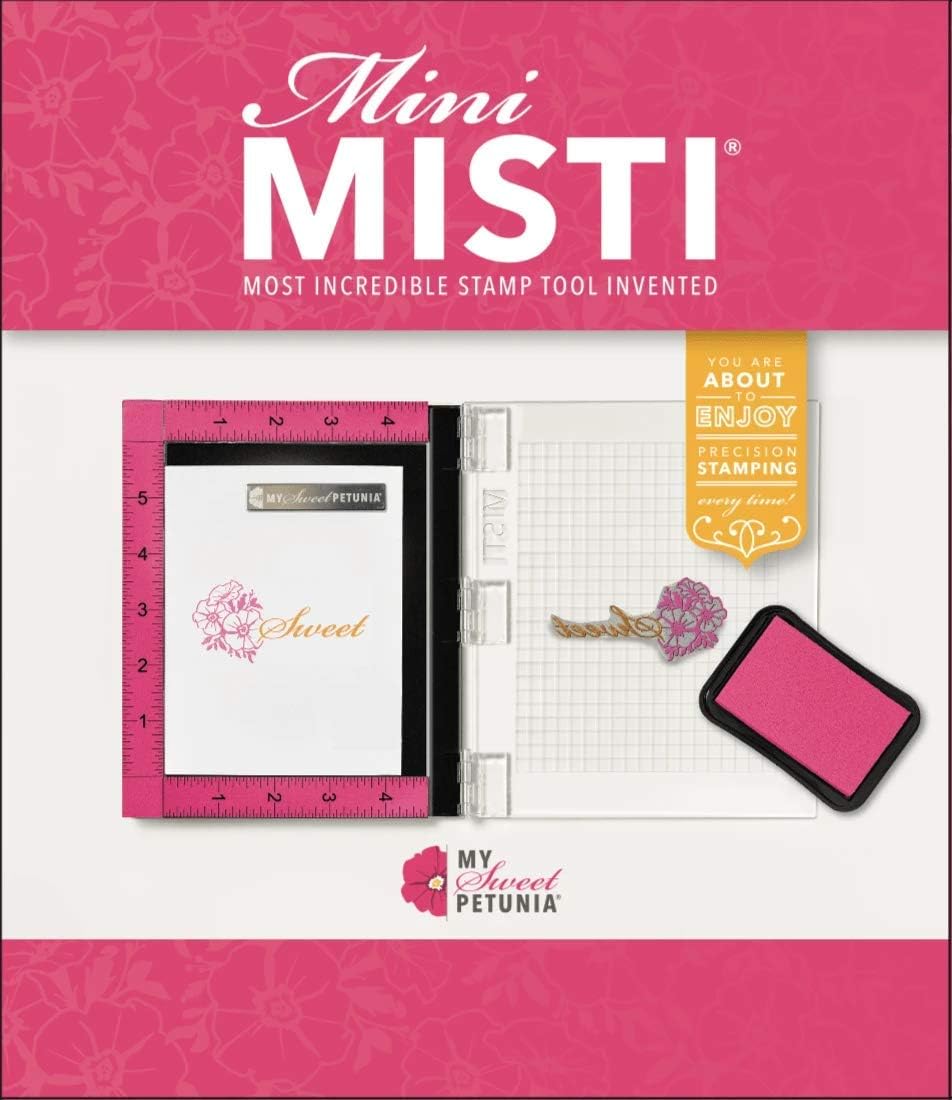
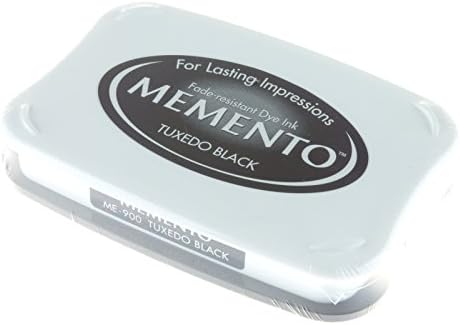
- Stamp your image on a clean piece of bright, white cardstock, no smudges or speckles should be visible. Use an eraser to remove any dark spots. Use a dark and crisp ink, I love memento tuxedo black ink pad on Neenah Cardstock. I strongly advise you to use a stamp positioner, as it will allow to stamp several times, thus obtaining a darker image.
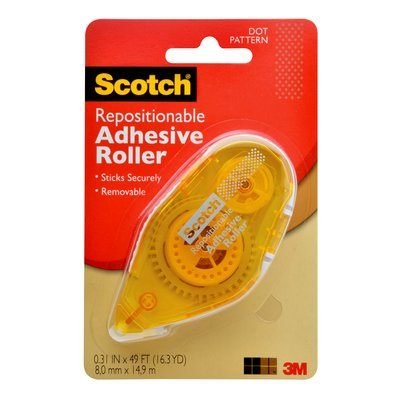
- Glue the cut cardstock square to the stamped surface. I like to use a repositionable adhesive roller to fix it in place. Remember to save the square so you can use it on future die cut projects.
- Take a photo of the stamped image and the square using your mobile device. Align the cardstock square to the edges of the photo to make the editing simpler. Edit the photo on your mobile device to enhance contrast and remove speckles.
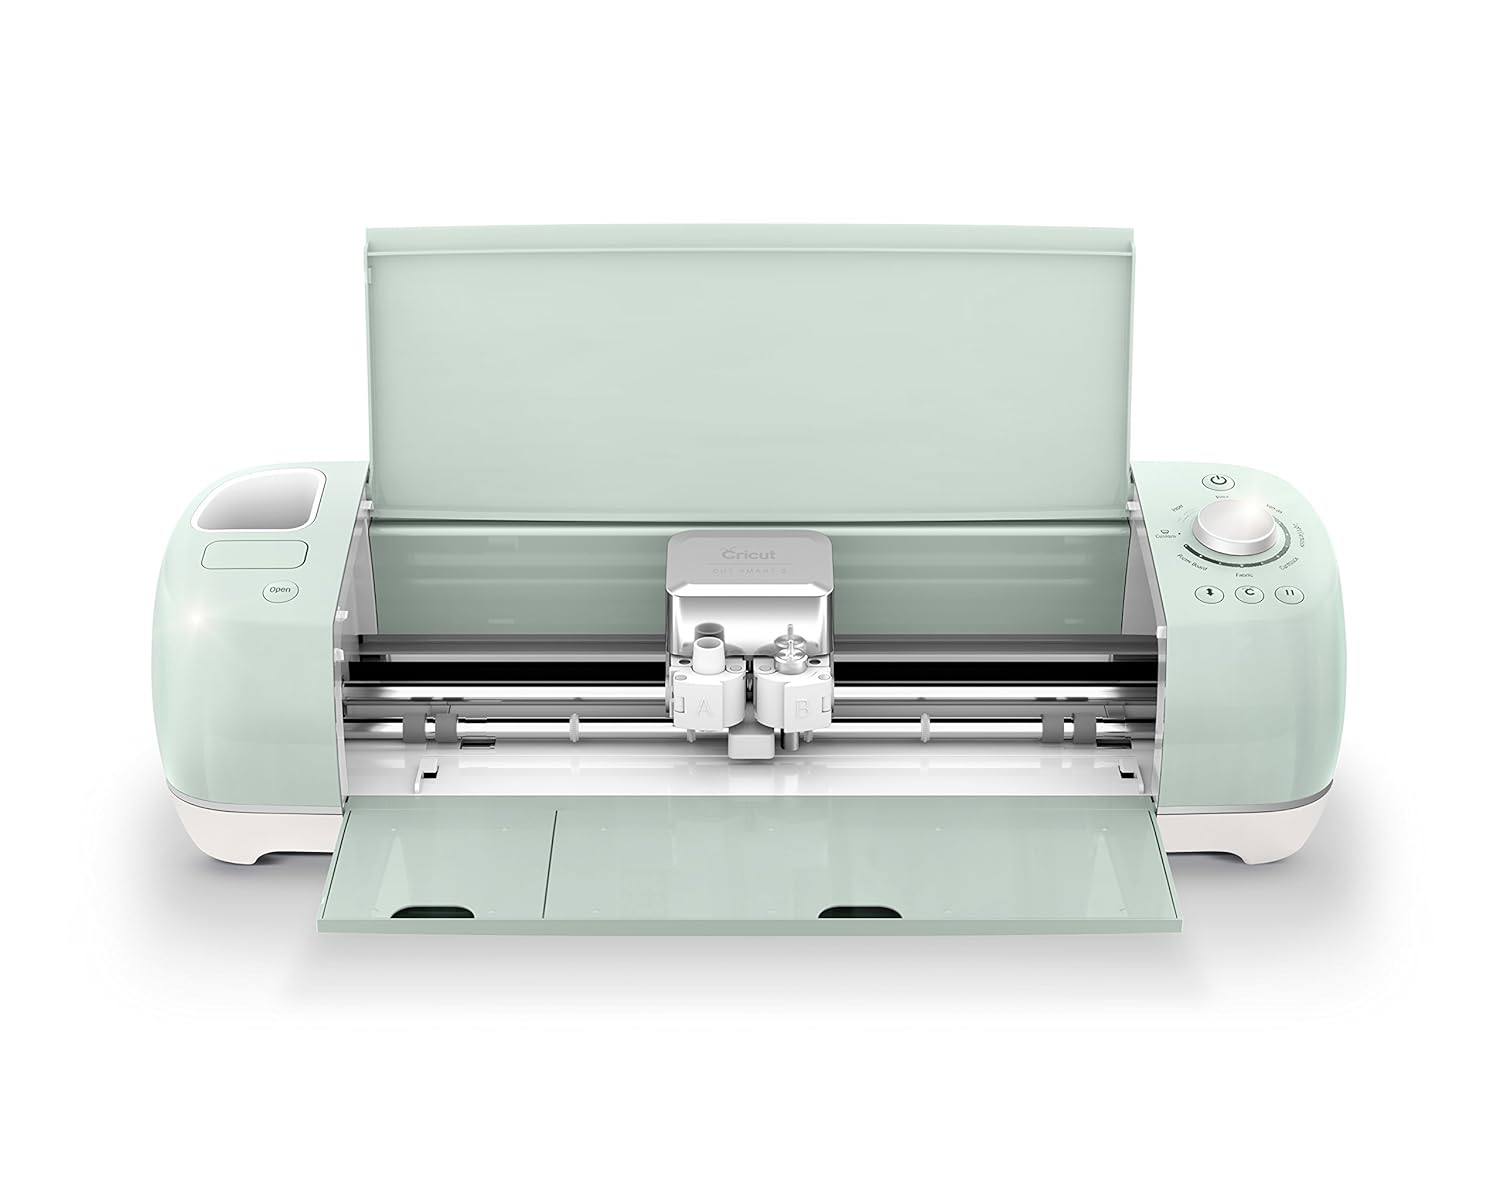
- Upload your photo to Design Space. Remove the background and any unwanted spots. Smooth the edges, this is very important! keep pressing Smooth until you get a uniform line around your image, that way your offset path will also be smoother.
- Create an offset path. I have found a 0.06 inches offset is good for most images, but you can play around with it until you get the perfect outline for you.
- Cut your shape and stamp it. You can use a stamp acrylic block or a stamp positioner (I refer this one).

I hope you give this tutorial a try and be sure to subscribe, like and comment.
Have a great day.
Enjoy!
Supplies List
 |  |  |  |  |
 |  |  | |  |
 |  |  |
Thank you for your great tips!
ReplyDeleteThanks for stopping by!
Delete