
Here I am with another tutorial, this time to create Foiled Clear Stickers using a laminator and your Cricut machine. Come take a look to learn about clear sticker paper options, and tips and tricks to get the best foiling possible.

- Paper Quality
- Design and image resolution
- Printing Quality
- Foiling Technique
- Cutting Settings
Paper Quality
For foiling you need a laser compatible material that can take toner well and withstand the heat and pressure of a laminator. I have found, after testing a lot of laser clear sticker papers, that the one that works best is the one sold by Online Labels. This paper (is not a paper really, is more of a printable plastic sheet) has a great affinity for laser toner, allows high resolution printing and the glossy surface, aside from being gorgeous, repels the foil in not printed areas beautifully. All those qualities, allow for foiling small details and thin lines beautifully. My only bad critique is that no matter what settings I use on my machine, I cannot get it to do a clean kiss cut all the way; I guess the material's thickness is not completely even and the machine cuts through both layers (adhesive and backing) on some random areas. This doesn't compromise your stickers, but they don't have that amazing store bought look that your matte white stickers have.

Design and Image Resolution
You want to design your stickers in black and white, having defined and sharp edges in mind. Blurred contours, gradations and grey areas don't foil well, because the printer creates a kind of halftone pattern to give the illusion of greyness. It is also a good idea to use images that are at least 300 dpi (dots per inch) in resolution, as those print better. Most sites provide high resolution images, so you shouldn't worry about it when buying images online.

Printing Quality
It is no use to have a high resolution image and a bad quality print. Always set your printer to the highest quality possible. The printer I use allows for a maximum of 2400 ppi (pixels per inch which is the same as dpi), this will ensure enough toner is laid on top of the paper for the foil to adhere. Be aware that Design Space lowers the resolution of all your images when used on a desktop (it seems to maintain the resolution when printing from an iOS device) so you might want to check this post and video to bypass the Design Space generated Print Then Cut image. |
| Left: original resolution, Right: Design Space Generated Image |
Foiling Technique
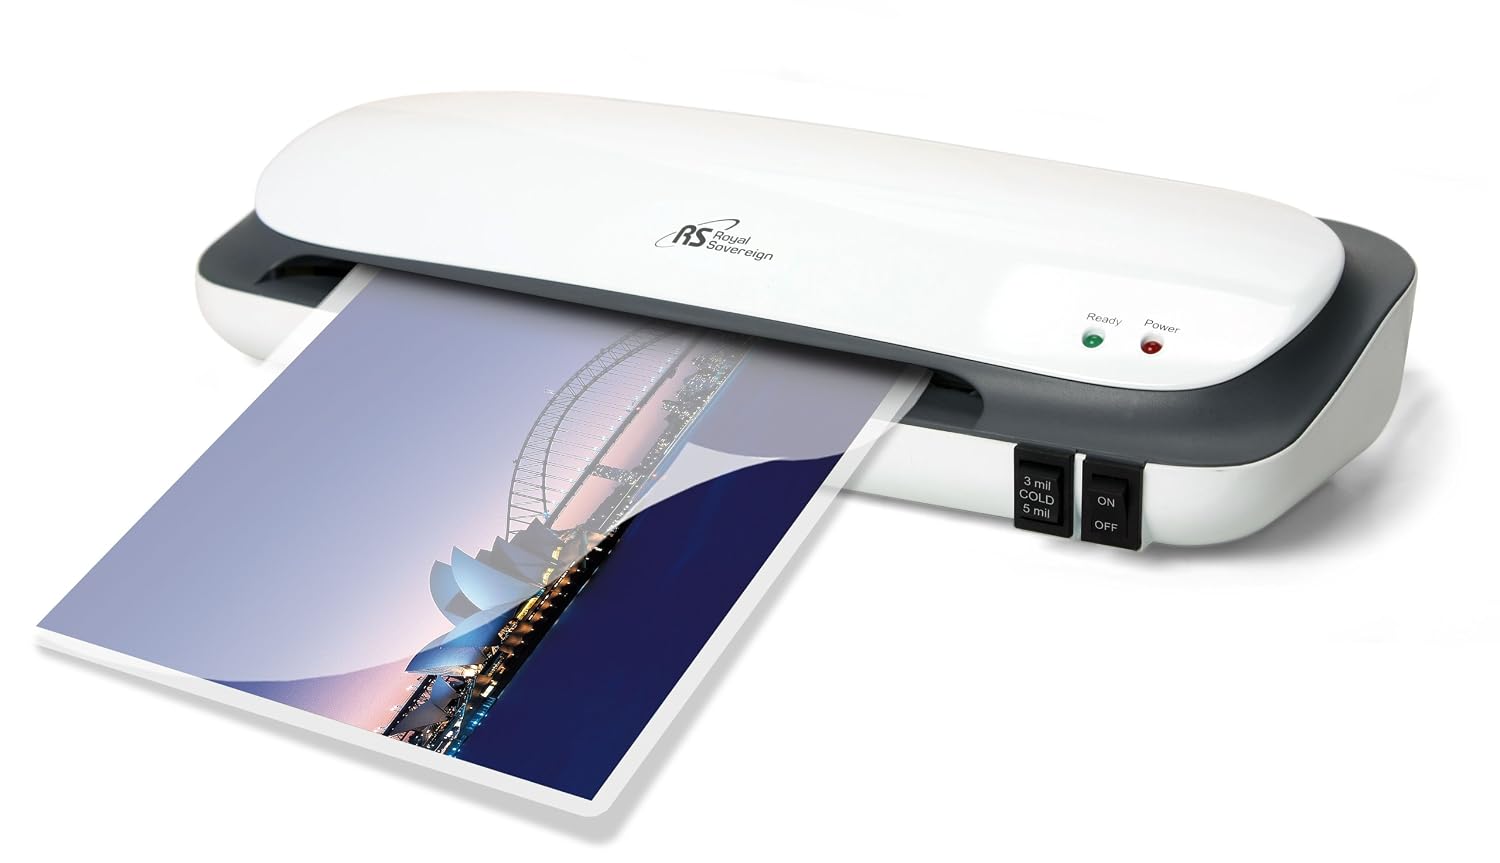
Remove any dust from the surface to be foiled using a dust cloth or your clean hands. Next, cut your foil to size avoiding the registration marks. If you foil the registration lines around your image, your machine might not be able to read them correctly. Place your foil on top of your design with the dull side facing the toner and finally put a piece of baking or parchment paper on top to avoid uncovered toner of your registration marks from sticking to your carrier material. Next place your "sandwich" inside a carrier. I have tried several methods and the best of them is using Heidy Swapp's Minc Transfer Folders. These are thick plastic folders that can take the laminators heat and pass it onto the toner of your design so it melts and the foil adheres, without wrinkling or sliding inside your laminator.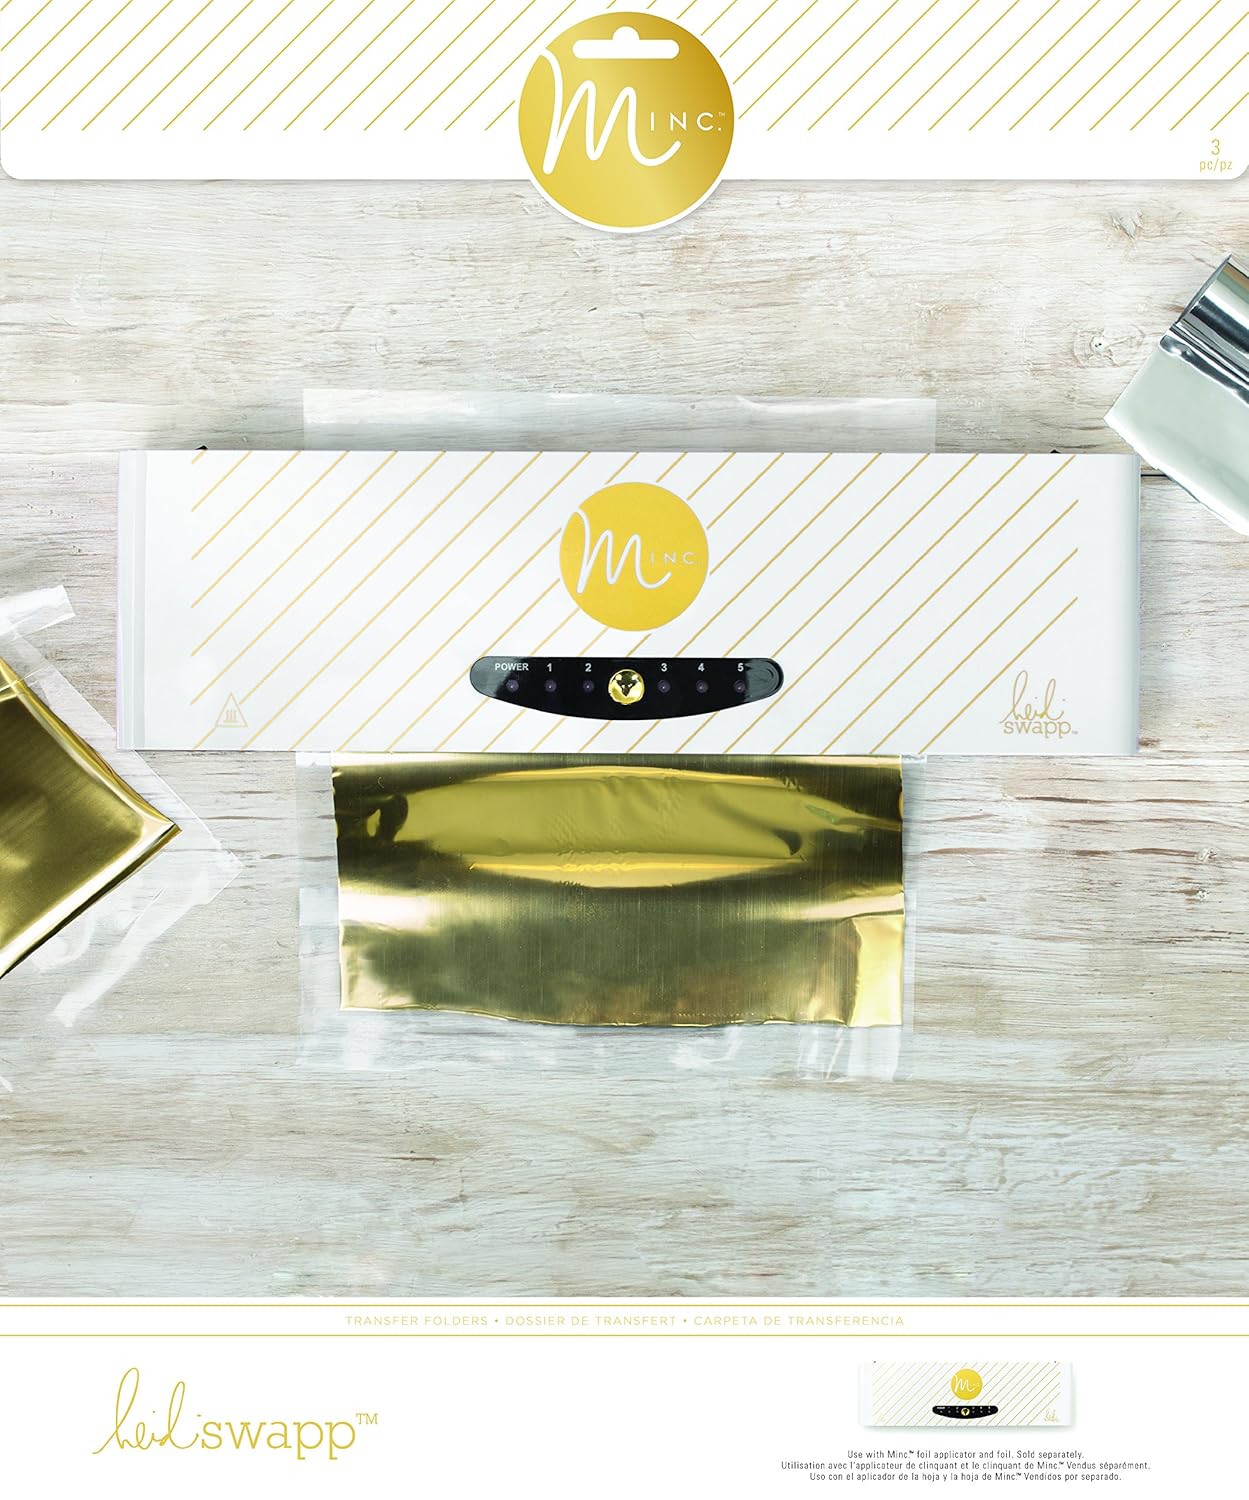
Cutting Settings
Create a custom setting to cut your material. Adjust the pressure of your machine whether you want a die cut or a kiss cut sticker. For more info on how to create a custom setting on your Cricut Explore or your Cricut Maker, check out this video.Now that you have all the tools and knowledge, let's get those laminators running!
Enjoy!!
Supplies List
 |  |  | |  |
 |  |  |  |  |
gorgeous thank you omar! I really want to get into sticker making. the chart you made with the sticker papers helped so very much
ReplyDelete