
Hi there!
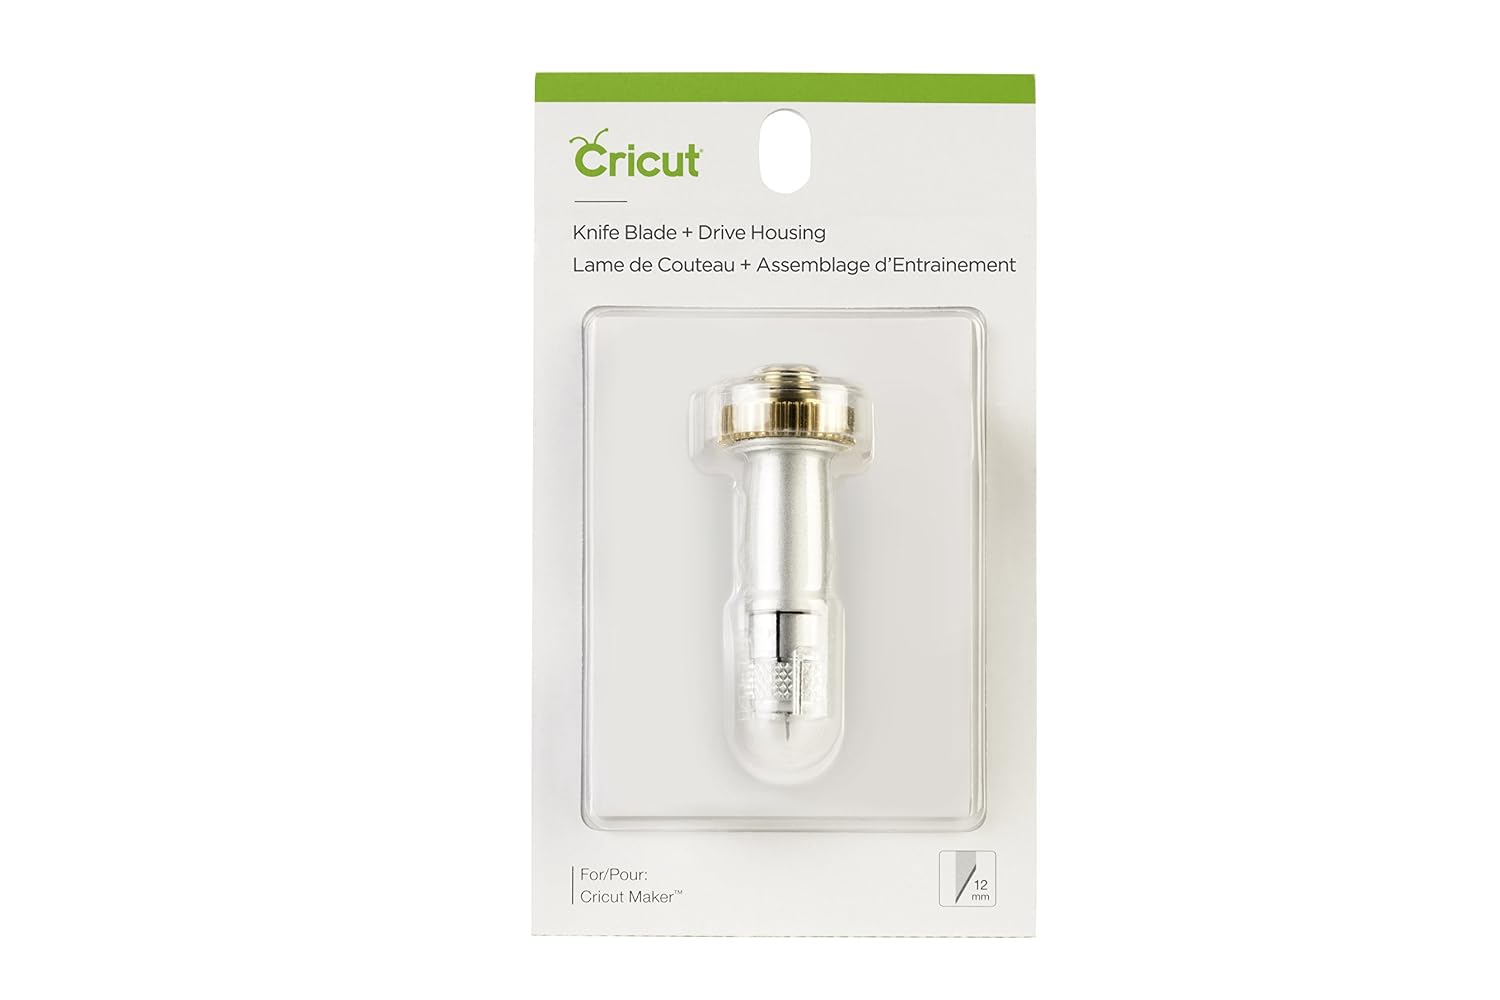
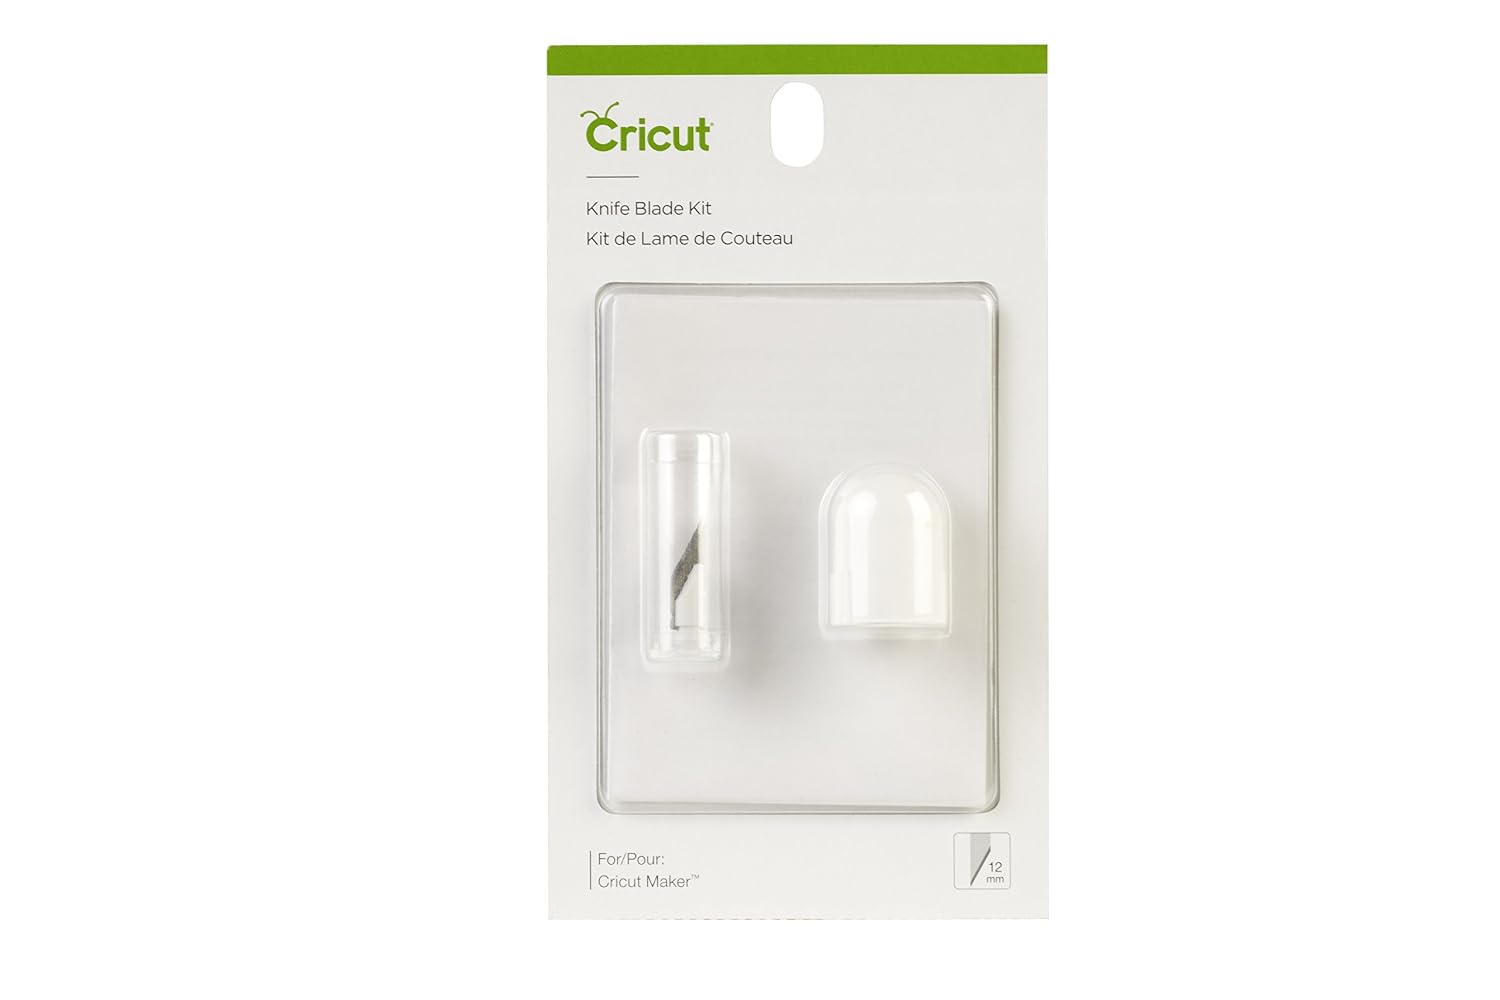
Long time no see. I've had a lot on my plate lately but I managed to finish this project. I'm very impressed with the delivery of the Cricut Knife Blade for the Cricut Maker Machine. It is incredibly precise and the it packs a punch!
After making this storage solution, I see lots of organizing projects in my future.
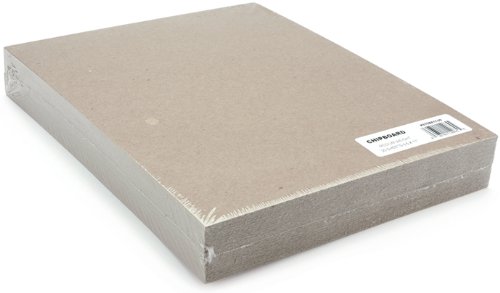
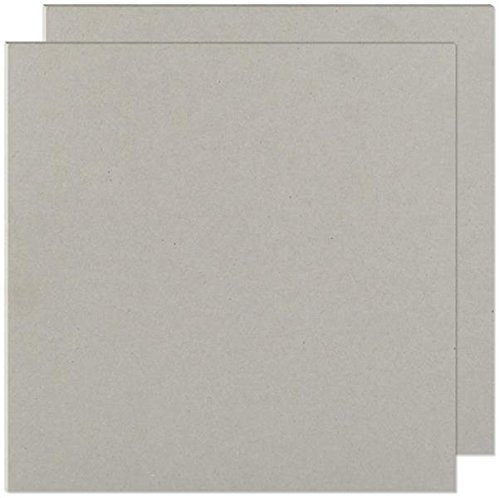
The cabinet is made out of chipboard. In Chile the material is called Cartón Piedra (Stone Cardboard) or also European Cardboard, which is basically paper pulp pressed in layers to make a 1.5 mm sheet of a strong thick material. It is similar to what in the US is used for book binding covers.
We R Memory Keepers has something similar to make book covers with the Cinch and there are also a couple of alternatives on Amazon that I linked on the supplies list below. If you purchase yours at a craft store, don't look for it on the cardstock section, instead, go to the bookbinding section and you'll have a better chance at finding it. Just make sure the sheets are big enough for your project.
10 things to consider when using a Knife Blade on Chipboard
- Make sure to connect your machine through a USB port instead of having it bluetooth connected. My Maker stalled on me and would refuse to keep cutting because (for some unknown reason) it lost connection with my computer. That did not happen with the machine wired through a USB cable whatsoever.
- Get a good quality chipboard, look for fewer specs and smaller dark spots to achieve a clean cut. If the chipboard has larger pieces of uneven color it is more likely to rip while cutting.

Chipboard on the left has a lot more specks and larger dark spots and is also a lot less smooth.
This will result in a deficient cut. - Cut you chipboard at least 1/2 inch larger than the design you are cutting, one inch is ideal. This is to prevent the blade from going to close to the edge, causing the material to brake. Remember that the maximum width you are allowed to cut with the knife blade is 11 inches, so design accordingly.

- Slide your star rollers to the right to avoid making indentations on your thicker material. I made markings on a piece of paper before moving them, to return the rollers to the original position, this really doesn't matter it's just my OCD speaking.

Push star rollers to the right - Always tape you material to your cutting mat. Make sure to overlap the tape on the upper edge and use a small piece on the bottom edge. For me it was not necessary to use a strong grip mat (although I have one). I was afraid the purple mat (strong grip) would hold on so tight to my material that it could rip the surface or brake it when removing it, so I used a standard grip mat and it worked fine.

- Using a scraper tool or brayer, press the back of the cutting mat once your material is taped to make sure it adheres correctly to the surface of your cutting mat

- If you are not sure of what settings you should use for your material, I would suggest to use "Matboard 4 Ply", and add additional passes if the 8 initial ones don't cut all the way through. or me, it took 11-12 passes to cut the material perfectly

- Check your machine every now and then and remove loose pieces of chipboard that might have come off. This will prevent the blade and the machine from jamming.

- Remove the chipboard carefully. It is always a good idea (and this goes for all materials) to slightly bend your mat to lift of the cut pieces instead of pulling on your chipboard. Be gentle though or your mat could brake and you'll lose it for good.
- Use a soft brush with soap and water to lightly remove any debris that might have gotten stuck to your cutting mat. This is very important, because if you don't your chipboard will not stick correctly to the surface and will lift while cutting, causing the blade to rip the cardboard or damage your mat. Let it dry completely before placing chipboard on tn it again, when humid, the material tends to rip.


I designed this SVG file as separate layers, so in case you want to cut one single piece, you don't have to cut the whole thing all over.


 |
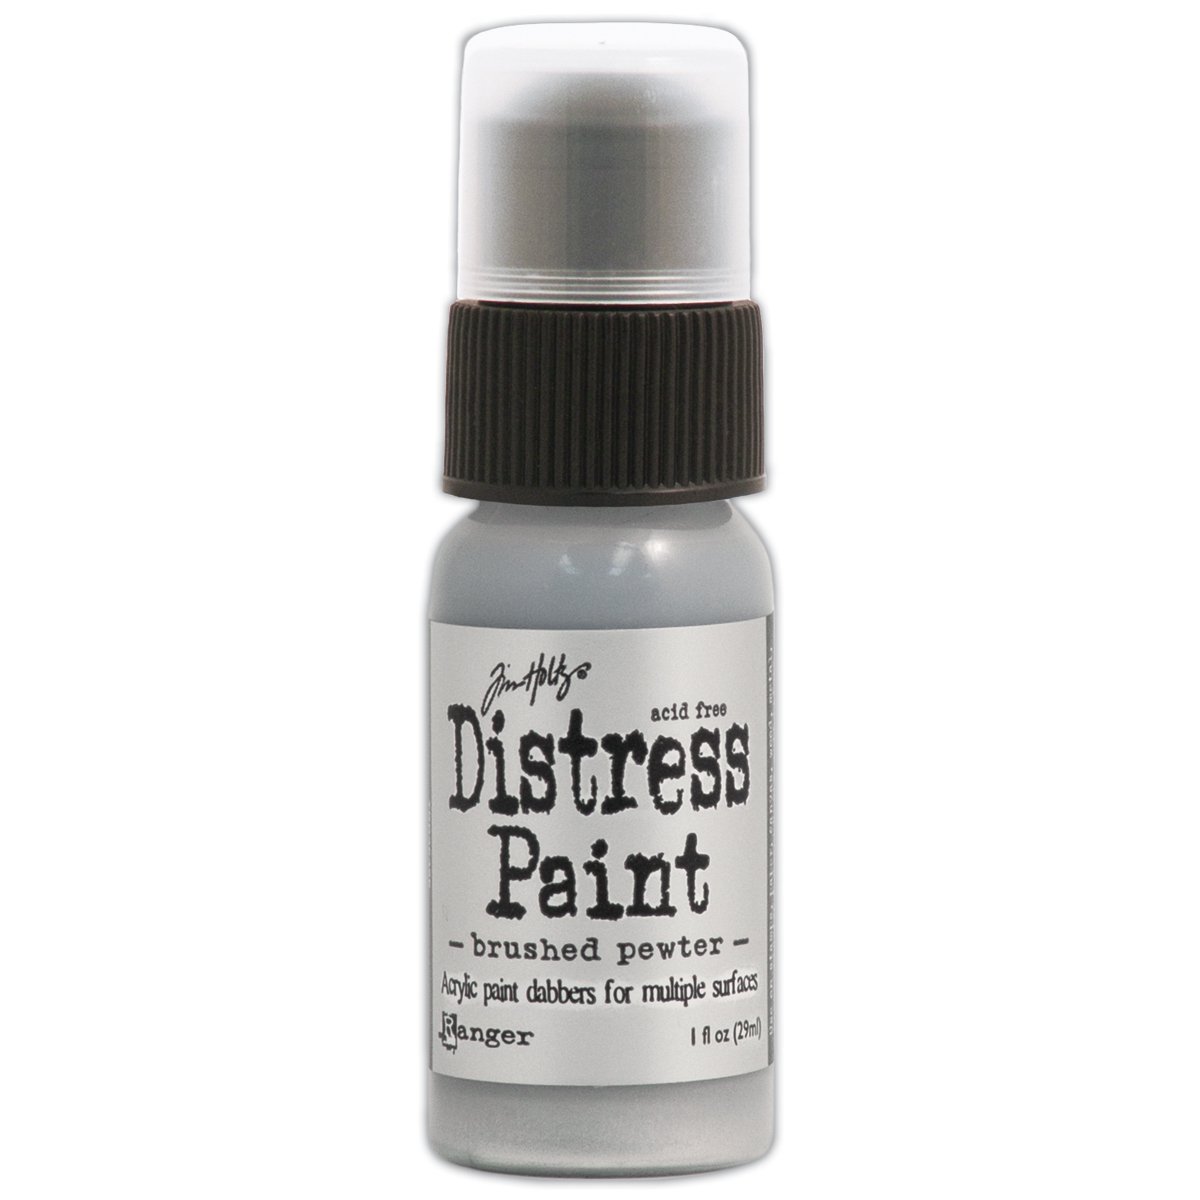
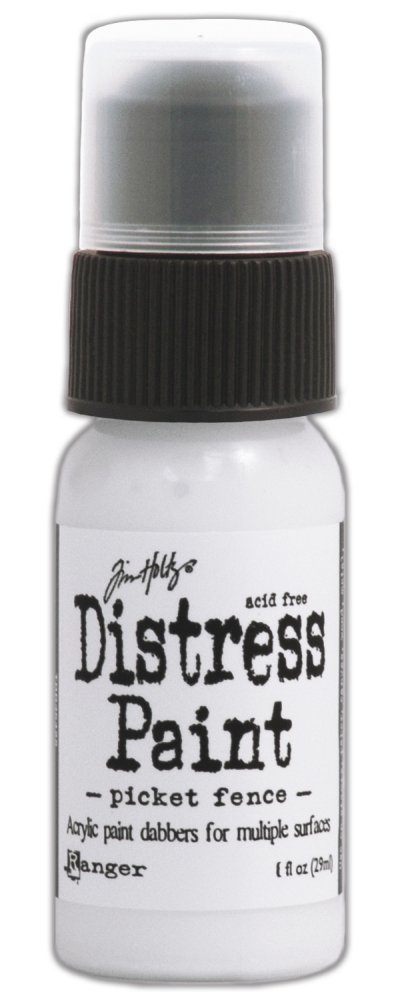
| I should paint the sides of the drawers as well now that I'm looking at the pictures. Something easily done with the sponge dauber Distress Paint applicator. |


Enjoy!
 |  |  |  |  |
 |  |  |  |  |
 |  |  |  |  |
 |  |  |  |  |
 |  |
Omar, this came out AAAAAMAZING!! I totally love it!! Love the look and love that it is functional!! Awesome job my friend!!
ReplyDeleteYou out did yourself this time. You are an amazing crafter and do such GREAT work. Thanks for all your hard work and videos
ReplyDeleteWoW! Awesome Job :-) Can`t wait to see what you come up with in the future.
ReplyDeleteJust found your blog... LOVE!!! This cabinet is amazeballs! Can't wait to see what else you come up with!
ReplyDeleteWow what things you do! And I´m so thankful that you share your wonderful works. I wonder if the refill to distress inks fits in this cabinet?
ReplyDelete