
There are many storage solutions for Distress Ink Pads about there but since we don't have a craft room per se, I needed something that could be stored in an open shelf unit and look neat and organized, and this is what I came up with.
 |
| Opened bag with inserts removed |
 |
| Top View |
 |
| Handle attachment detail. |
 |
| Sipper end detail |
 |
| Side View of finished Bag. |

This time I chose a heavy denim with a gold polka dots design and used a bright yellow fabric for the lining that I got in South East Asia in 2013.

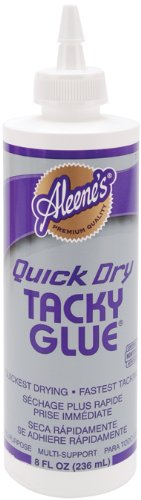
I also painted the inserts gold, using spray paint and like a I did with the previous.

I padded the bag with separate reinforcement pieces, so I could remove them and was the bag if needed. These pieces are removed/inserted through an inner zipper. Of course, you can leave out this zipper and close the bag shut by sewing it once the reinforcements are in place if you want to.

The video tutorial to make this bag is very long, but it explains in great detail how to label the ink pads, construct the chipboard or paper board inserts, sew the bag and also reinforcing and padding the bag. There is the time stamp for each chapter so you can navigate the video and skip the parts you already know how to do.
Here are some tips:
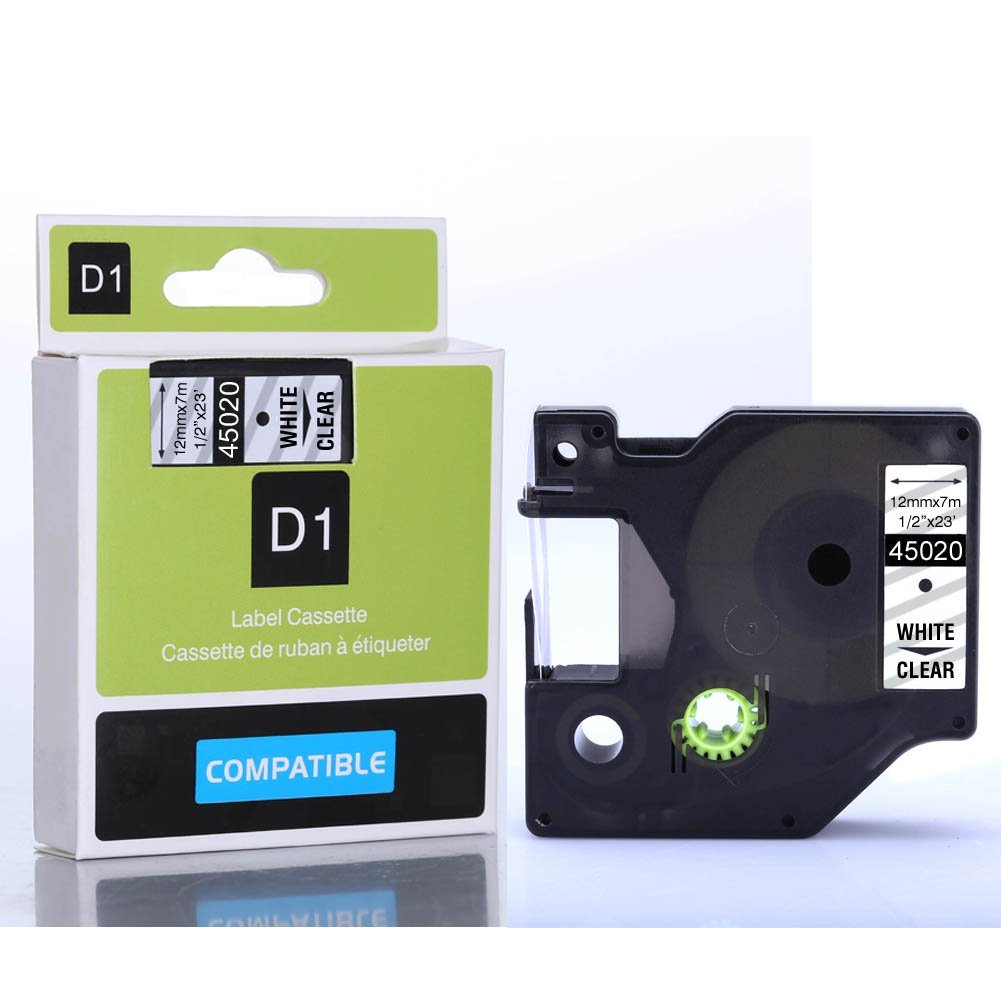
- It looks neater to label your regular Distress Ink Pads with white on black label and with a white on clear label for your Distress Oxide Inks.
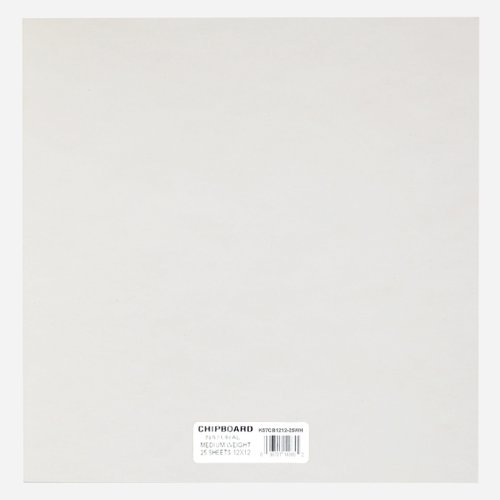
- For the individual inserts, use 1.5 mm paperboard or chipboard. If you are not familiar with it here's a useful post on this material.
- Printing the PDF file on a letter size paper will render the actual size of the chipboard pieces, so you can use them as a template to cut them.
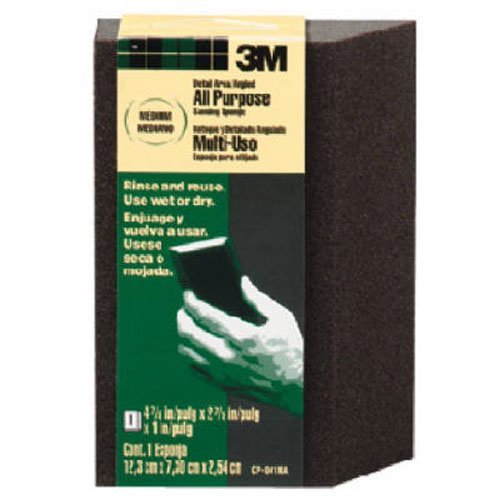
- Use a fine grit sanding sponge after the first coat of paint and then apply a second coat, this will provide sharper corners.
- Remember to use some kind of stabilizer if your fabric is too stretchy or if you are using a lightweight material. You can find some tips on interfacing here
- For padding I used 988 Pellon Sew-In Quilting Fleece, you just need a litlle bit of it, so, one yard of a 45" wide bolt will do.
- It is better to use an invisible zipper on the inside of the bag, because they are thinner than regular zippers and will allow for better folding in the center of the bag.
- I Arrange my ink pads alphabetically because it is easier to find them in the storage box, but I keep a color chart that I downloaded form the Ranger Site that is sorted by color which makes more sense design wise.

I really enjoyed making this bag and I hope you do too. If you give it a try, please don't hesitate to post your pictures on Awesome SVGs Facebook page, subscribe and like the video tutorial.


Great tutorial. Learned a lot.
ReplyDeleteThank you Barb
DeleteThank you for sharing, this is by far one of the best tutorials I've ever watched! Love your bag!
ReplyDeleteThank you Kim, comments like yours are what keep me going. 🤗
DeleteWOW thank you so much for this Tutorial.Brilliant :-)
ReplyDeleteThank you, you are very kind.
DeleteOMG! What a beautiful and useful holder. Thanks for the detailed video and file. WOW! Great job!
ReplyDeleteThanks Misty, and thanks for taking the time to comment. Sorry it took me so long to reply...
DeleteThank you so much for sharing all this information! I followed your instructions and made my own version, love it!
ReplyDeleteI’m glad you got to make your own!
DeletePlease feel free to post pictures on the Facebook page if you feel like it.
🤗
oh my goodness! I used 3mm thick chipboard and talk about a pain to cut. Had to adjust some measurements to insure alignment, but what a fabulous little box this is. Thanks for the tutorial!
ReplyDeleteJust what I needed. Thank you for a great tutorial.
ReplyDelete