

For the Box base I hose a snake skin paper to give it an eerie feeling. You can download the base box HERE. The file is two layers: 1 for the scoring lines and 1 for the contour. After importing the file in DS, remember to ungroup your layers, change the function for the scoring layer (top layer) and attach both layers so your machine scores and cut on the same mat. Check my previous post for tips on how to put the base together.

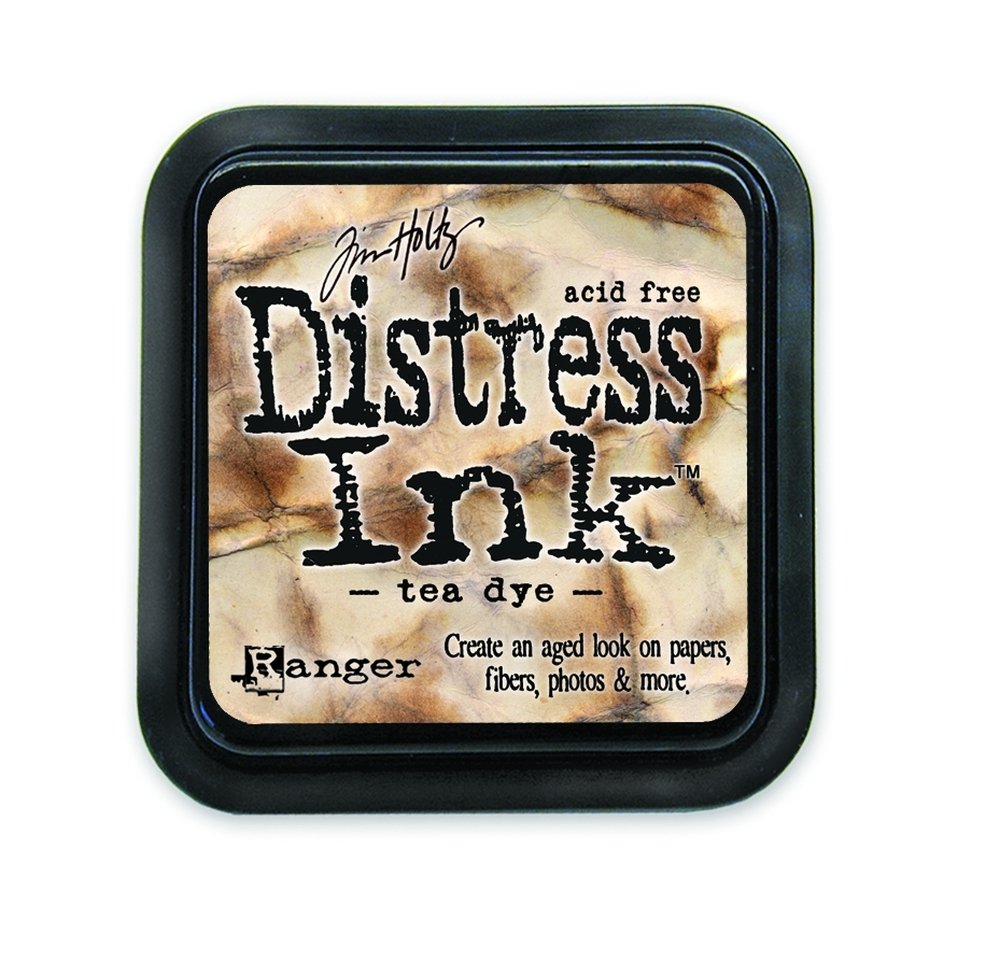
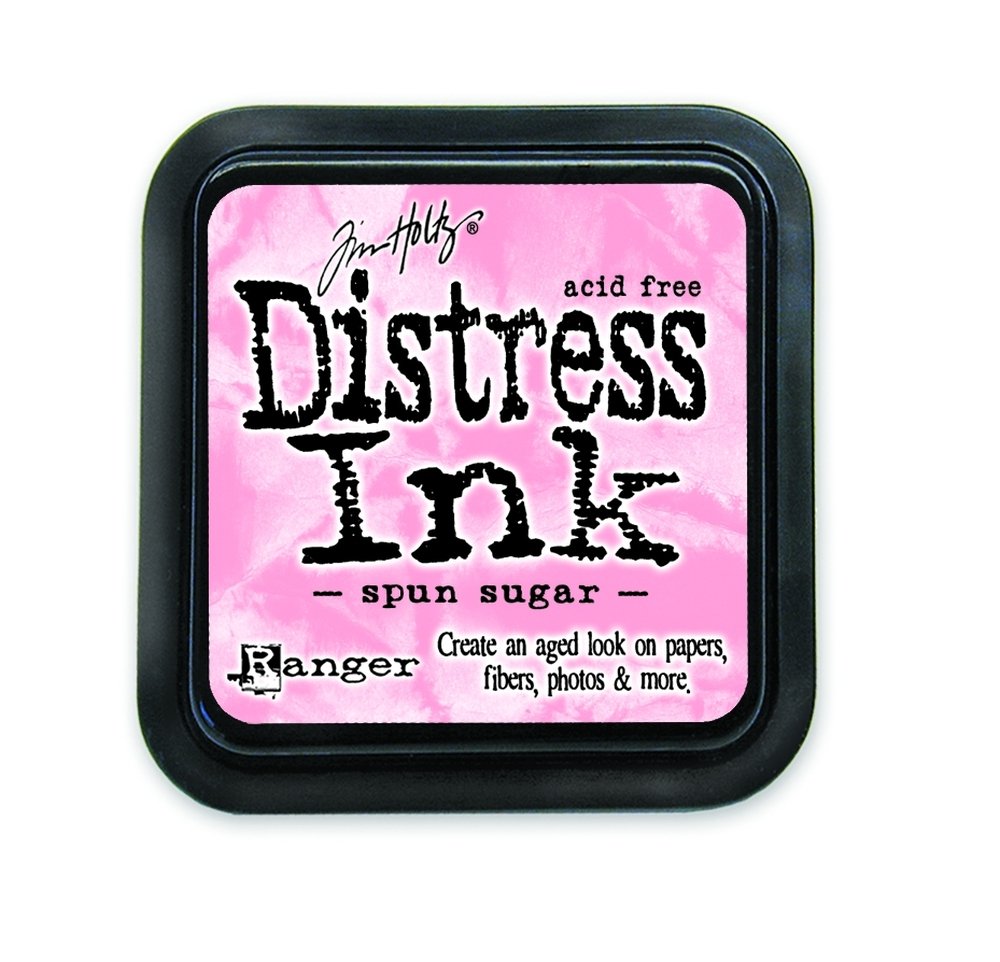
For the character, I used a skin color cardstock and inked the edged with some Tea Die Distress Ink and a a little bit of Spun Sugar Distress Ink on a dauber to give him rosy cheeks.

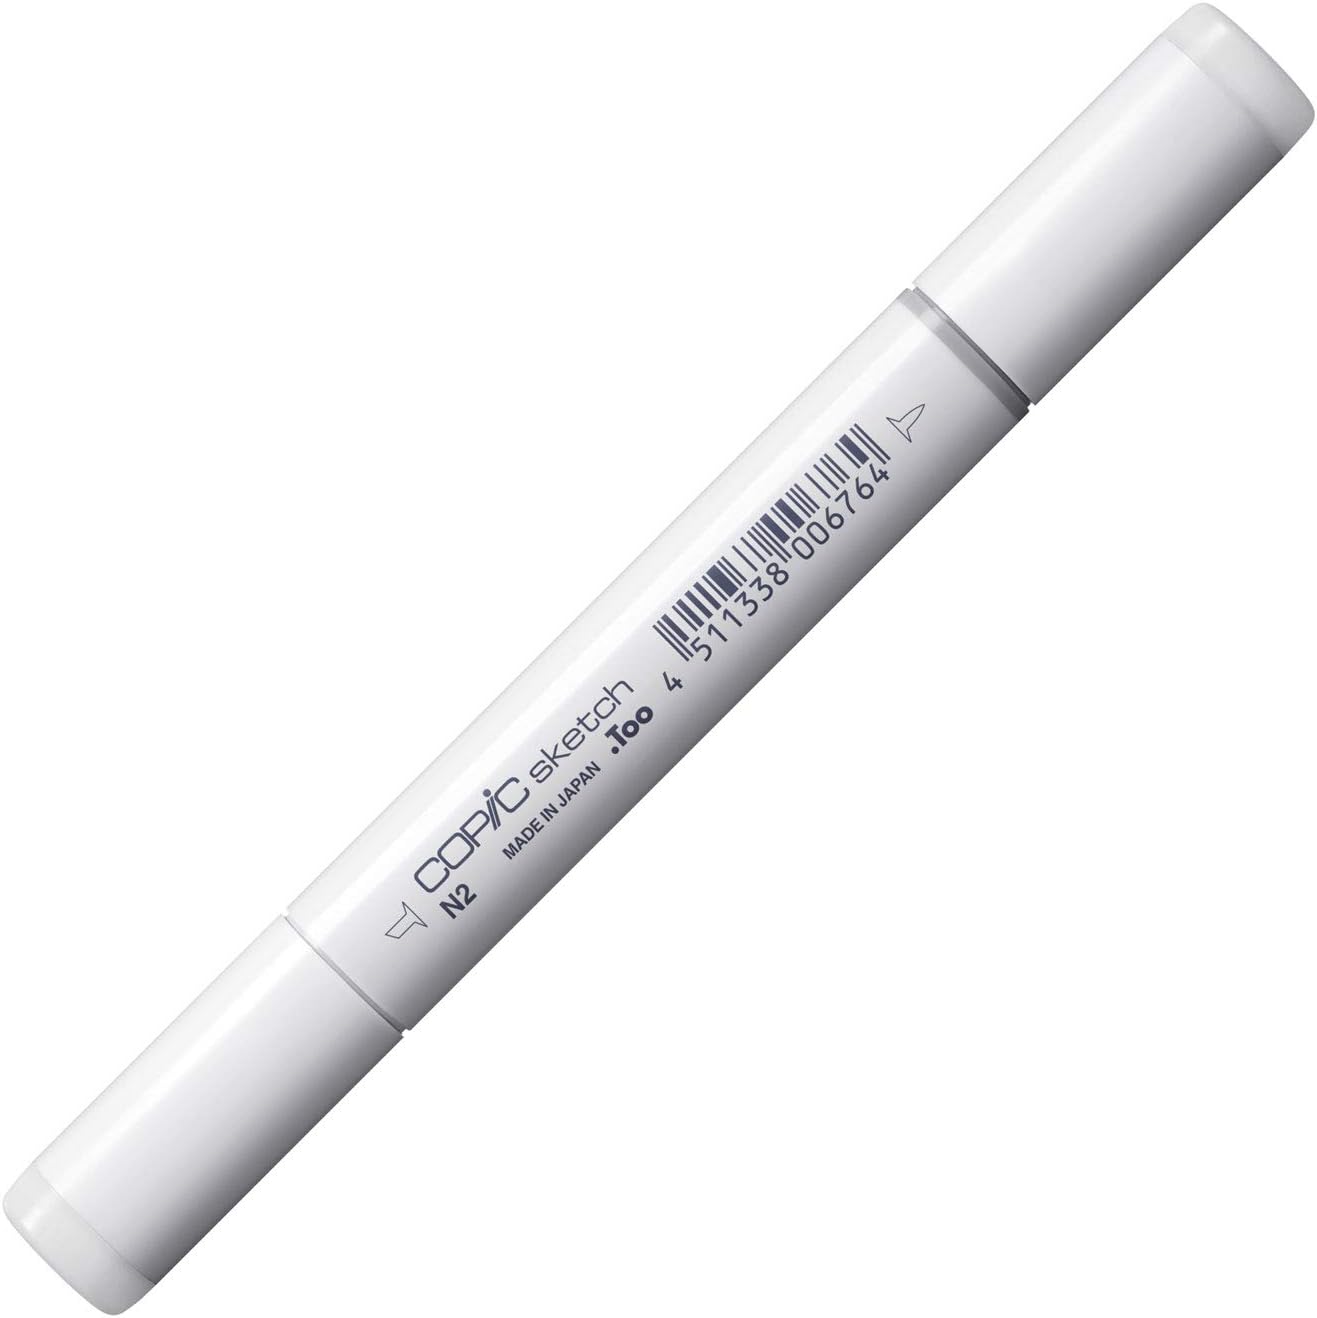
I also painted a shadow using a N2 Copic marker on top of the teeth cutout to simulate depth.
Now for the body
 |
| There are 6 layers on this file. There's no need to ungroup. |
All the pieces are already arranged to be cut on the smallest piece of cardstock possible. Make sure not to get the eyebrows and the mustache cutouts mixed up (mustache is shorter and thinner).
If you plan on making a pin stripe suit, make sure to position your printed paper with the vertical lines aligned with the sides of your mat. The pieces on the pattern are rotated 45° so when you assemble the collar, the stripes will mimic those of a real suit.
 |
| Lines of the patterned paper aligned to the sides of the mat |
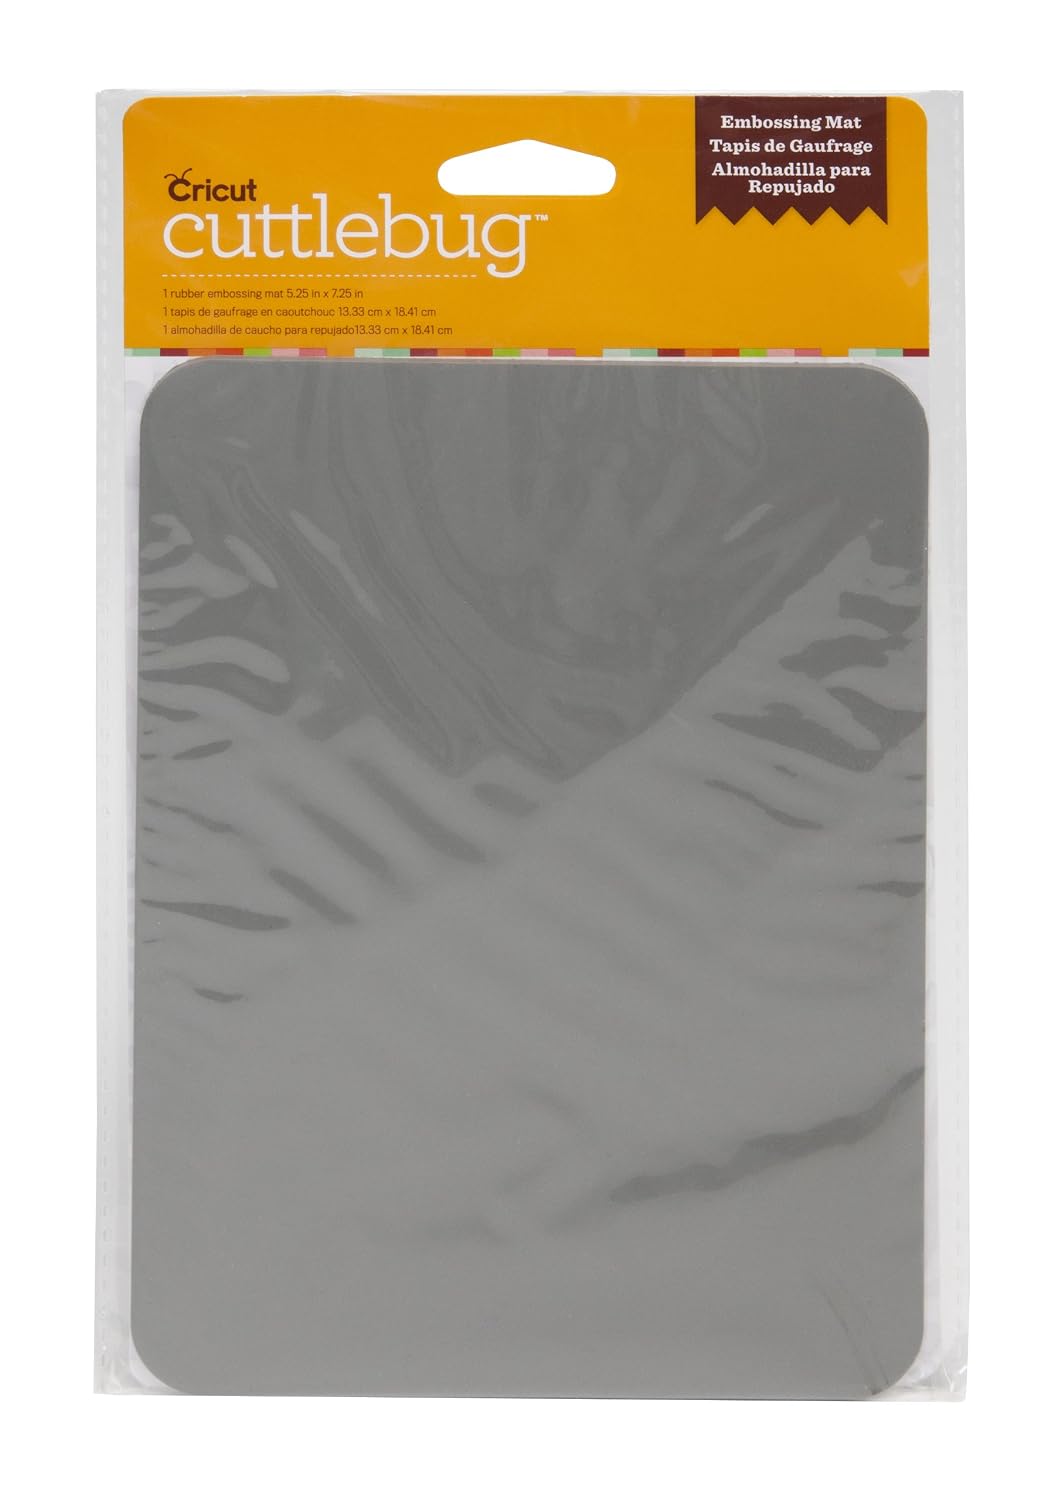
I hand embossed the hair and the collar of the suit using a stylus, a bone folder, the cap of a Sakura pen and an Cuttlebug embossing mat.
 |
| Embossing mat and hand embossing tools. |
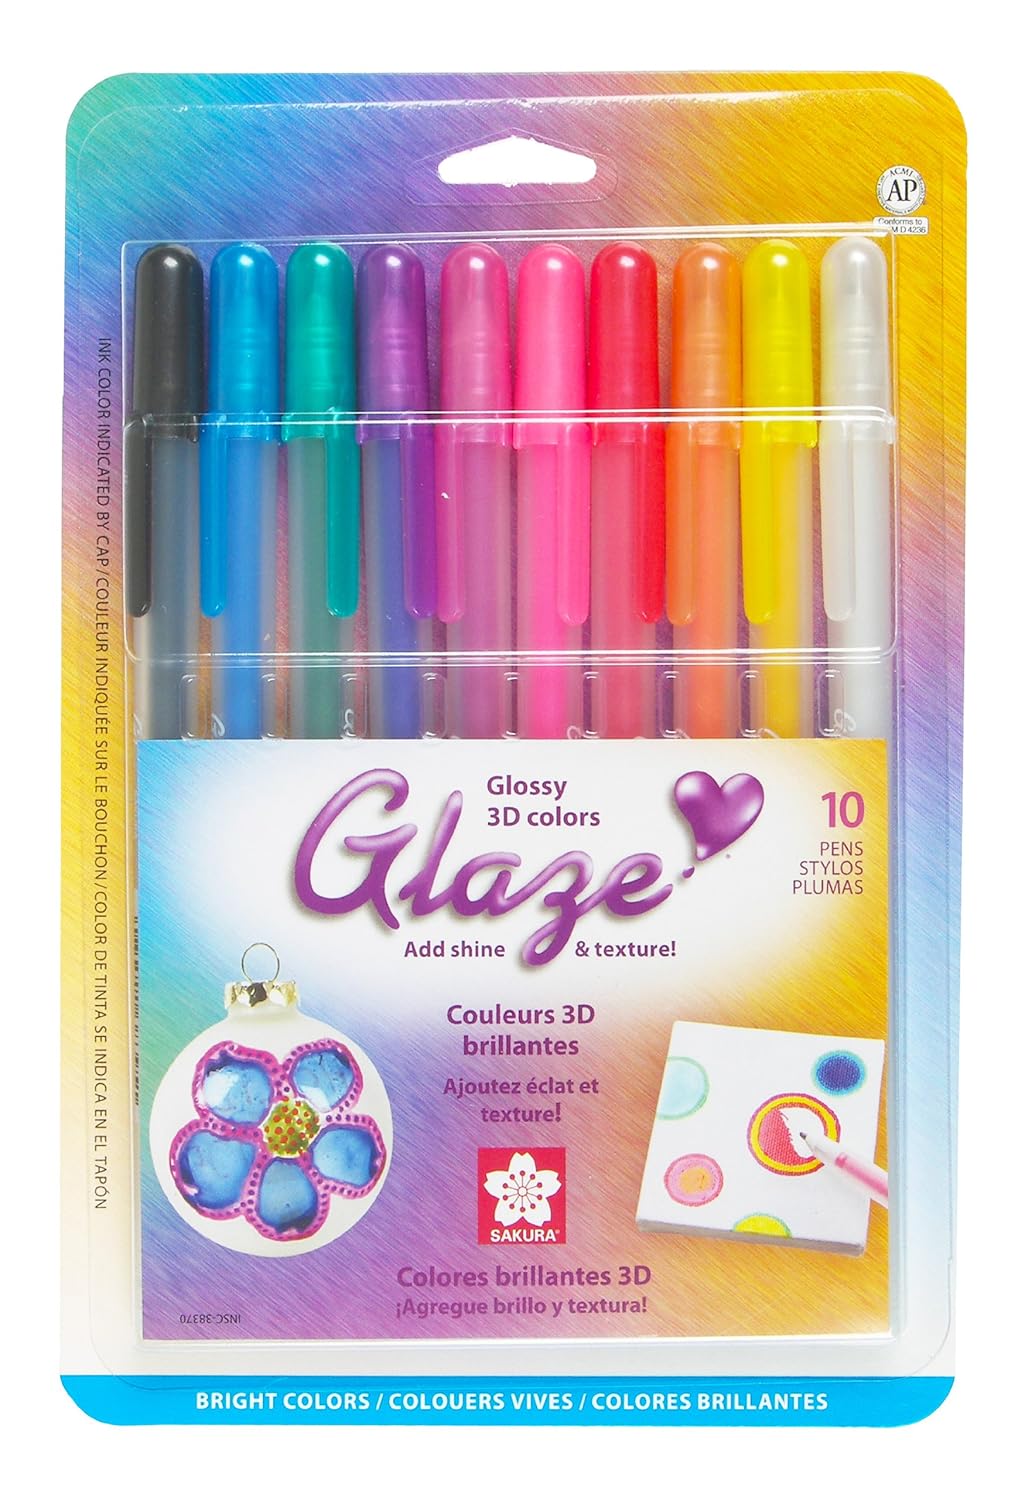
I gave the hair dimension by raising the center and embossing deeper lines following the hairdo (did not know that was an actual word). Add some highlits to the hair with a white gel pen. I used a Signo Unball UM-153, a broad point very opaque color pen.

To avoid flattening of the finished work, place a small piece of foam tape in the back.
 |
| Face base with inked cheeks and hair with foam tape on the raised parts |
 |
| Put glue on the edges of your hair piece. |
 |
| Image does not correspond to this box, but you get the idea |
 |
| Click to enlarge and check the embossing on the hair. |
The eyes were assembled and glued to the face using a liquid glue. I placed a couple of little highlight son the pupil and then, the cool part: put two coats of Mod Podge to give them dimension. The clear dome like coating makes them really pop. It is a good idea to let it dry overnight to avoid messing it up.

I love the fact that this looks so much like John Astin, there's no need explaining who he is.
Enjoy!
Supplies List
 |  |  |  |  |
 |  |  |  |  |
 |  |  |  |  |
 |  |  |  |  |
 |  |  |  |  |
 |
Gomez - Gomez was such a handsome, suave, rich man. My friends wanted to meet him, have him fall madly in love with us and marry us away from our small time lives! Loved John Astin in this role. Thanks for sharing the files.
ReplyDelete