
Halloween is right around the corner so let's start making those treat boxes.
This is the first one of this year's Series, a collection that is all about Family.


The scoring layer and the contour layer. Remember to change the top layer to scoring, ungroup and and attach both of them in Design Space before cutting.

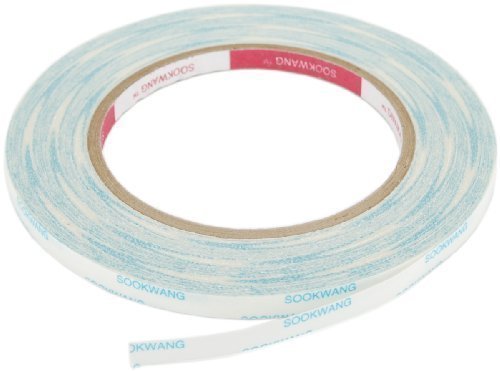
It can be assembled without glue, but I like to put a little piece of double sided tape on the interlocking flaps to keep them together and avoid spilling the goodies.

I wanted to keep the base box simple to focus on the character. Download here.
After my Red Barn Card, where I did a lot of hand embossing, I decided to try the technique again with more detailed shapes; so here it is. I put special attention on the cheeks, chin, hair and suit collar of Lurch.

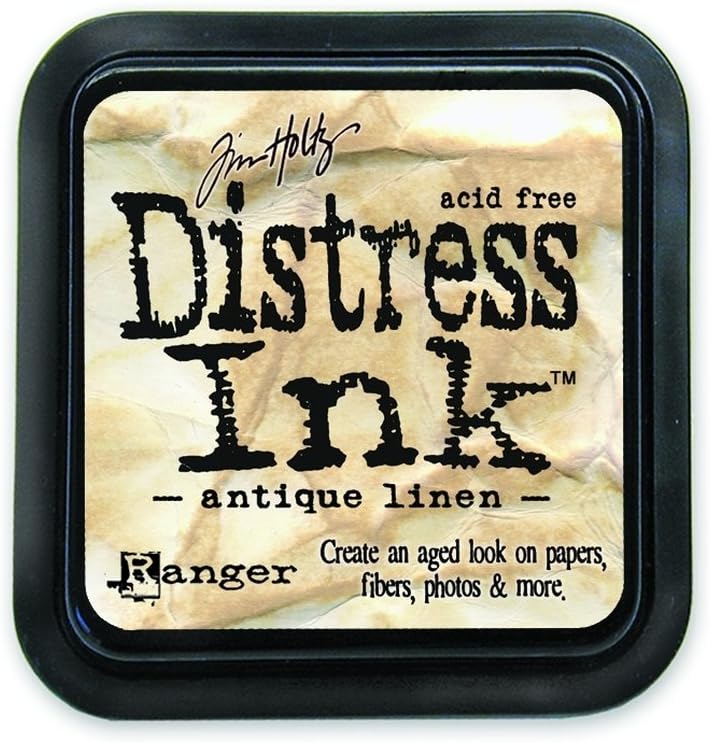
For the skin I used cardstock in a very light shade of almost green brownish color. Using Antique Linen Distress Ink and a water brush, I drew a shadow under the cheeks and with a Sponge Dauber I inked all he edges, specially around the ears and the corners of the jaw.
Now for the hand embossing you will need:
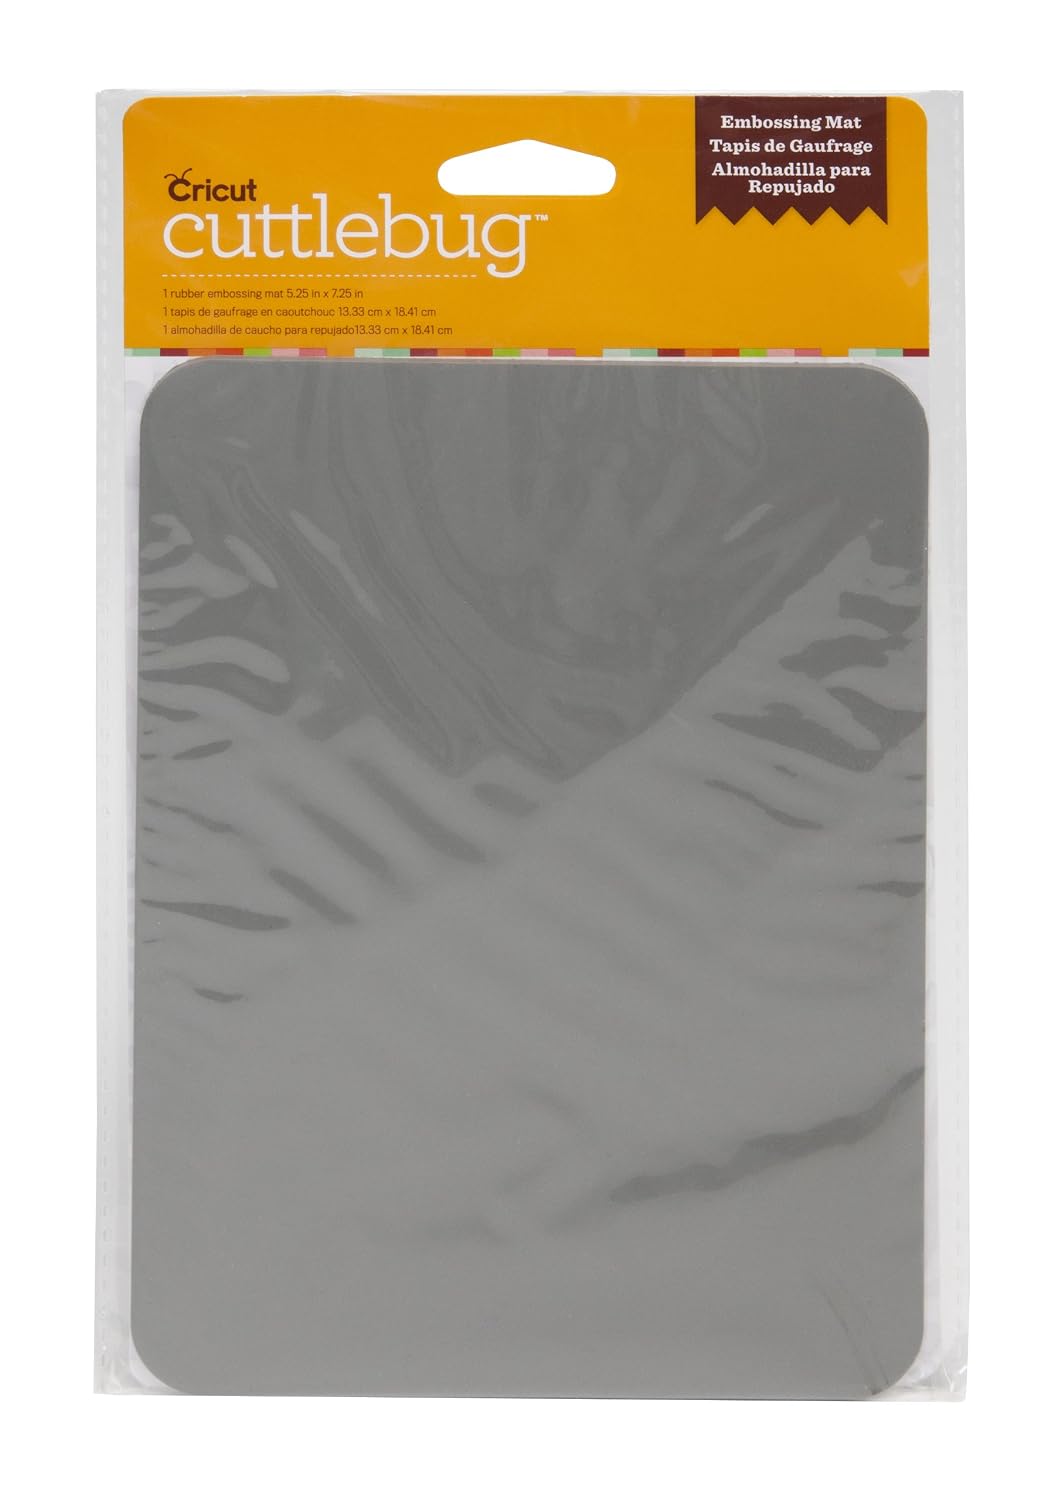
 Embossing Mat. I used Cuttlebug Embossing Mat.

Embossing Stylus. I used the one that comes with Martha Stewart's Scoring Board.
Other Embossing Tools. A round pencil, pen or pen cap, the back of a bone folder or any other hard round, smooth object.
 Working from the back, press gently with your embossing tool against the mat. Start from the center and work your way around until you achieve the desired shape. To define the contours of your raised surface, press gently around on the front.

Raise the cheeks, the chin and the center of the hair to give him a front puff.
For the lapels, press from the center to the corners so they curl.

To keep all this work from flattening, use little pieces of foam tape in the center back of your raised areas, and to keep those low borders in place, glue them down using some liquid glue and hold them until they dry using small craft clothespins.

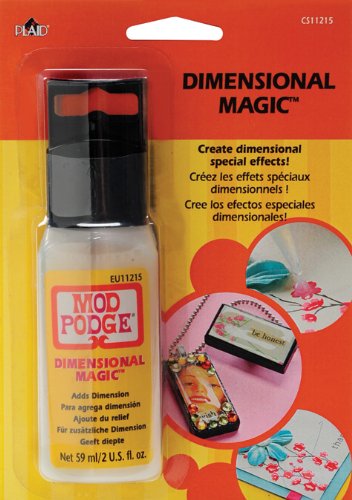
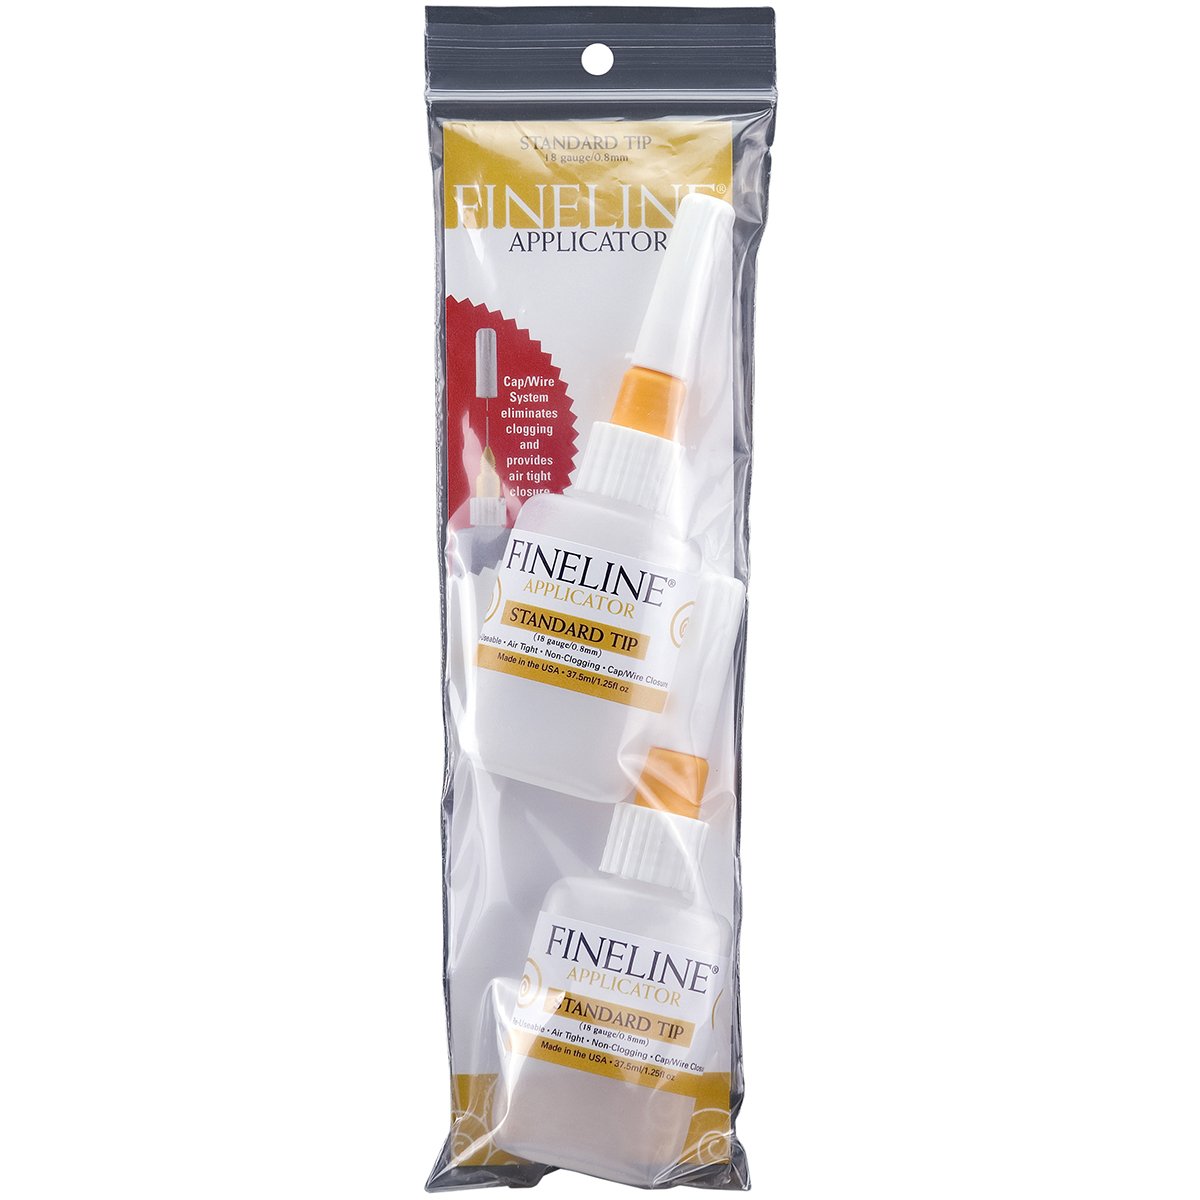
The eyes are the best part of this box, Two layers of Mod Podge do the trick, for shiny, dome like, clear eyes. I like to use a Fineline Applicator for better control on the flow, just make sure to take all the bubbles out before applying.
 |
| Apply a small amount of Mod Podge in the center of the eyes and let it dry completely. Apply a second layer covering all the white of the eyes (sclera) and let it dry again. That way you will get a perfectly round dome. |
The back is very simple. I just added some white highlights using a white gel pen to make the edges of the collar and the hair noticeable.

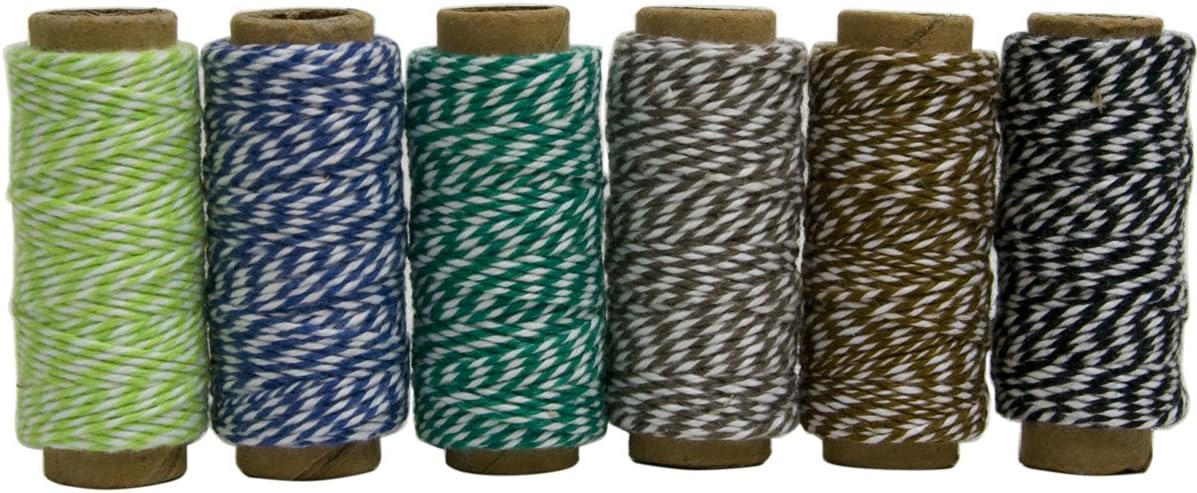
Glue the character to the flaps, aligning the holes on top. The small 1/8" hole in the front and in the back allow for a a string of baker's twine to be tied to keep them together. I chose lime green to match his skin color.
I hope you like this Series as much as I do. Don't forget to subscribe and feel free to support us. Thanks!
Enjoy!
Supplies List
 |  |  |  |  |
 |  |  |  |  |
 |  |  |  |  |
 |  |  |  |  |
 |  |
Thank you for the file. I am having problems with download. I can't import them for cutting. Base will open in my software, but it just a large pile of lines. The face when imported just hangs up my software. Any help would be greatly appreciated. I have imported your design before without a problem.
ReplyDeleteHello Mary,
DeleteWhat software are you using?
You can email me at omar@awesomesvgs.com
Lurch was the strange one (weren't they all, though) with his non-understandable verbage! Thanks for sharing the file.
ReplyDelete