Very simple on the outside, this card has a colorful popping surprise on the inside.
After many dummy runs, figuring out waves height and position, I finally managed to make this card work.
The front is a very simple layout. A white base card, a matted light blue panel, a mated pierced border dark blue panel and a white watercolor cardstock panel on top. You might think is a lot of layering, but this actually helps with the pop up.
 |
| The piercing on the dark blue panel were made on the Cricut. |
All these panels where adhered using my ATG gun, to avoid the watercolor cardstock from warping with liquid glue.
The sentiment and the castle are from the
Takoda Stamp Set from OAK Tree Stamps. Both were stamped using Versafine Onyx Black Ink to prevent smudging with water.
USE CODE SURFERTURTLE DURING CHECKOUT TO GET 20% THIS CUTE STAMP SET AT WWW.OAKTREESTAMPS.COM
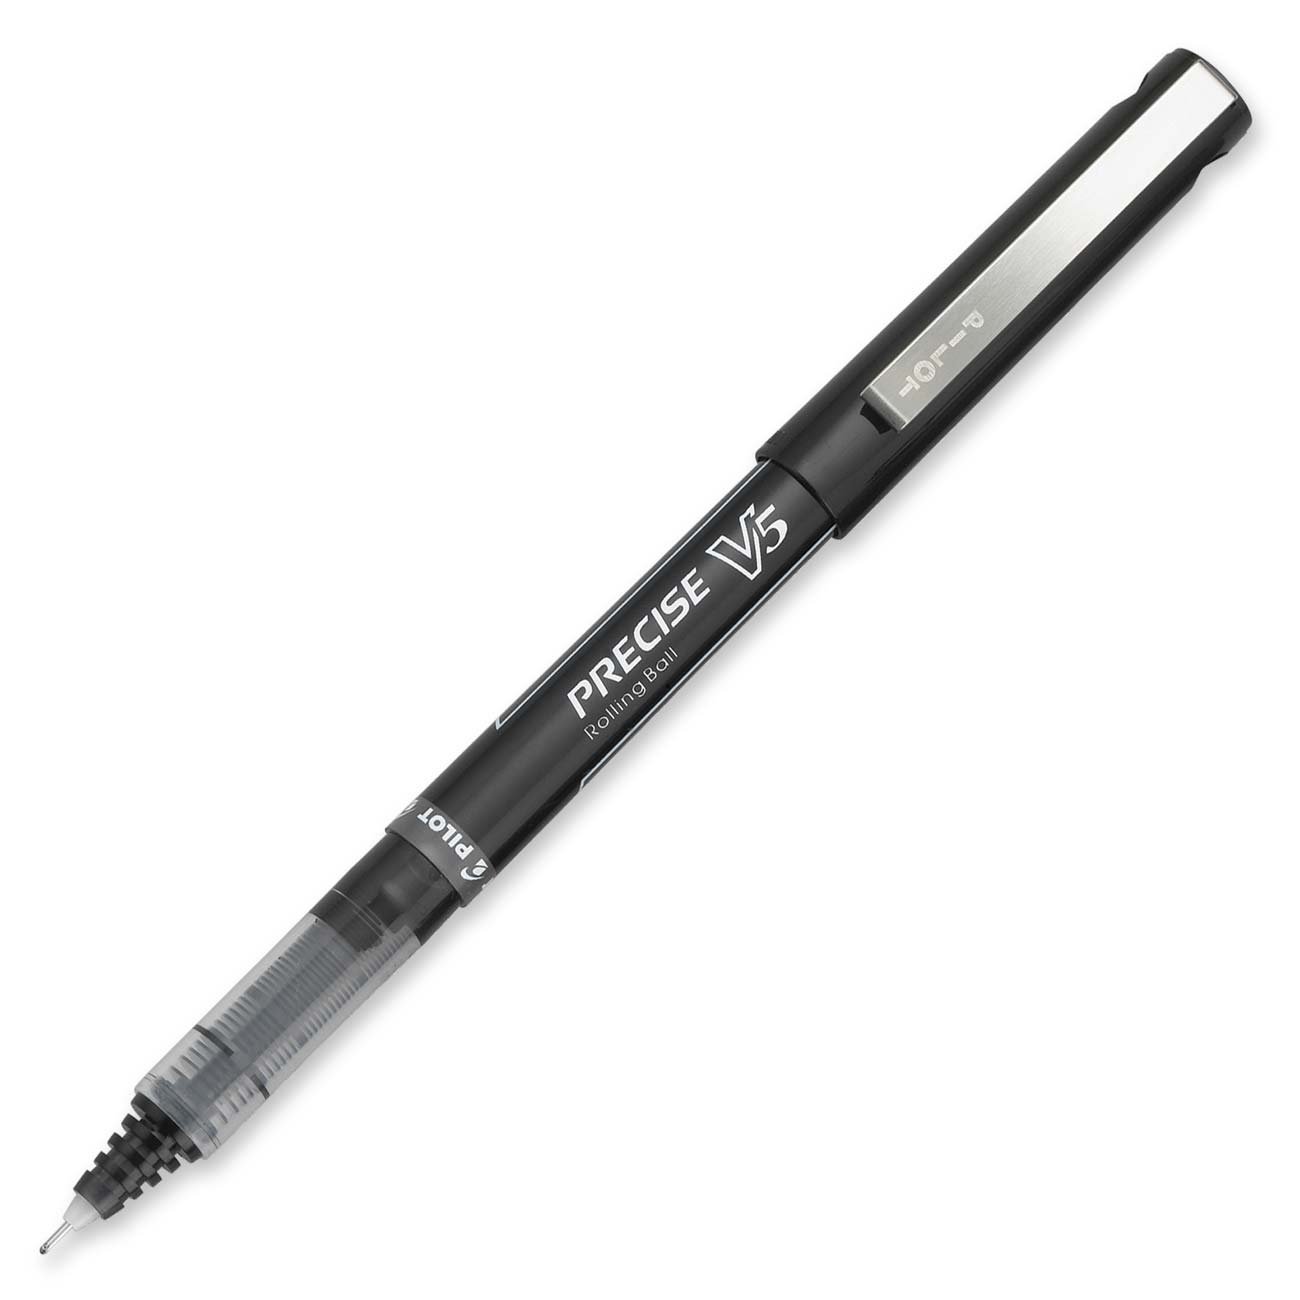
I also created an outline for the sand to guide the coloring. The SVG provided includes the sand outline, so you can draw it with your Cricut using a waterproof pen, I used a Pilot Precise V7. This drawing path is conveniently placed on the top most layer, so you can change the function to write and attach it to the underlying layer after ungrouping. It is too bad that Cricut DS does not recognize layer names on SVG files; this explanation would be much easier then.
 |
| Sand and top most panel included in the file |
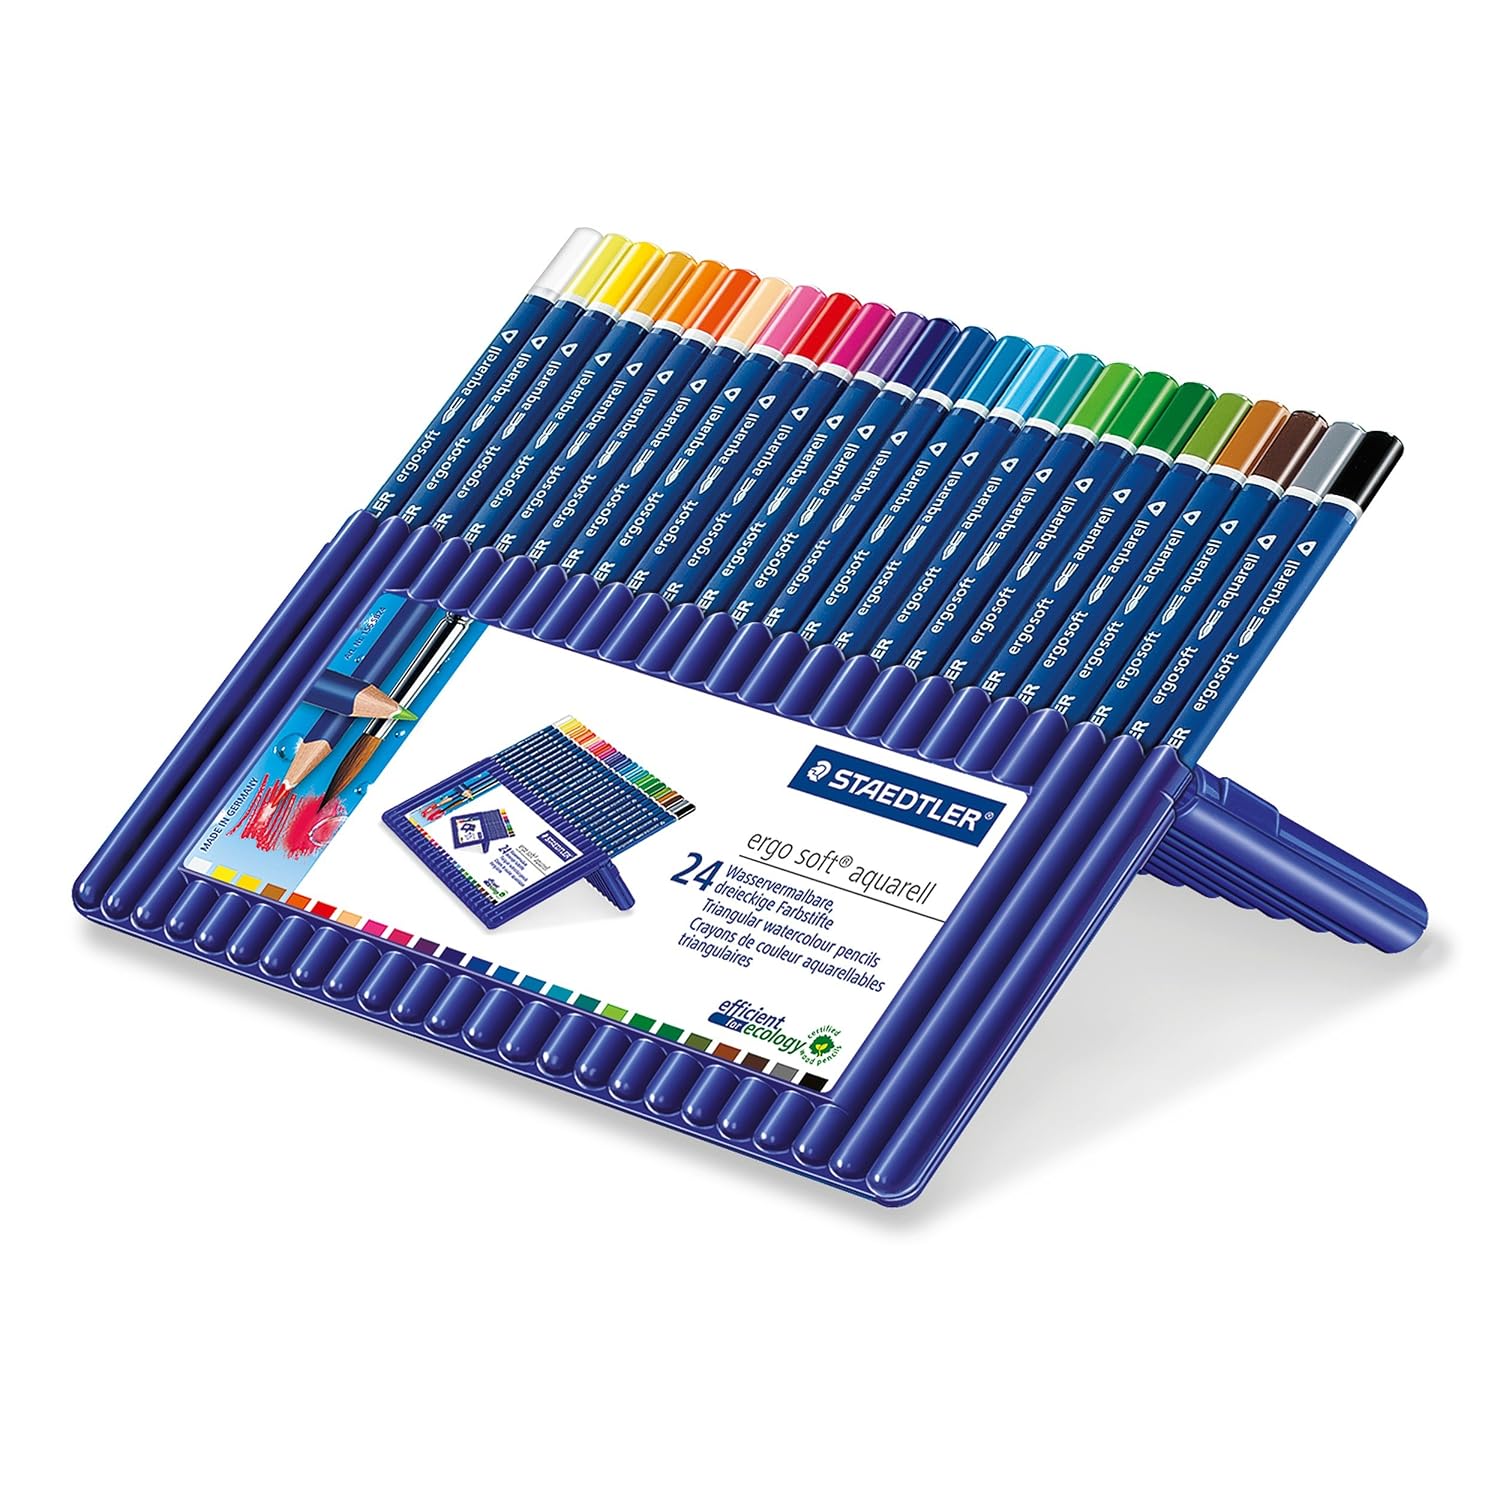
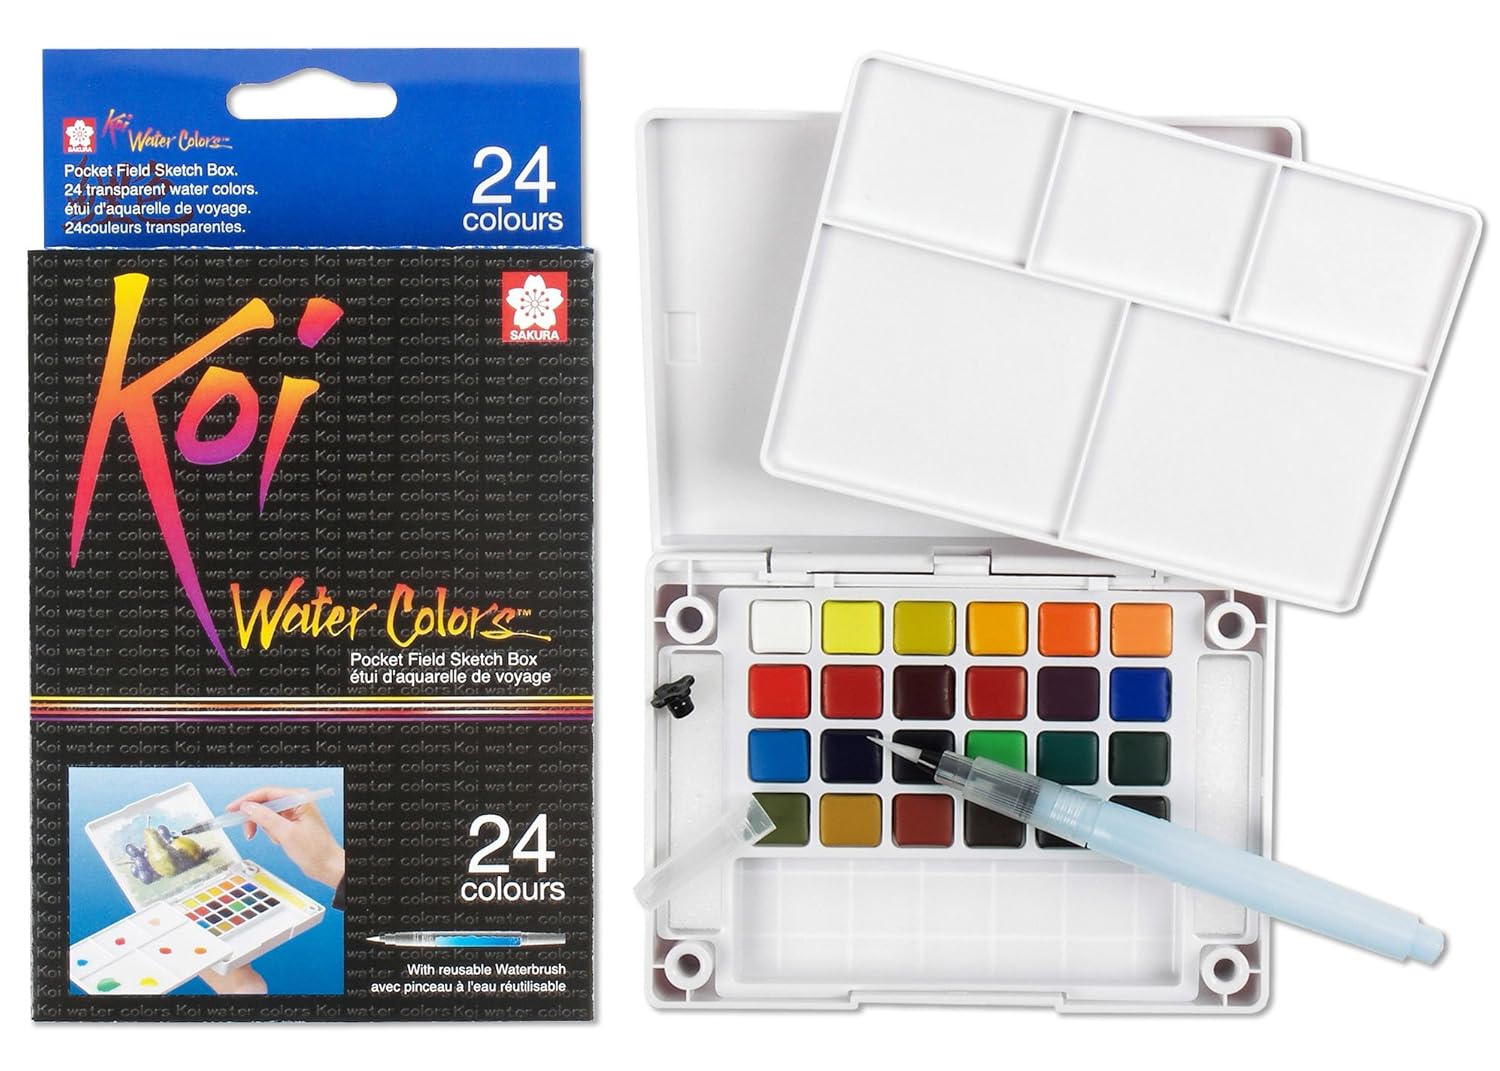
The initial coloring was was done with a Sakura Koi Watercolor Set. After finishing the castle and the sand, I applied a wash of color around the the image to create a faded background. I added details with Staedtler watercolor pencils. I like the fact that the colors on the watercolor set and the pencils kind of match, so you can add shadows and highlights without fear of going too far off the color scheme.
I stamped the sentiment and added clear embossing powder on top it to make it stand out.
I then embossed the front panel just to embellish it a little. This also flattens the cardstock in case it warps whit the coloring.
To do this, use the offset path in the file and run them through your Embossing Machine. You can keep the offset path behind the watercolored panel to avoid flattening in case you are mailing the card.
Here´s a little help on how to achieve this.
 |
| Please wait for the image to load |
You could make the card with the color cardstock, but you know I love me some inking, so here it is:
 |
| Pop Up layer |
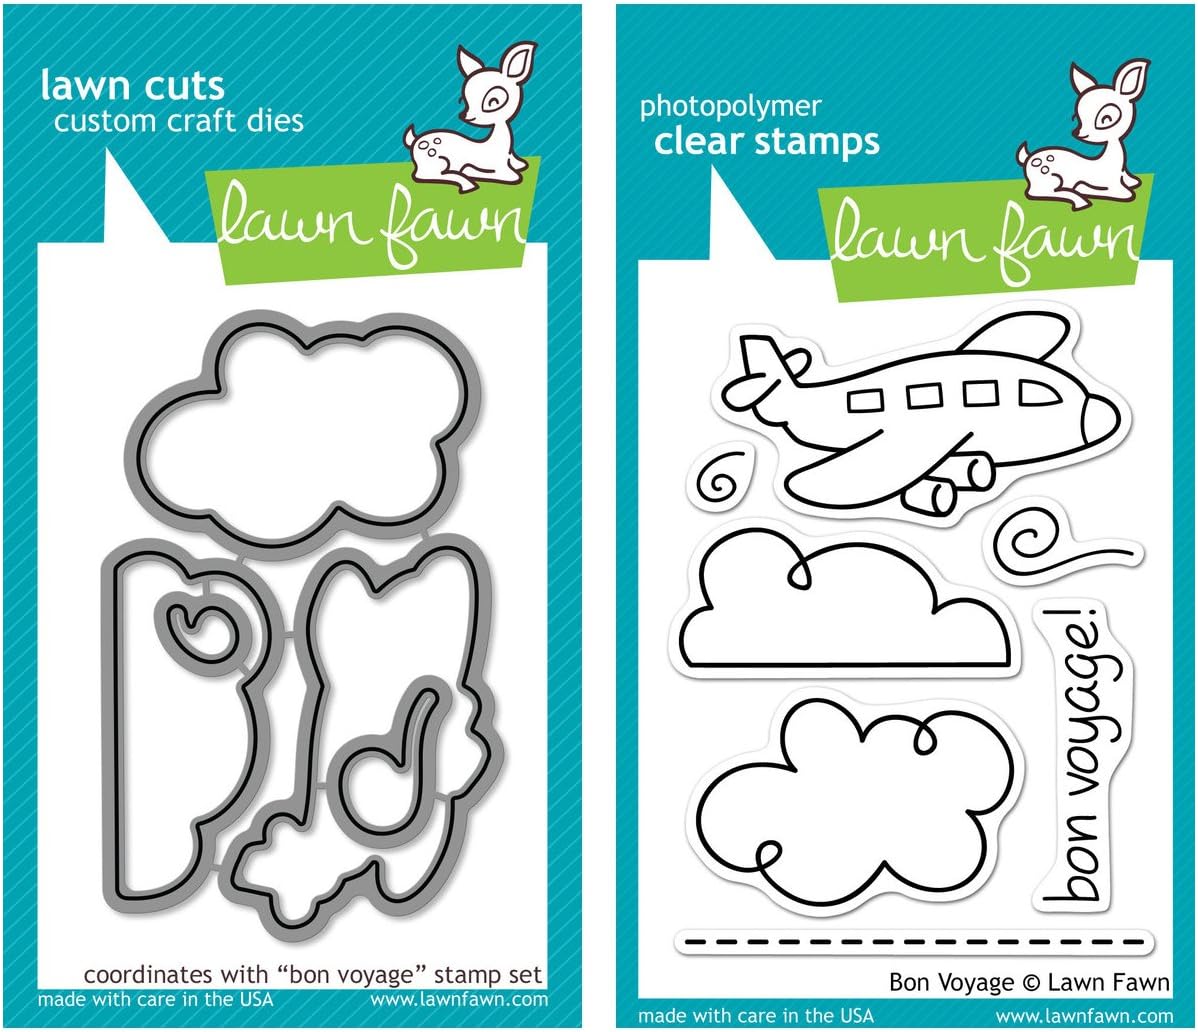
The pop Up layer should be inked before folding. I applied ink on the edges and a little bit on the fold where the ocean and the sky meet. I also added a couple of clouds using the Lawn Fawn Bon Voyage Stamp Set with Versamark ink and White Embossing Powder to the sky. And for the water, I used the Bubbles from the
Takoda Stamp Set and also heat embossed them.
For the waves, I used a slightly darker ink color and inked the edges. Fold he flaps after inking.
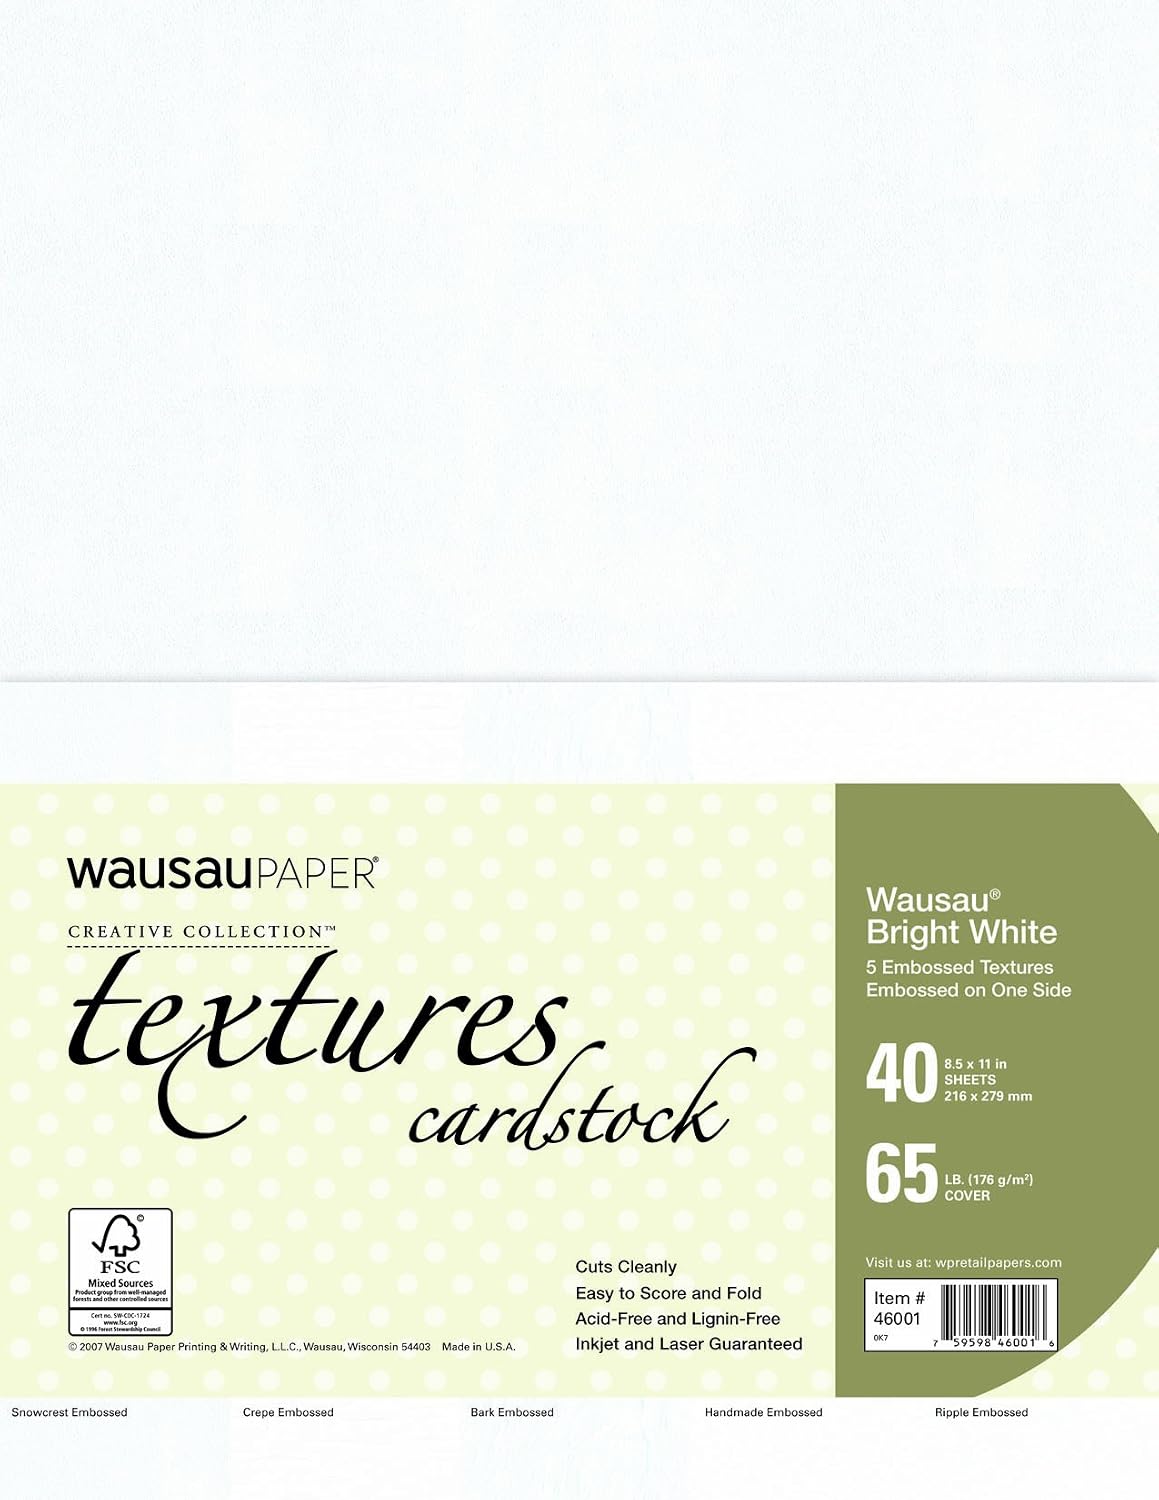
Assemble the big wave adding the trough and the crest on top. For the crest, I used Neenah Creative Collection Bright White Textures Cardstock in Snowcrest Embossed and applied a coat of Wink of Stella Clear Glitter for shine. I also added highlights on the small waves panels.
 |
Bottom flaps should be folded to the back of the card,
and the middle flap to the front. |
Train the pop up using the scoring lines. By the way, scoring line layer is the third layer from the top, change the function to score in Design Space and attach it to the underlying layer (pop up light blue layer)
The gluing of the panels could be a little tricky. I started with the smallest waves and I realized too late that it is easier to start with the back most panel, the one with the tallest wave. I'll show you how I did it, but remember to start with the tallest one..
 |
Place the panel in front of the corresponding pop up stair raiser
and apply glue to it. |
 |
| Press the raiser from the back and make sure the panel is in place. |
 |
| Fold the tabs up and add glue to them. |
 |
| Fold the panel to the back to attach the tabs to the base. |
Continue with the the other panels, making sure the Tread of the stairs, stays inside the popup panel
 |
| All the bottom tabs should be evenly spaced. |
 |
| The center tabs conceal the pop up base |
Finally, place Takoda on the scene. I sort of weaved him between the tall and short waves. I made an outline for stamping, but I'm so bad at it, I ended up fussy cutting the image.
To stamp the surf board behind the character, I used a little post it tape to mask the overlapping part.
 |
Stamp the image on a piece of Post It tape,
fussy cut it and place it on top |
 |
| Stamp your image on top |
 |
| The overlapping lines will stay on the post it tape |
 |
| Store your masks on your set's acetate backing |
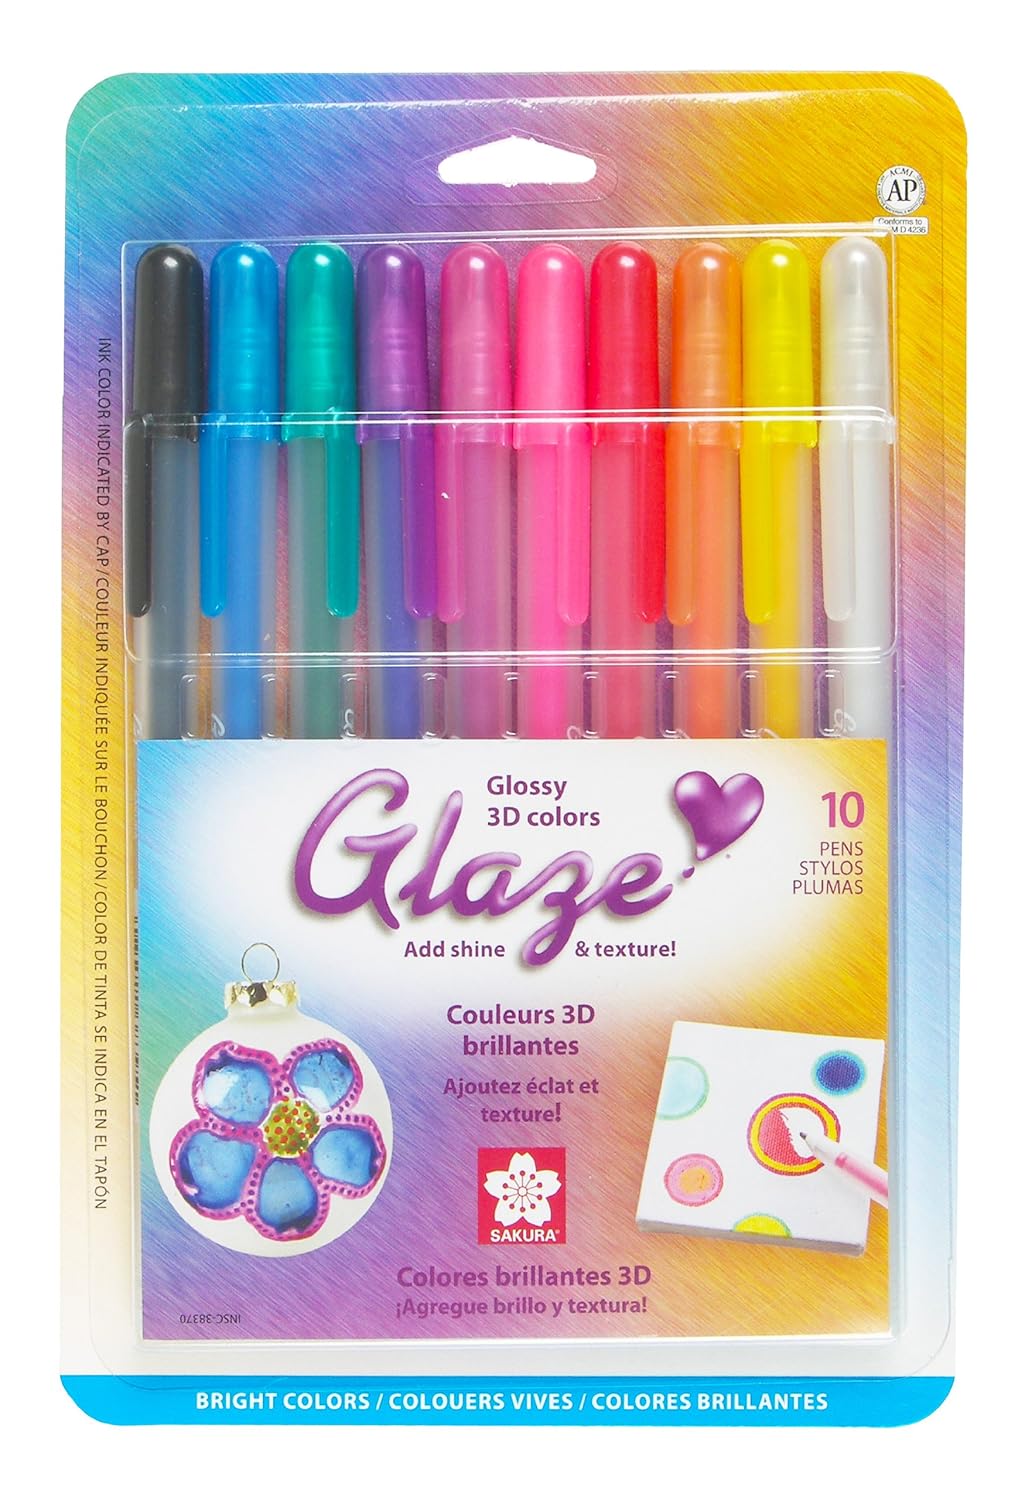
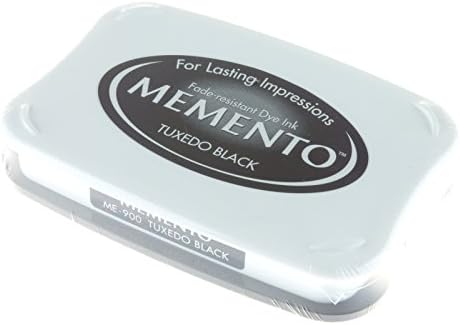
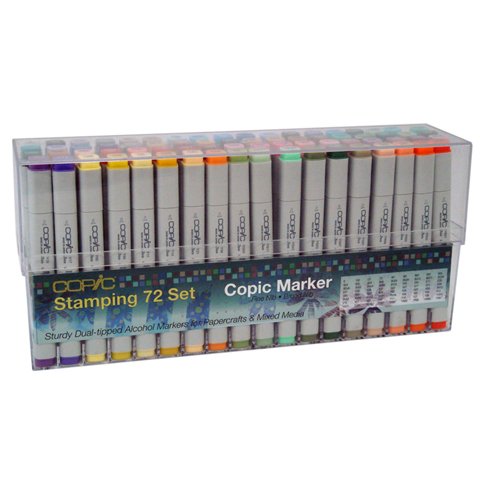
I stamped him with Memento Tuxedo Black ink and colored him using Copic Markers, with a very simple three tone shading, colorless blender for texture, white gel pen for highlighting and of course, some Black Sakura Glaze gel pen for the eyes to make them pop.
 |
| Look how vivid the eyes look! |
The dimension on this card is so much fun and so easy to make.
I hope you give this a try and check
OAK Tree Stamps for deals and discount.
Please, take the time to leave a comment and subscribe to the newsletter for subscriber only files.
Supplies List
If links don´t seem to open, please right click and select "open link in a new tab", it should take you to a save file dialog. Let me know in the comments if links don´t work, thanks


No comments:
Post a Comment