
By now you know when I like something, I go all crazy and make a bunch of projects on the subject.
I wanted to introduce this year's Halloween theme with a cute Pull Tab Dissolving Image Card.
Do you want to know what the cute piggie turns into?

This is what the finished card does.

USE CODE BAT-PIG DURING CHECKOUT TO GET 20% DISCOUNT ON THE FULL COLLECTION OF ANIMAL PARADE RELEASE.
For this card I used the Petunia Stamp Set


 |
| Artwork pieces |
 |
| Card Sleeve and Front Panel |
 |
| Artwork Frames and Pull Tab |
After importing the file you will notice there are 6 layers. From top to bottom they are:

- Safe Zone: change this to a writing layer.
- Slits for both pieces.
- Number Two: this is your mark to pause your machine, don't worry, it'll all make sense later.
- Sliding artwork piece contour.
- Fixed artwork piece contour.
- Number One, This is to give you an idea to where the machine will go after your artwork contours are cut.
 |
| This is how the attached set looks on Design Space |
This ordered cutting concept is based on Kay Hall's post "Targeting your Explore cuts – hinge method" that explains how to layer your images to cut them in a specific sequence. In this case your machine will, in this order:
Now for the stamping part.
The front fixed panel was designed entirely with the Petunia Set. I just stamped the character in the middle. Using a 0.5 COPIC Multiliner, Using a ruler, I drew a horizontal line to set the horizon and stamped a couple of corns on top and drew a couple of vertical lines underneath to make them look like corn plants.
For the night scene I used the Petunia Stamp Set and the Scary Tale Stamp Set. Remember to place your images towards the left side, because the left edge of this safe zone will align with the left side of the sleeve's window on the finished card. I stamped the character and the fangs under the snout. Then drew the cape with a pencil (very simple lines) and finally stamped the moon and the bats masking the character with a Full adhesive post it to avoid overlapping the images. Using a 0.5 COPIC Multiliner, inked the cape and added some strings under the nose. I also drew a horizontal line to set the horizon.

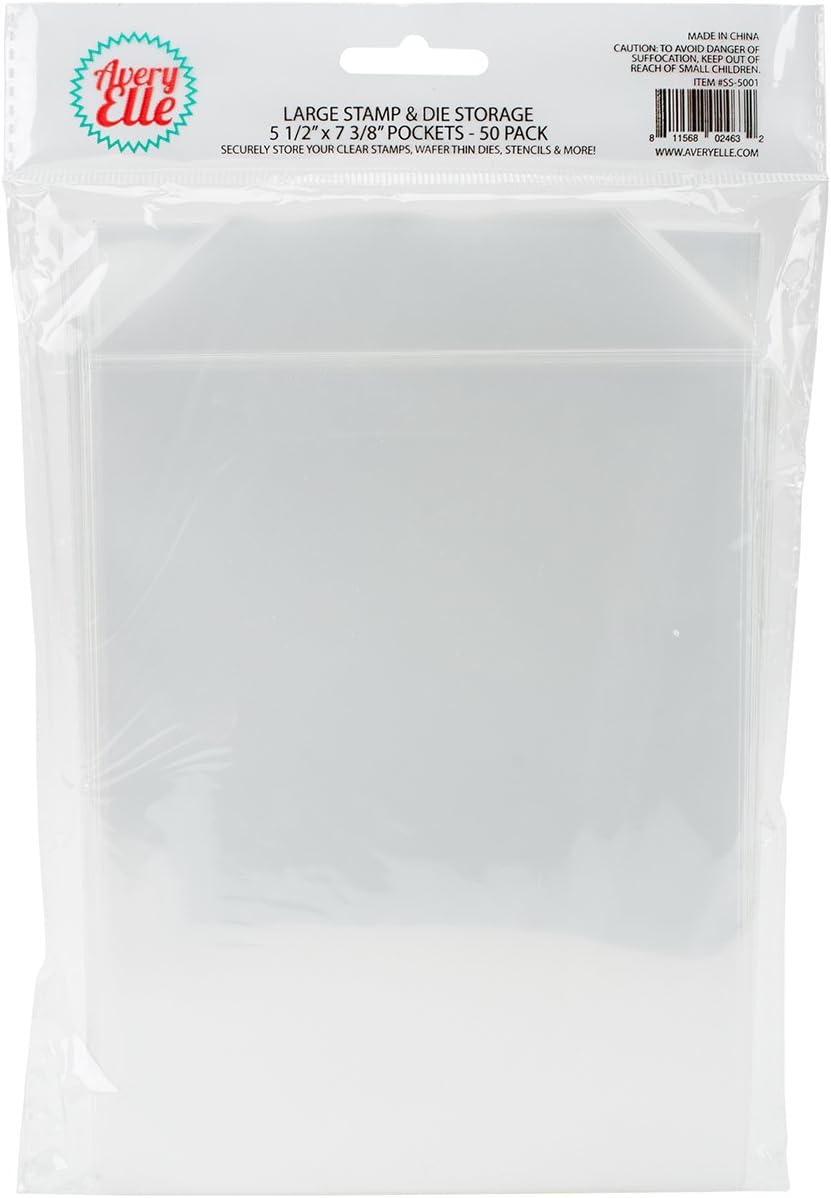
 I like to keep my masks attached to the backing of my stamps to have them handy. I also keep my stamps on Avery Elle's Storage Pockets
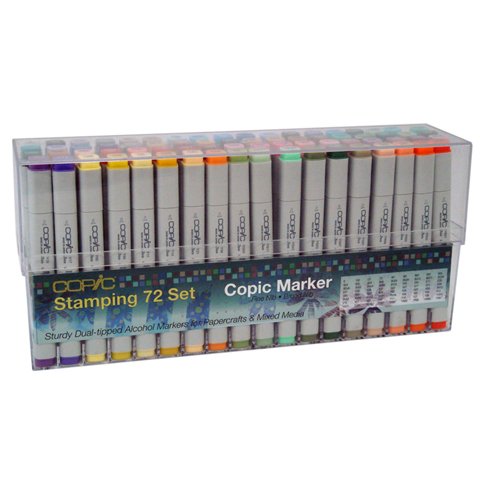
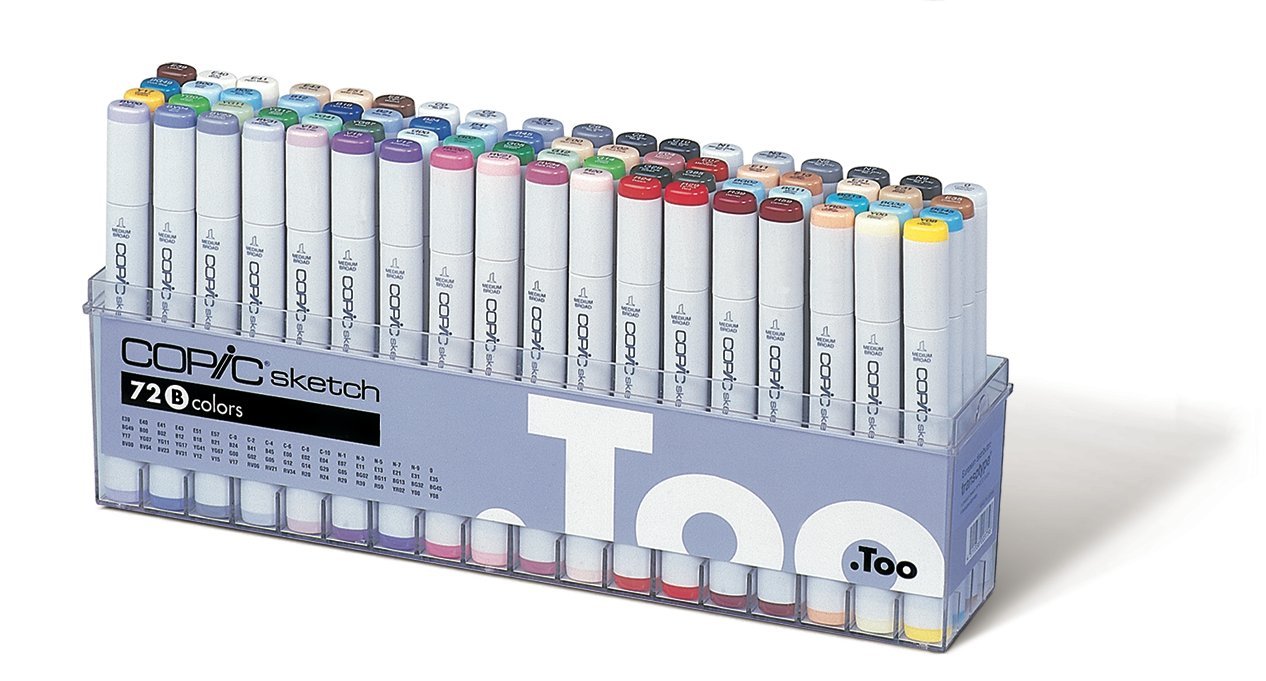
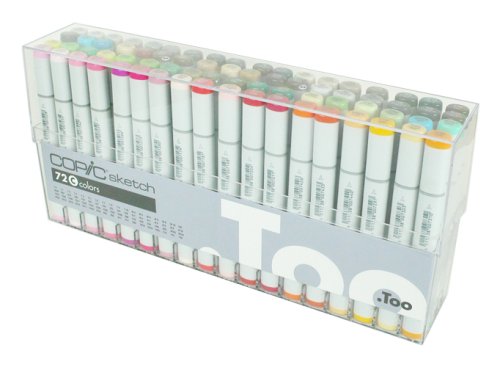
 I colored everything using COPIC Markers in a very simple 2 or 3 tone shading.
Once you have colored your images and cut the slits on them you must "weave" them to allow for the night scene to overlap the day scene.
Let's put the card together now. I designed this file to be able to be cut off of a 8.5" x 11" piece of cardstock. This is almost a test on how well you know your machine.
Separate the front and the sliding panel and glue the Artwork Frames to both sides of the Slider Artwork Piece. It is better to use a liquid glue to reinforce the cardstock.

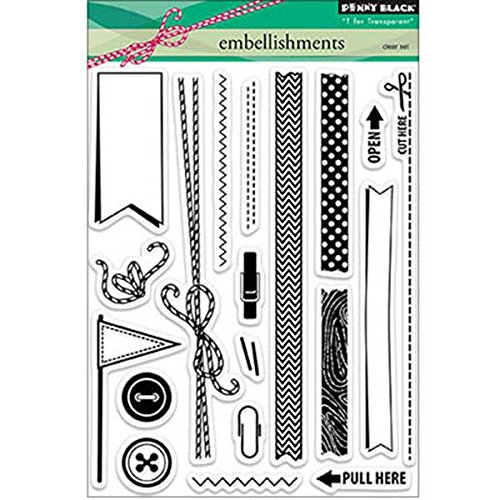
 Stamp your sentiment on the Tab. I used the "Trick or Treat" sentiment from the Wickedly Cute Stamp Set from last year's Halloween Release using Versamark Ink and White Embossing Powder. The Pull word plus arrow is from the Embellishments Stamp Set From Penny Black and I used Onyx Black Versafine Ink for a crisp printing.
 Glue the Front Panel to the Sleeve and add any embellishments you want. Score and train the folds of your Sleeve.
Place a strong double sided tape on the Front Artwork panel keeping the release liner on.
Place the sleeve flat on your working surface and add double sided tape to the gluing tabs, keeping the release liner on.
 Place your sliding panel inside the sleeve, aligning it to the left and making sure the pulling tab doesn't get caught on the gluing tabs of the sleeve.


- Draw the safe zone
- Cut the number 1
- Cut the fixed artwork contour
- Cut the number 2
- Cut the slits
- Draw the safe zone
- Cut the number 1
- Cut the fixed artwork contour
- Cut the number 2
- PAUSE YOUR MACHINE! (pressing the pause button). Leave it blinking, don't turn it off off and don't close your Design Space window either.
- Remove your artwork panels from the mat. LEAVE THE NEGATIVE SPACE ON THE MAT, it will help you re position the artwork panels later. Stamp and color the images going a little further out of the safe zone lines
- Place your artwork back on the mat. I used a bit of of masking tape to make sure the pieces didn't shift during cutting
- Press the GO button on your machine to cut the slits (sometimes you have to press twice).
- DO NOT UNLOAD YOUR MAT! leave it blinking until you are sure everything is alright.
 |
| Use Masking tape to secure your cutouts to the mat. Don't worry if your artwork gets smudged outside the safe zone lines. And now that I see it, I should clean my mats, LOL! |
The front fixed panel was designed entirely with the Petunia Set. I just stamped the character in the middle. Using a 0.5 COPIC Multiliner, Using a ruler, I drew a horizontal line to set the horizon and stamped a couple of corns on top and drew a couple of vertical lines underneath to make them look like corn plants.
For the night scene I used the Petunia Stamp Set and the Scary Tale Stamp Set. Remember to place your images towards the left side, because the left edge of this safe zone will align with the left side of the sleeve's window on the finished card. I stamped the character and the fangs under the snout. Then drew the cape with a pencil (very simple lines) and finally stamped the moon and the bats masking the character with a Full adhesive post it to avoid overlapping the images. Using a 0.5 COPIC Multiliner, inked the cape and added some strings under the nose. I also drew a horizontal line to set the horizon.


- Day scene:
- Sky: B00-B2-B5
- Grass: YG03-YG7-YG67
- Petunia: R20-R22-R24
- Night Scene:
- Sky: BV20-BV25-BV29
- Grass: B97-B99
- Petunia: R20-R22-R24. I added shadows using a V22 just to cast some purple.
- Bats and cloud: C00-C3-C5
- Moon: W1-W3-W5
For the grass I used a colorless blender to add texture flicking the tip of the pen barely touching the surface of the paper.
I also put some highlights using a Signo Uniball UM153 white gel pen. (my favorite white gel pen)
 |
| Day Scene |
 |
| Night Scene Go a little outside the safe zone with your coloring just in case. |
 |
| Slits cut with the Cricut Explore |
 |
| Begin with the left most "leg" of the front panel and slide it under the left most slit of the slider panel |
 |
| Continue tucking the "legs" of the front panel under the slider panel slits |
 |
| Once you are done, you should have something like this. Train the legs and the slits until they slide smoothly. |
 |
| Both pieces of the slider frame and the sleeve can be cut from a single 8.5" x 11" piece of cardstock |


Place a strong double sided tape on the Front Artwork panel keeping the release liner on.
 |
| Add double sided tape all around the safe zone. Keep the release liner. |


Put the Front Fixed panel on top and "weave" the "legs" with the slits.

Remove the release liner on both, the sleeve gluing tabs and the fixed panel; hold everything in place and fold the front of the sleeve over and press firmly.
Make sure to train the sliding mechanism so everything works.

I added a bunch of embellishments form the Scary Tale Stamp Set Candy Corns, stamped using my Misti on the previously cut offset paths.
I hope you like this card and give it a try.
Enjoy!
Supplies List
 |  |  |  |  |
 |  |  |  |  |
 |  |  |  |  |
 |  |  |  |  |
 |  |  |  |  |
 |  |  |  |  |
 |  |  |
Love this slider! Fabulous Design! Thank You!
ReplyDelete