
Today I'm bringing you a different take on box cards.

For this card, I wanted to represent typical Japanese elements, found in most paintings and embroidery and the Geisha Pack Cuttable Design from Cuttable Designs was the perfect addition.

Because of all the details, this card had to be a little bigger. The base is cut from a 12" x 12" piece of 80 lb. cardstock and the final card is 5.5 " x 6" when flat.
Cut the base and score it using the dashed lines as guides. This helps fold the card and allows for the front frame to stay flat.

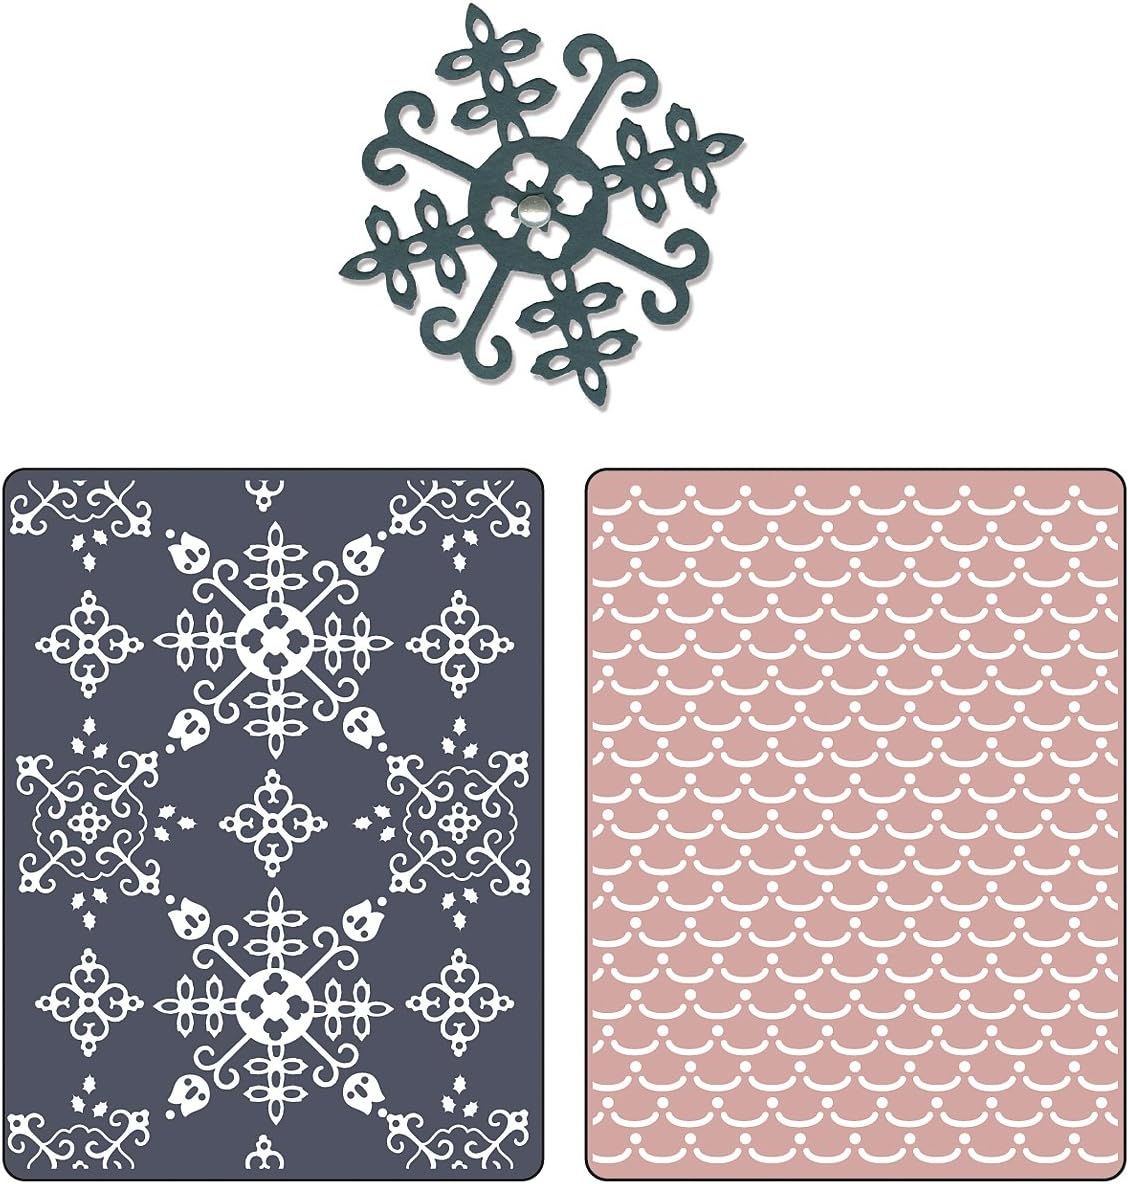
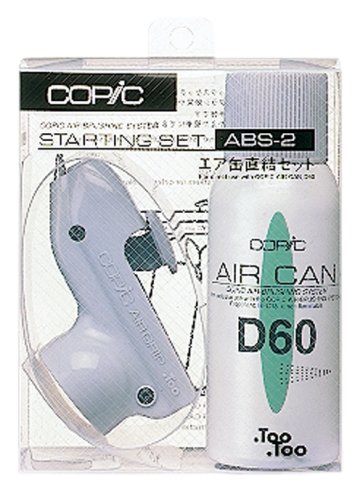
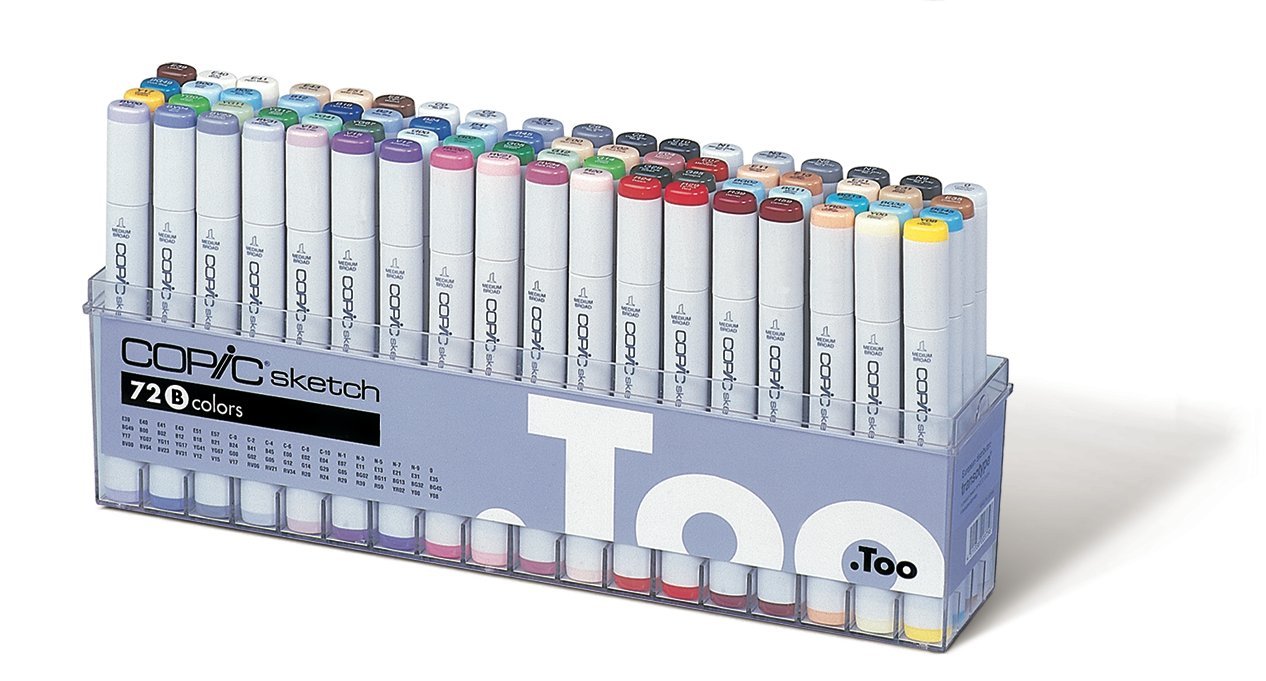
I airbrushed the colored pieces using the COPIC Airbrush System Starter Kit in shades a little darker than the cardstock. Then I embossed them using different folders:
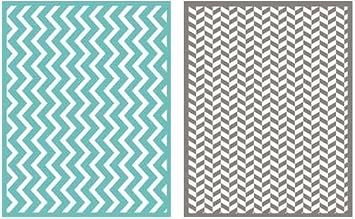
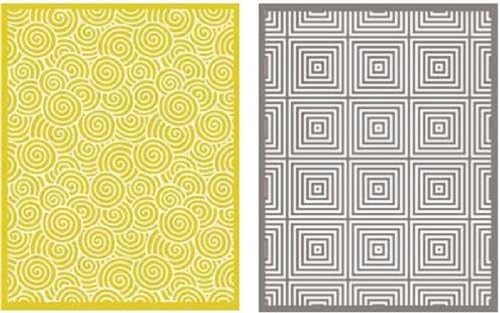
For the Water, I used the Sizzix Santa Lucia and Moguls folder. For the Sky, I used the Twirl embossing folder from We R Memory Keepers and for the mountain the We R Memory Keepers ZigZag Folder matching the pattern with the mountain top. I decided to leave the grass flat to avoid distraction from the flowers on the front.


The COPIC Airbrush is great for these little pieces, but I wouldn't recommend it for larger projects, as the air can tends to run out very quickly. For that, you might consider buying an air compressor.
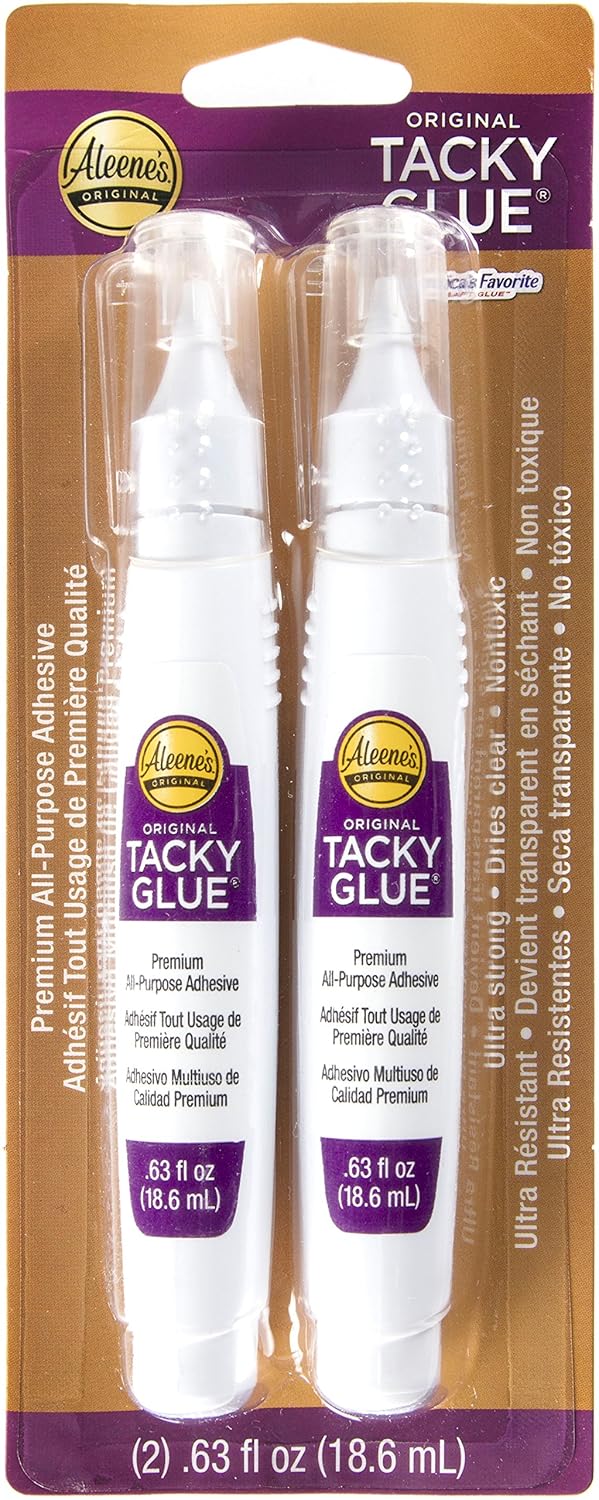
I glued the side pink backing with like Aleene's Tacky glue. Again, liquid glue dries hard and helps reinforce the card base. I also glued the front grass panel and the blue background in the same way. Make sure not to put to much glue on the corners of the blue panel to allow for the back blank card to slide on the back slits.
 |
| Remember to glue the blue background facing to the front. |


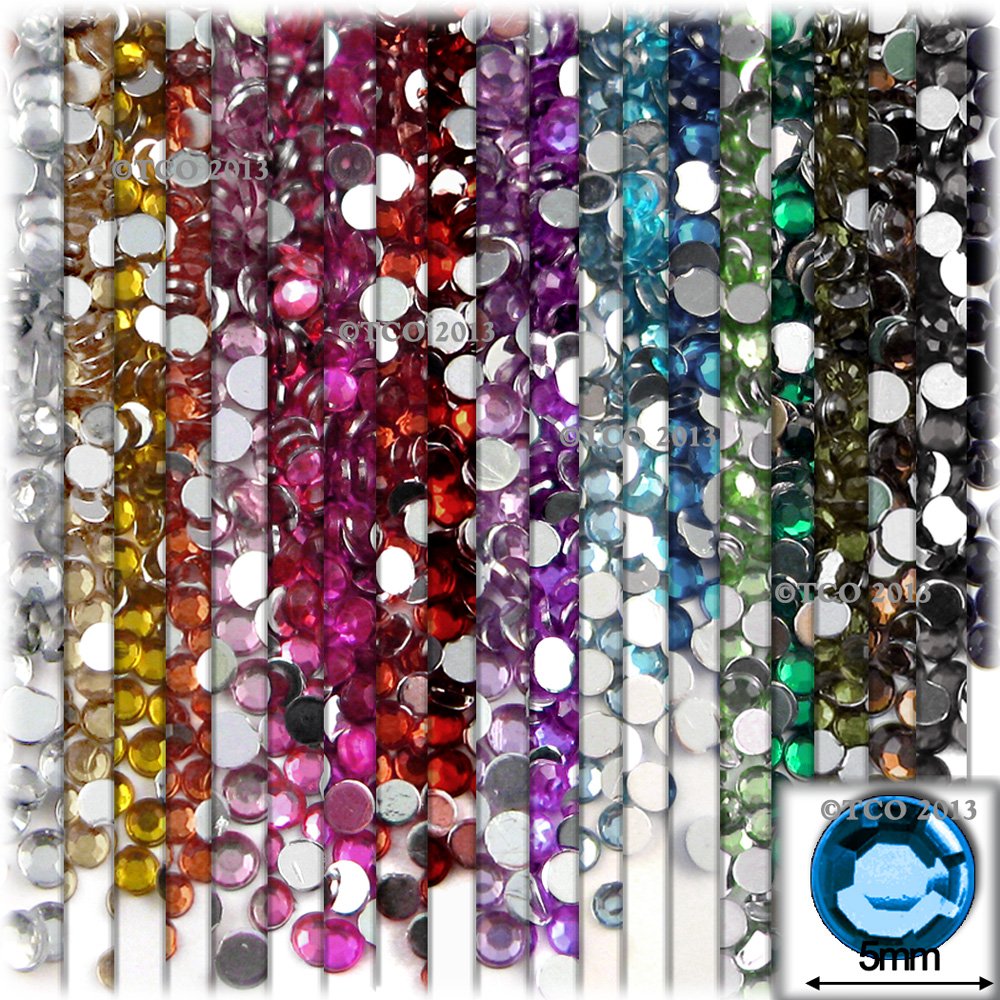
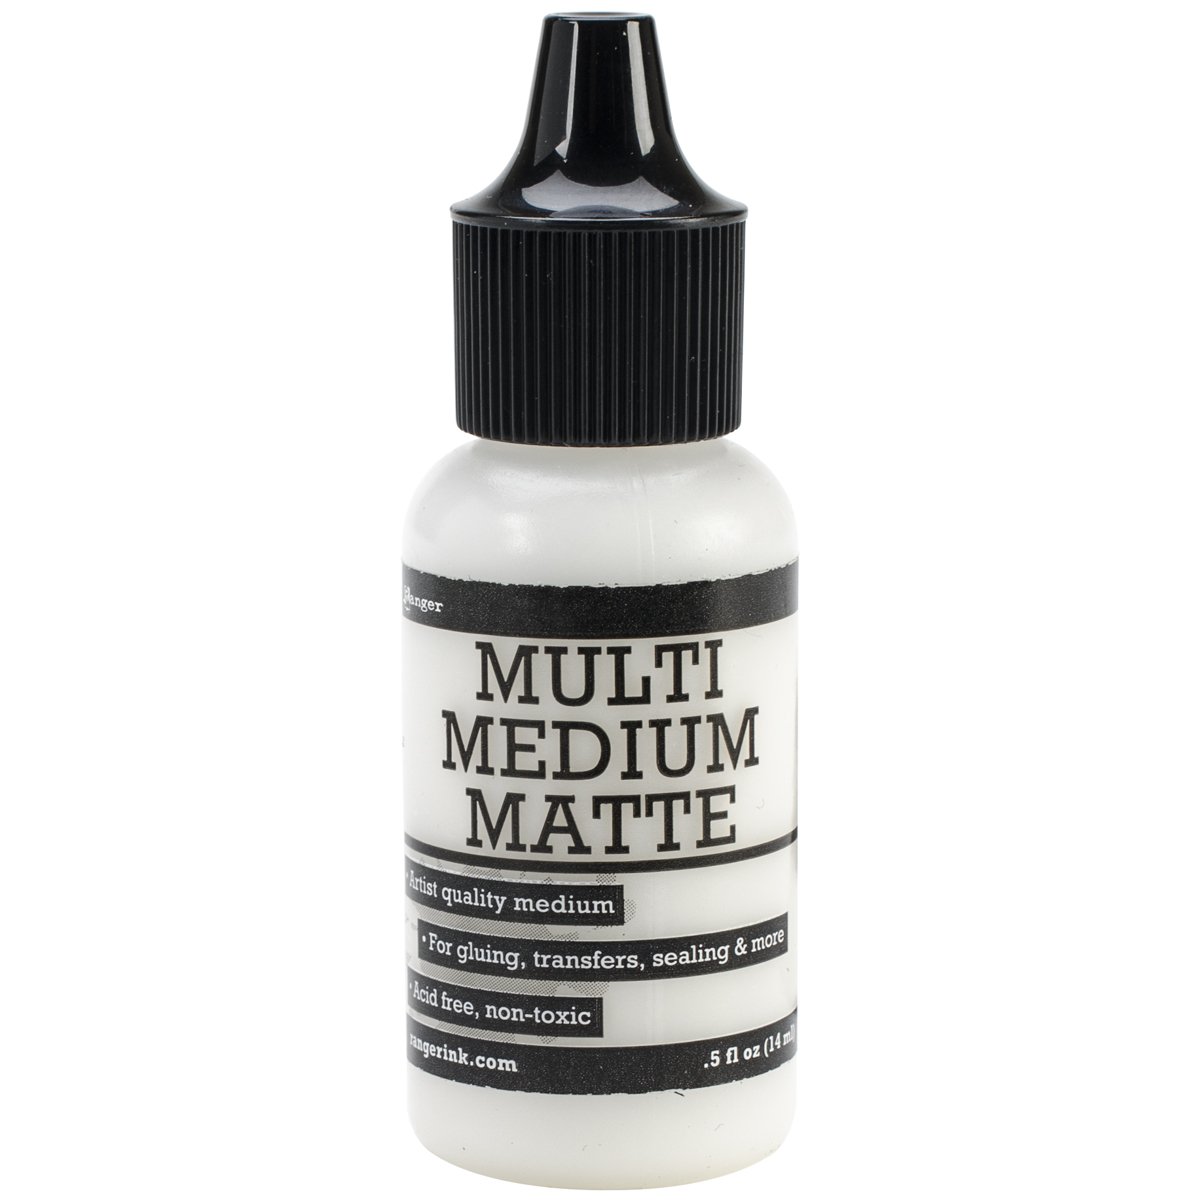
The file comes with cutouts for the golden handles that Japanese bridges have, but for the card I used gold rhinestones to give it an extra sparkle. Use a strong glue for this, like Ranger´s Multi Medium Matte.

To put the Geisha together, I used a path as a base. For this, on Design Space, I Ungrouped the pieces after importing.

I then selected the hair, the face and the body and used the Weld command. That way you obtain a single path to use as a base to assemble the character.


Since the character had to be so little ](2.09 inches tall), I changed to eyes to writing and attached them to the face, that way, they were drawn instead of being separate cutouts. I also deleted the mouth for the same reason.
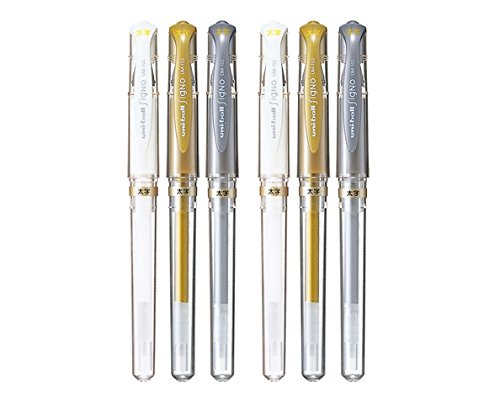
I added highlights using my new favorite white gel pen, a Signo Uniball Broad Point UM-153 that I bought in Japan and luckily to you, it is sold through Amazon (linked below).

Glue the assembled Geisha to the back of the bridge, slightly to the right to allow for the mountain to show, and also to allow for the geisha to stay in the center when the card is flat.
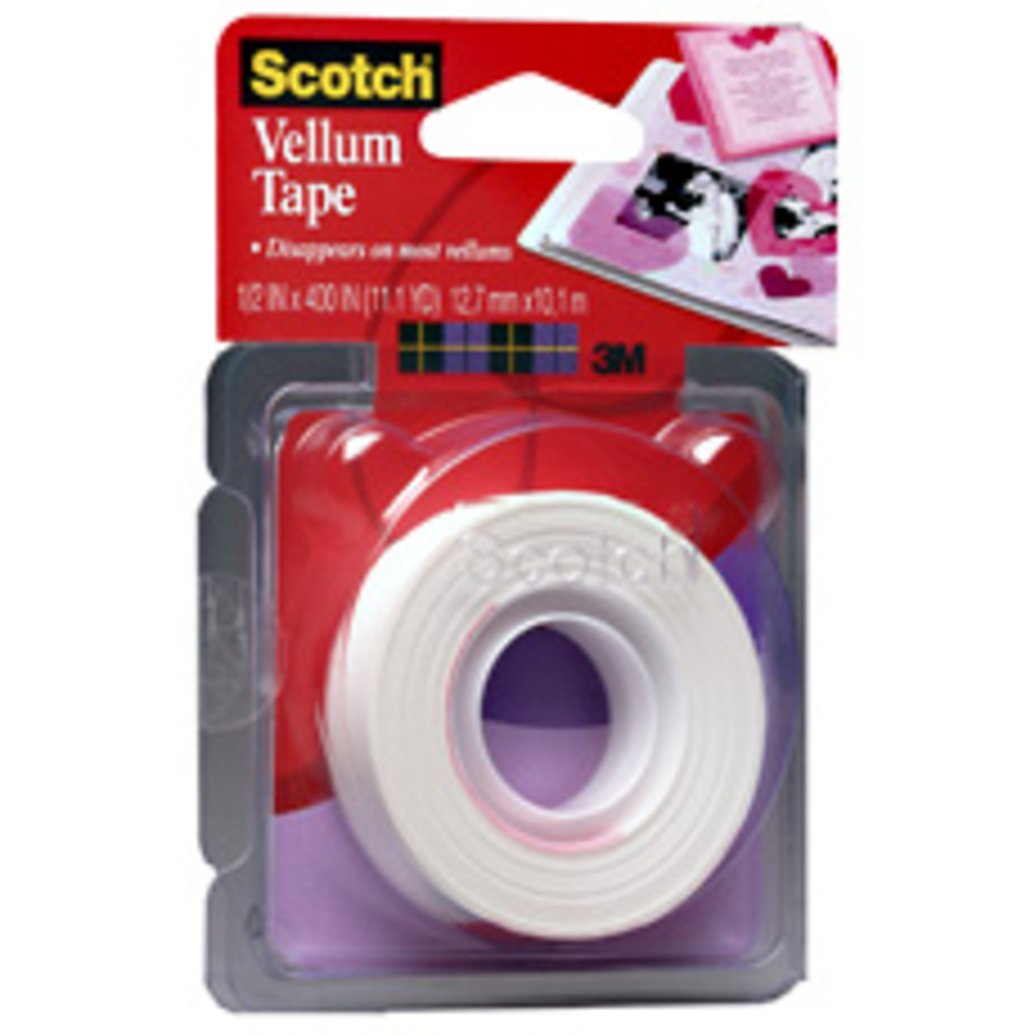
The cloud on the back is Vellum drawn with the same white gel pen (see http://www.awesomesvgs.com/2014/11/pilot-choose-gel-pen-revisited.html for instructions on how to fit different pens on the explore). I glued it to the blue background using vellum tape.
For the panels, follow this image:

Now fold the mountain panel tabs to the back and glue them also to the sides of the card base aligning the edges to the back panel.
This will place the panels evenly on the card..
Place the blank card on the back slots.

I love how this the cherry blossom theme fits everywhere

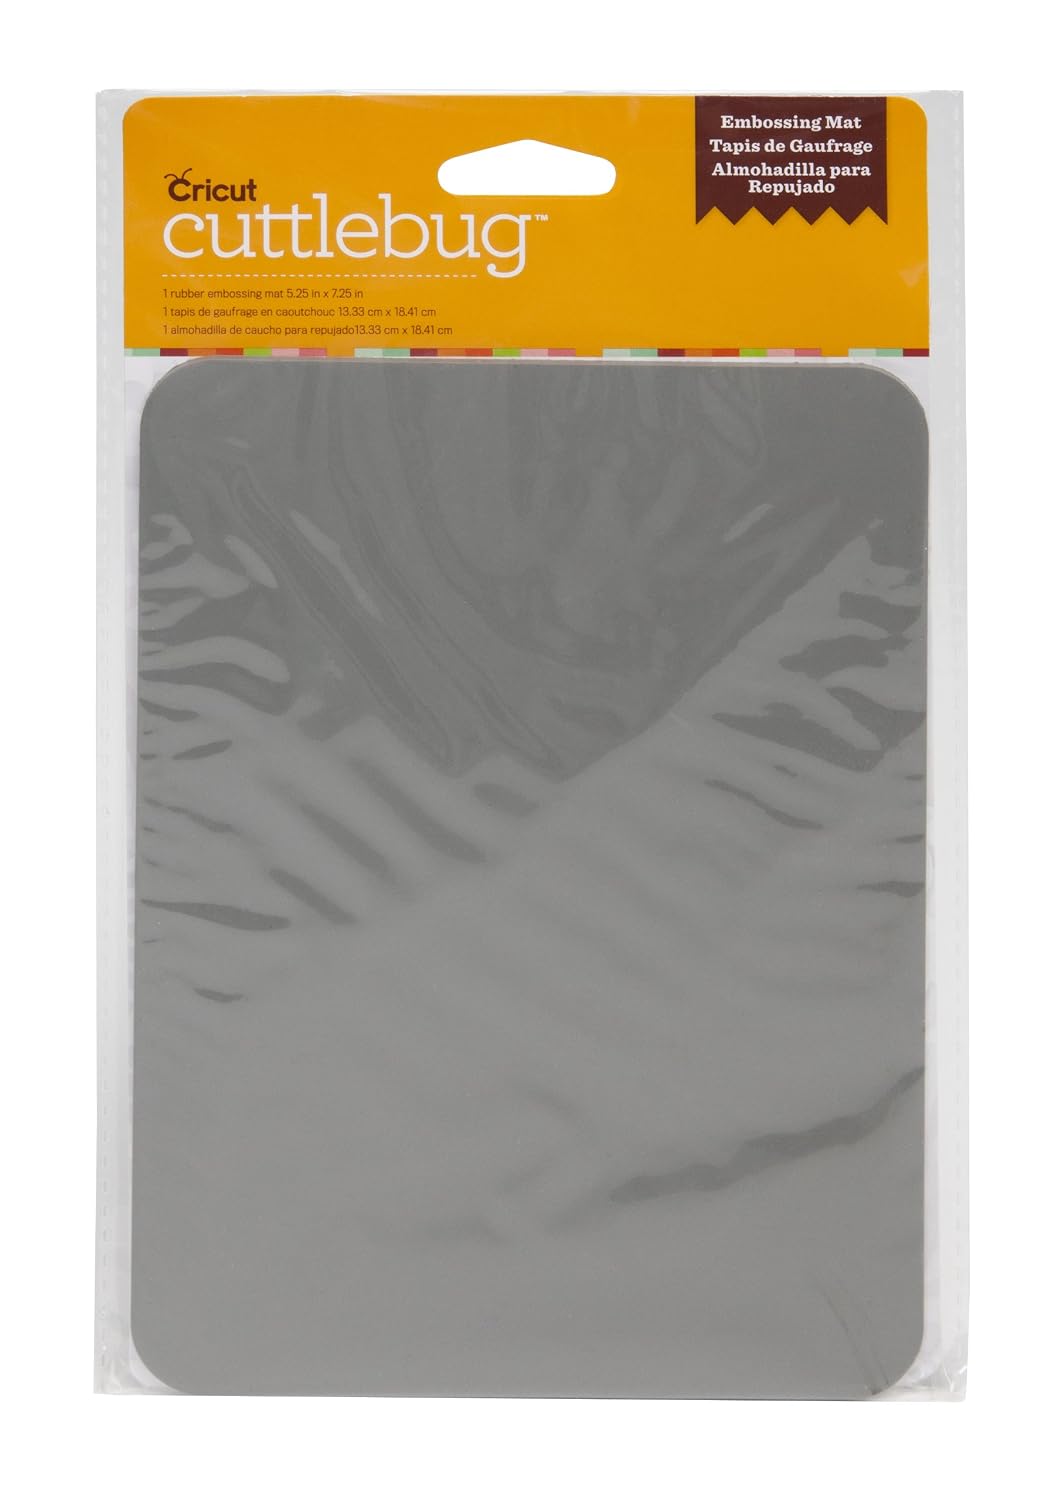
Finally, for the cherry blossoms, add a little darker pink dot with a COPIC marker and emboss each petal with the stylus that comes on the scoring board (or other round instrument) on top of an embossing mat (Cuttlebug embossing mat works great). This will give a tridimensional look to your flowers that goes great with all the embossing in the back.


Then, glue the trees to the card base. Put glue in all the back surface of the tree, even though part of them stick outside the card base. As I always say, liquid glue reinforces the cardstock and will hold the thin tree trunks very well despite the absence of support.

Finally, adhere the cherry blossom petals to the ground, assemble the bow and glue it on top of the card base.
I also used a copic marker to paint simulate some shading on the bow and give the illusion of volume.

Remember this card folds flat to be sent through the mail, but you might need a special envelope though.

Supplies List
 |  |  |  |  |
 |  |  |  |  |
 |  |  |  |  |
 |  |  |  |  |
 |  |  |  |  |
 |  |  |  |  |
 |  |  |
If links don´t seem to open, please right click and select "open link in a new tab", it should take you to a save file dialog. Let me know in the comments if links don´t work, thanks.
Very nice! Thank you.
ReplyDeleteLove it, thank you so much
ReplyDeleteWow, super card, thank you very much.
ReplyDeleteYou have outdone yourself! Beautiful! Thank you.
ReplyDeleteAwesome Job I Love It
ReplyDeleteJust love this cute card!! I am just seeing the Darth Vader card & it is perfect for a friends grandson!! Thanksd fior the fun bunch of cards!! Great instructions also!!
ReplyDeleteNeva
What a wonderful card. Thank you for sharing with us.
ReplyDeleteVery cute, thank you
ReplyDeleteMy favorite!! I am partial to anything Asian and this is adorable! Thank-you.
ReplyDelete5
ReplyDelete