
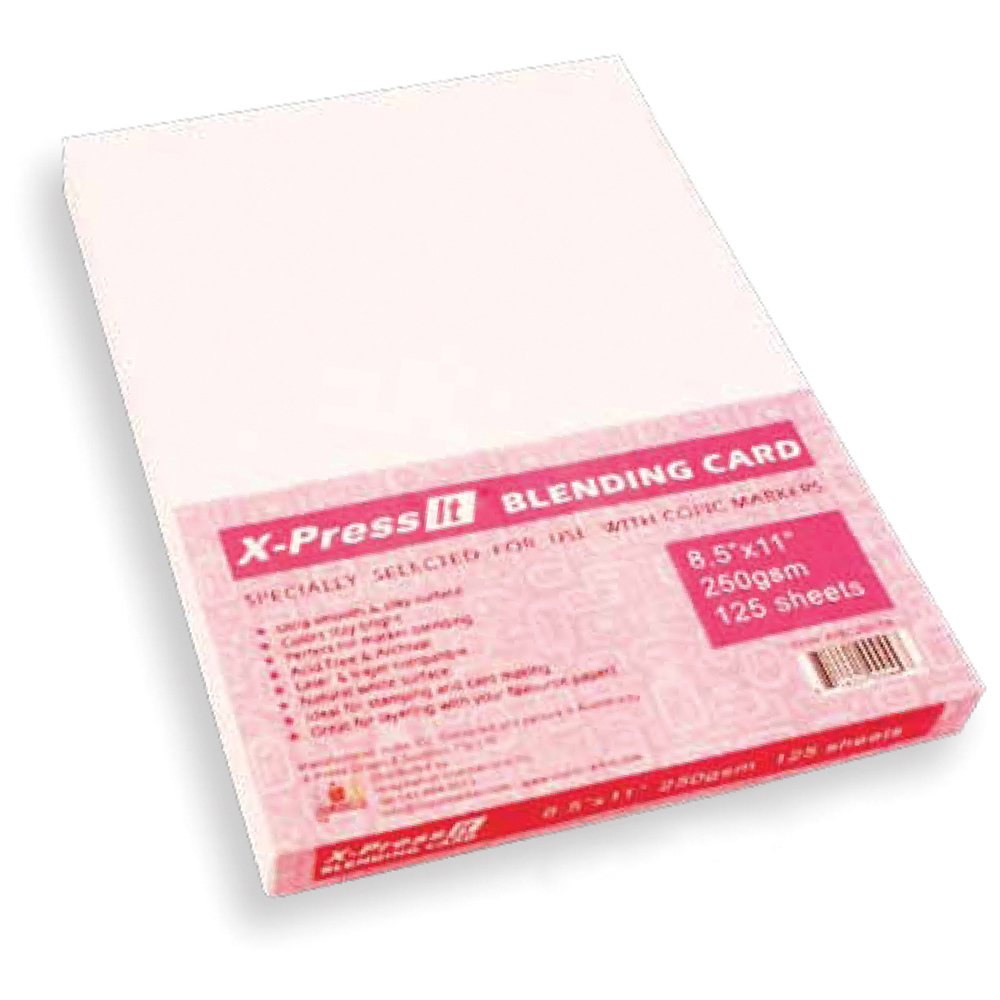
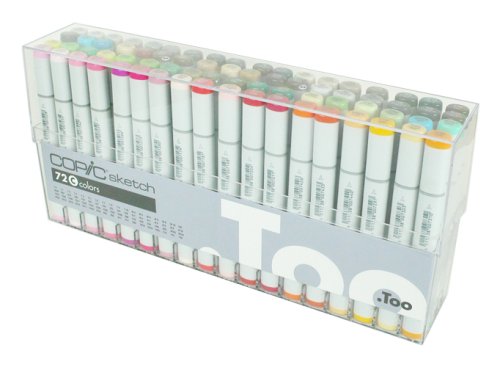
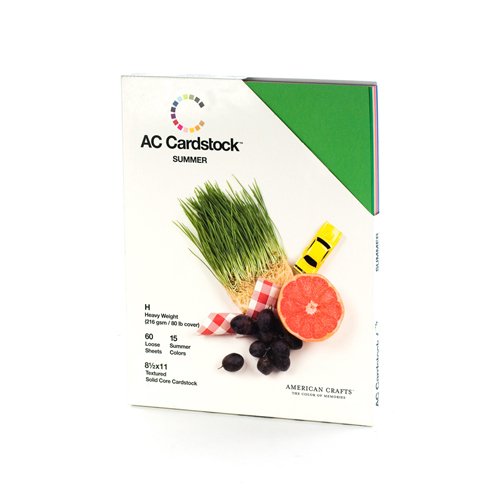
For this card I used 3 colors of cardstock - 65 lb. light gray, navy blue and white Copic Express Blending Card, great for coloring with alcohol based markers.
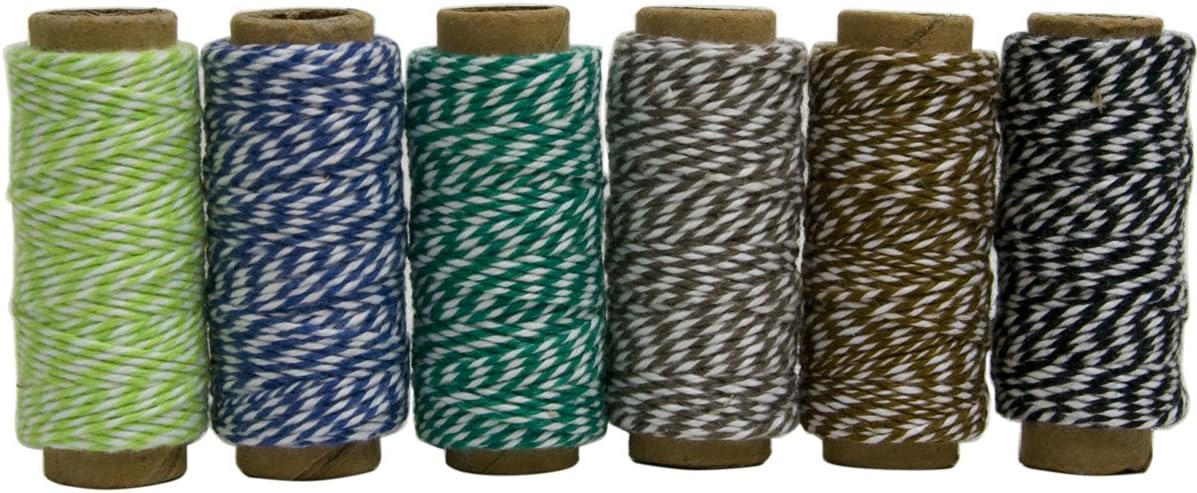
To give it a little color, I threaded a blue and white baker's twine through a red heart button and a couple of beads and tied it in the back.


You might want to use spray adhesive to make sure all the borders of your cutouts stay in place.

To keep the bride in place, make sure to glue a strip of paper in the back and catch the heart garland in the back. Do not glue the garland directly to the back of the character, or your card won't close.
The gray base card has cuts in the corners to slip the blue backing. This allows the backing to slide when opening and closing. I do not like to glue the actual folding panel to the base card because sometimes the thickness of the paper prevents from opening or closing the card correctly.
There are not folding lines to score. all the folds are marked with doted lines that are built into the actual SVG, so no need to change function.
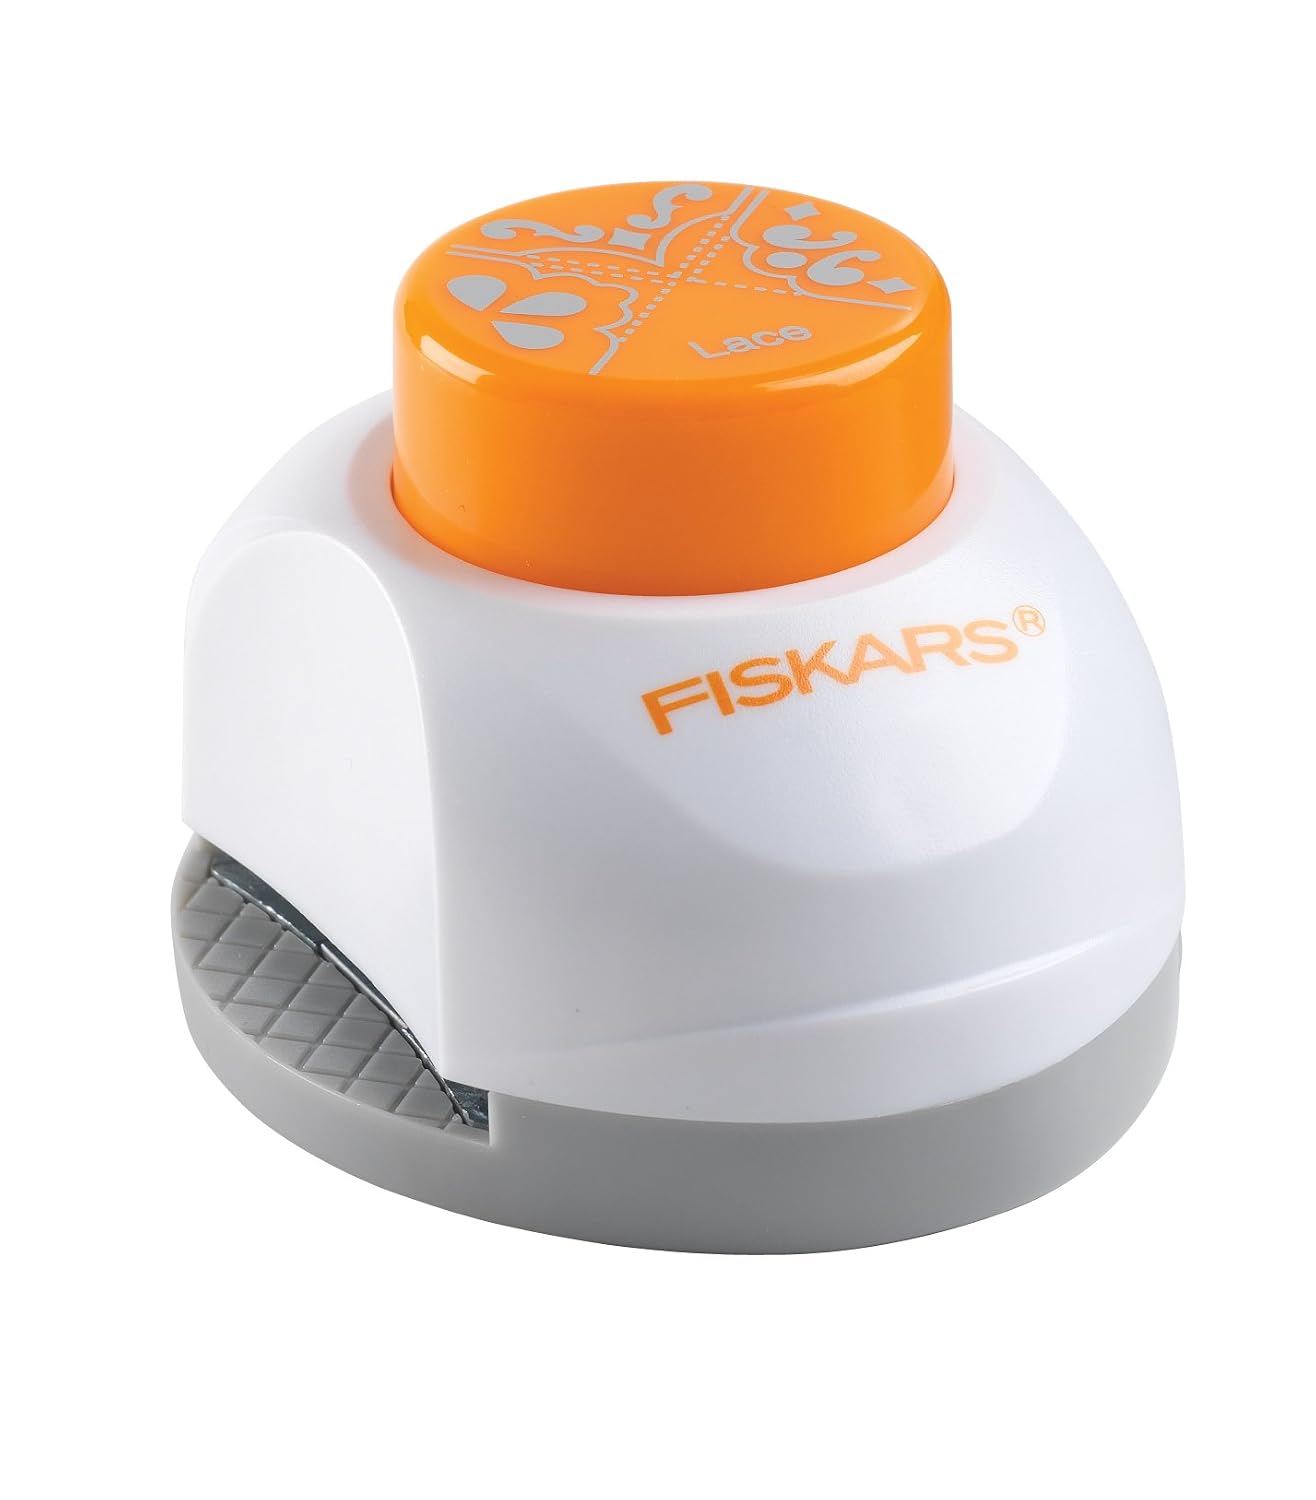
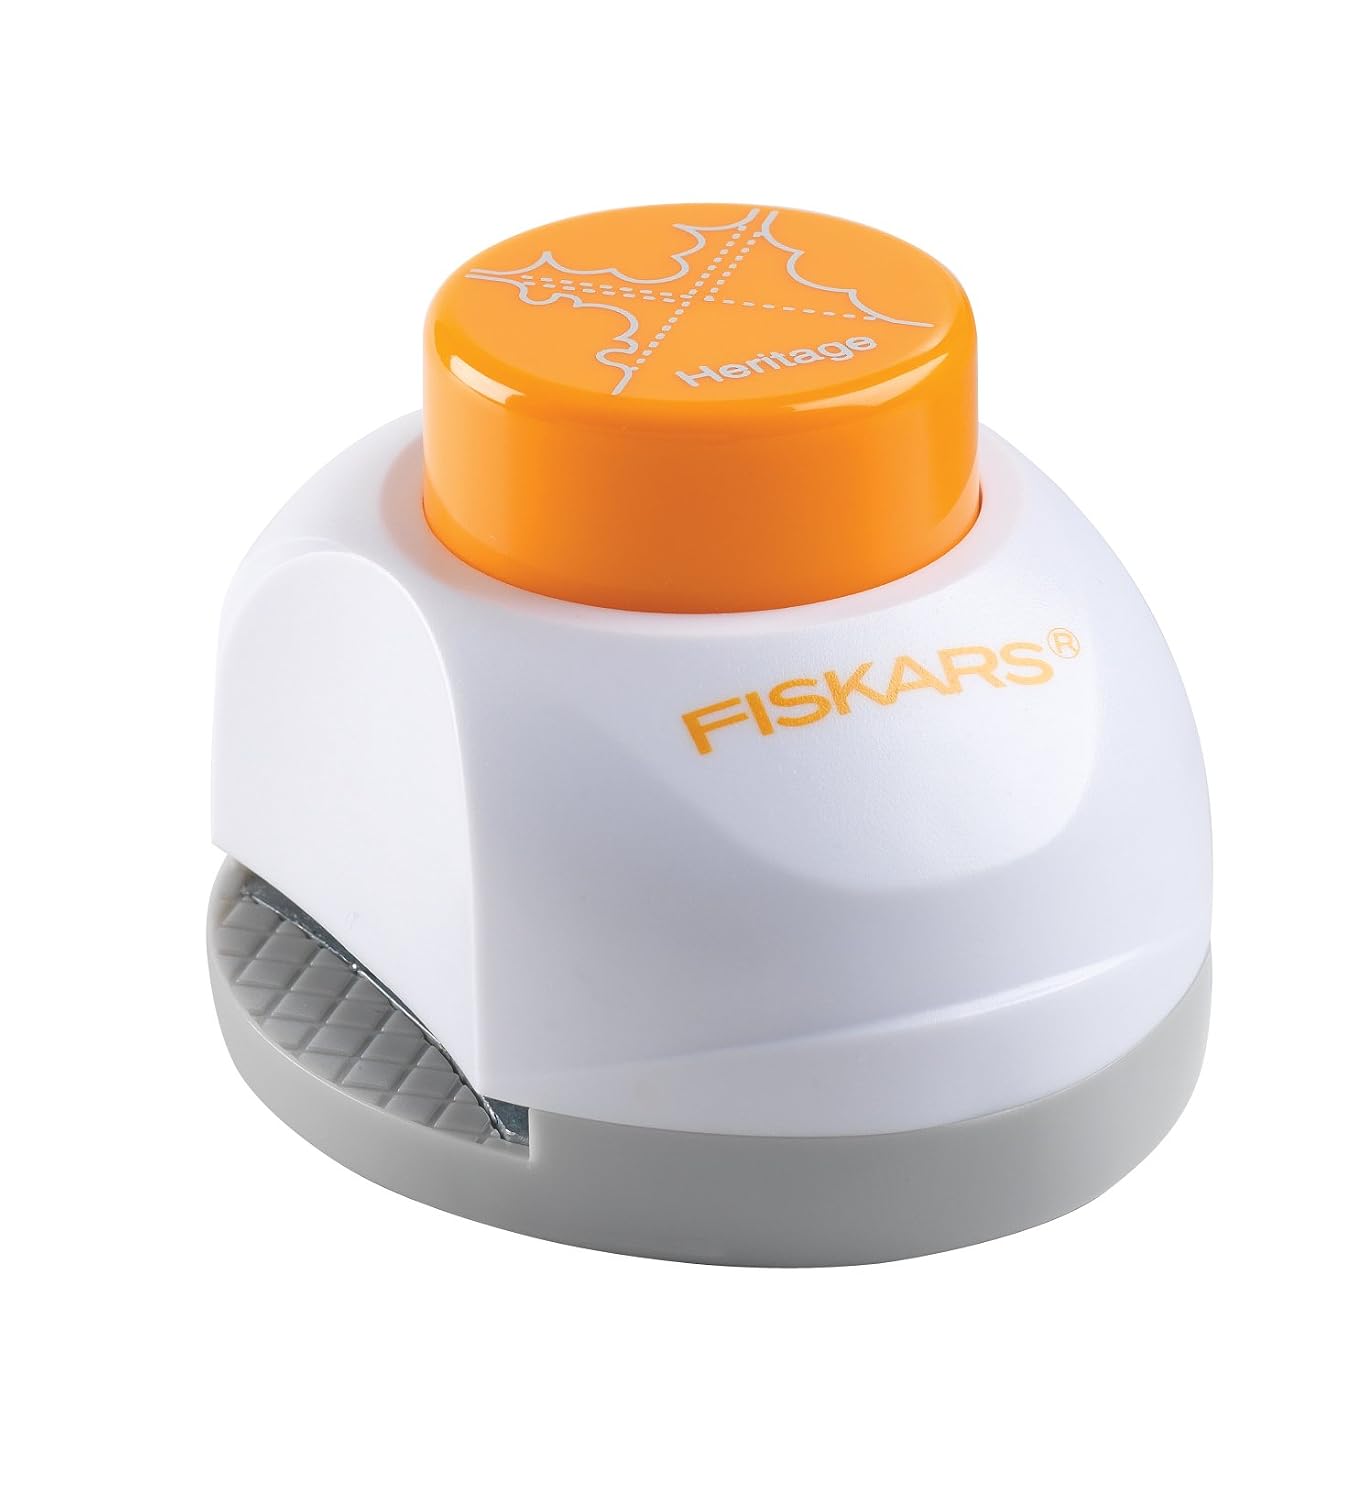
The file includes the offset path for stamping the bride image with the tab to slip it in the card. I also included a message card that I embellished using a Fiskar's punch in the opposite corners of the ones that are slit in the blue backing pocket cuts.
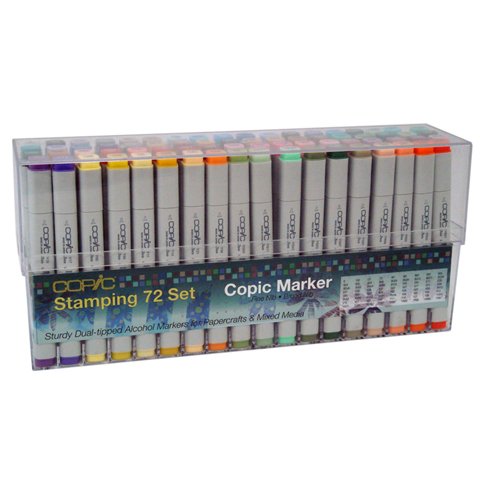
Please, enjoy this card and please support this new venture I got into by buying this stamp set. No need of purchase to download this file though.
Instructions
- Import in DS
- Resize to 5.5 inches wide
- Cut
- Assemble
- Enjoy!
Supplies List
 |  |  |  |  |
 |  |  |  |  |
 |  |  |  |  |
Thanks
ReplyDelete