
Hello everyone!
Halloween, one of my favorite times of the year, is almost here!
This time I decided to do what I love the most (at the time), which is 3D projects!. Today I give you a Halloween inspired Lamp Décor.

I will briefly explain the design process, just in case you are compelled to try your own designs.
I designed the whole thing in Blender, which is an amazin FREE 3D software (I can't believe such a great software is free). I then imported the file in Pepakura Designer a software that allows to "flatten" the 3D model and distributes the pieces into pages as well as creates the gluing tabs. I did have to tweak and refine the design in Adobe Illustrator to add the details and turn it into a Design Space readable format. I added scoring dashes and modified the gluing tabs, I also designed the offset embellishment panels and designed the window cutouts. It took a very long time before I achieved the final result, but it was totally worth it, I really love the design.

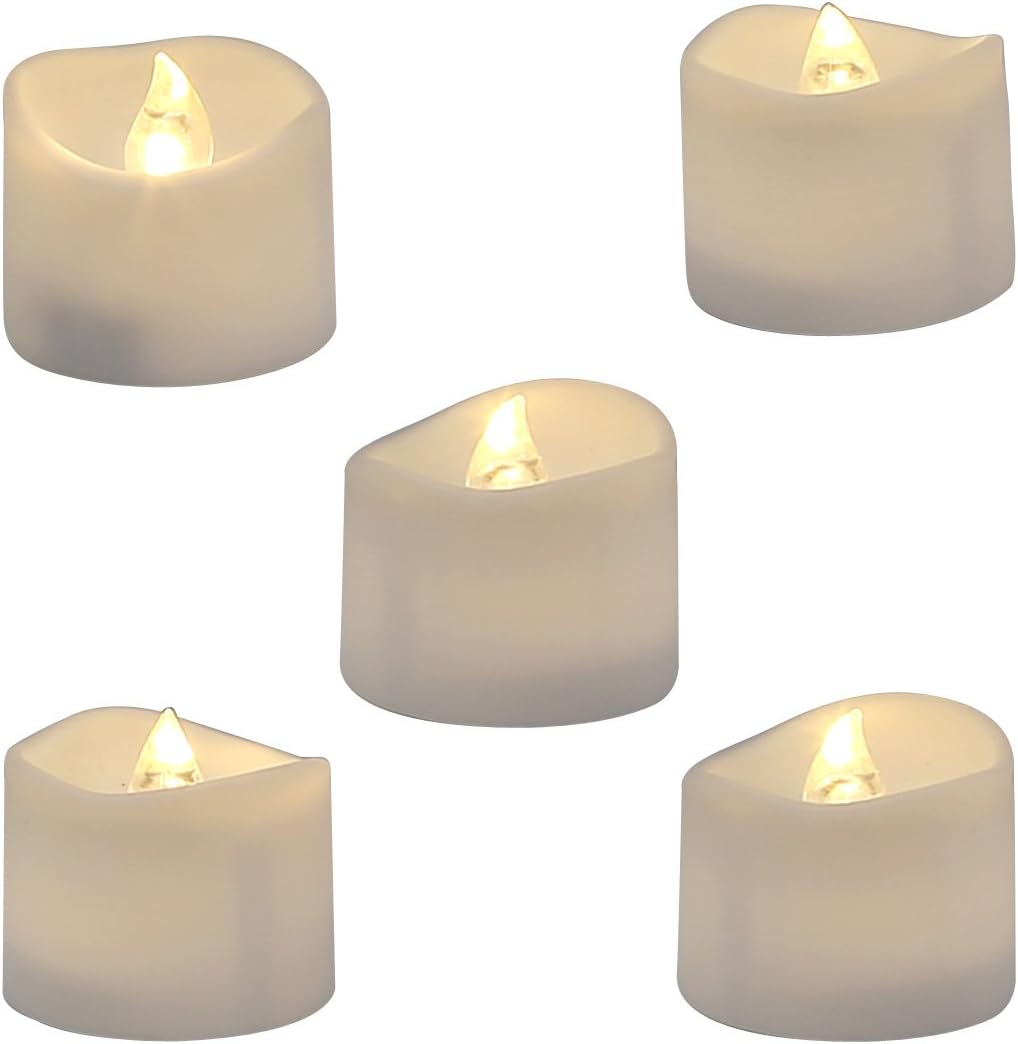
The lamp is very functional and you can use either a battery operated tealight or a LED string of lights (some call these fairy lights). The small tealight will give a faint luminescence that will only be seen when ambient lights are off. The string lights on the other hand will illuminate the lamp and you'll be able to show it off as a centerpiece even with daylight. I would suggest to use a warm light color though, cool lights might desaturate the purple and the orange of the cardstock, but it's really up to you.


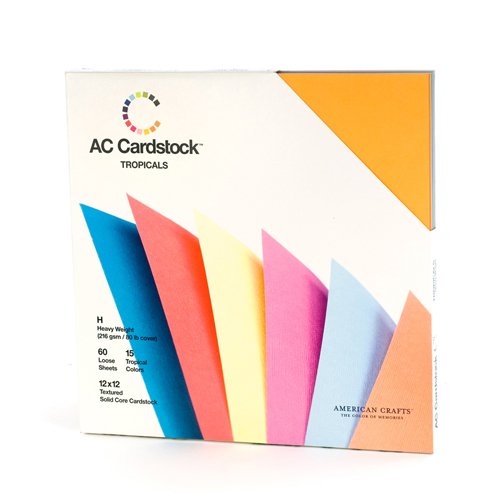
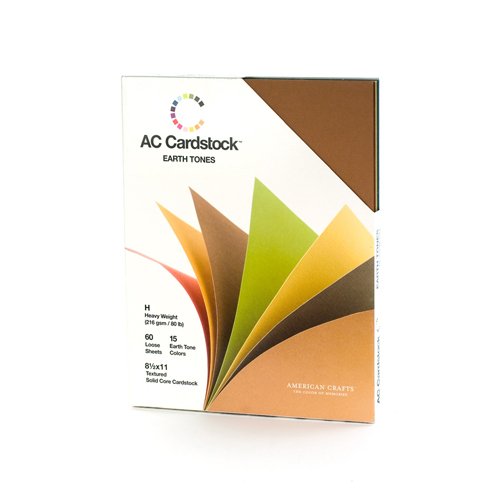
Final project is 11.5 x 4.5 x 4.5 inches (29 x 11.5 x 11.5 cm) and I've arranged all the pieces to be cut form either 12x12 or letter size sheets of cardstock
 |
for 12x12 sheets, You'll need:
|
 |
for letter size sheets, You'll need:
|
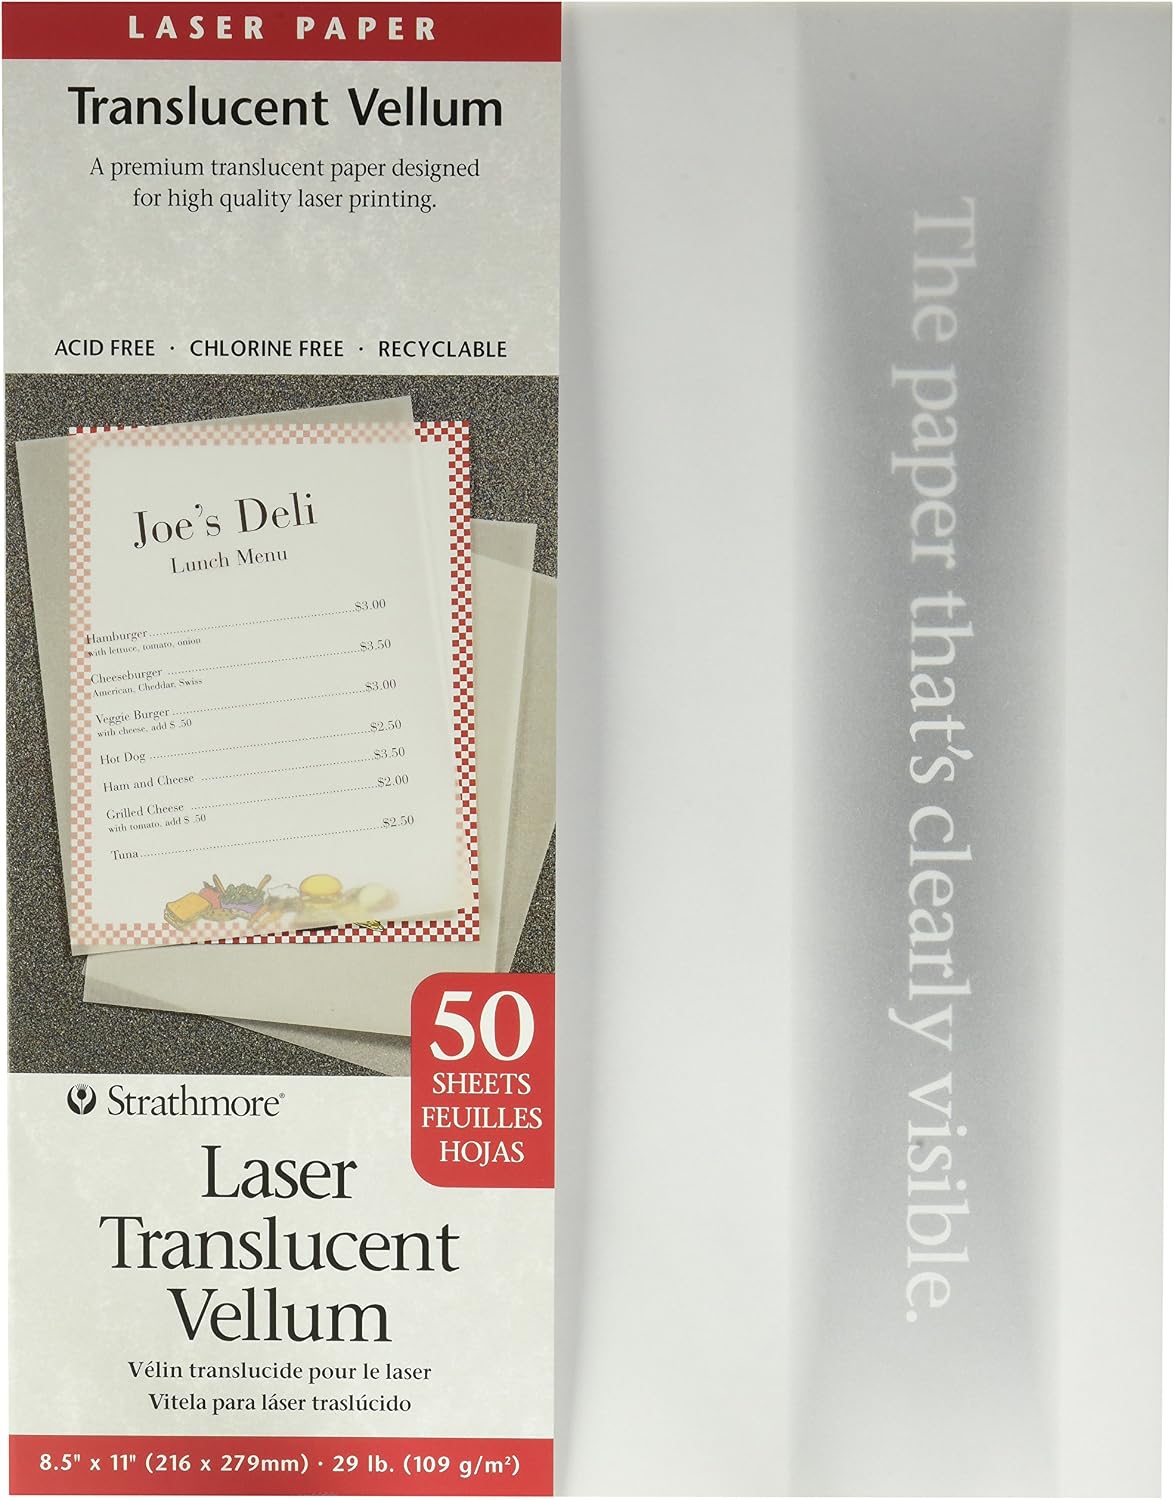
Make sure you use a thicker vellum, I have found it cuts betters and rips less on your machine. I used Laser printable vellum which is a little thicker than inkjet vellum. anything over 25lb should be fine.


Finally add your light and you are good to go.
I really hope you give this project a try and let me know if you do by tagging @awesomesvgs on social media.
Thanks for stopping by and I'll see you again soon. (I'm cooking something amazing for Christmas and can't wait to tell you!)
Supplies List
 |  |  |  |  |
 |  |  |  |  |
 |  |  |  |  |
 |  |  |
If links don´t seem to open, please right click and select "open link in a new tab", it should take you to a save file dialog. Let me know in the comments if links don´t work, thanks.
I love your lamp design! I uploaded it to Cricut design, however, and there are no scorelines. It looks as if you designed them to be there, but the images are flattened so there is no option to select, change to score and attach them.
ReplyDeleteIn fact, since it is a large project, instead of scoring lines that need to be changed, I added dashes that are cut and guide the folding, so there’s no need to change operations here’s. Just upload an cut.
Deletenice design
ReplyDeleteVery neat also my file when uploaded had score lines !!!
ReplyDeletelove it also had score lines when I uploaded to cricut design space !!!!!!!
ReplyDeleteThank you, Love this.
ReplyDeleteThank you for sharing your hard work! I cannot imagine the process of preparing your intricate design. Also, thank you for the excellent directions to assemble the project.
ReplyDelete