For this postcard, I wanted a clean image to allow the lettering to stand out., so I kept the background white.
I printed the images on a COPIC safe laser printer.
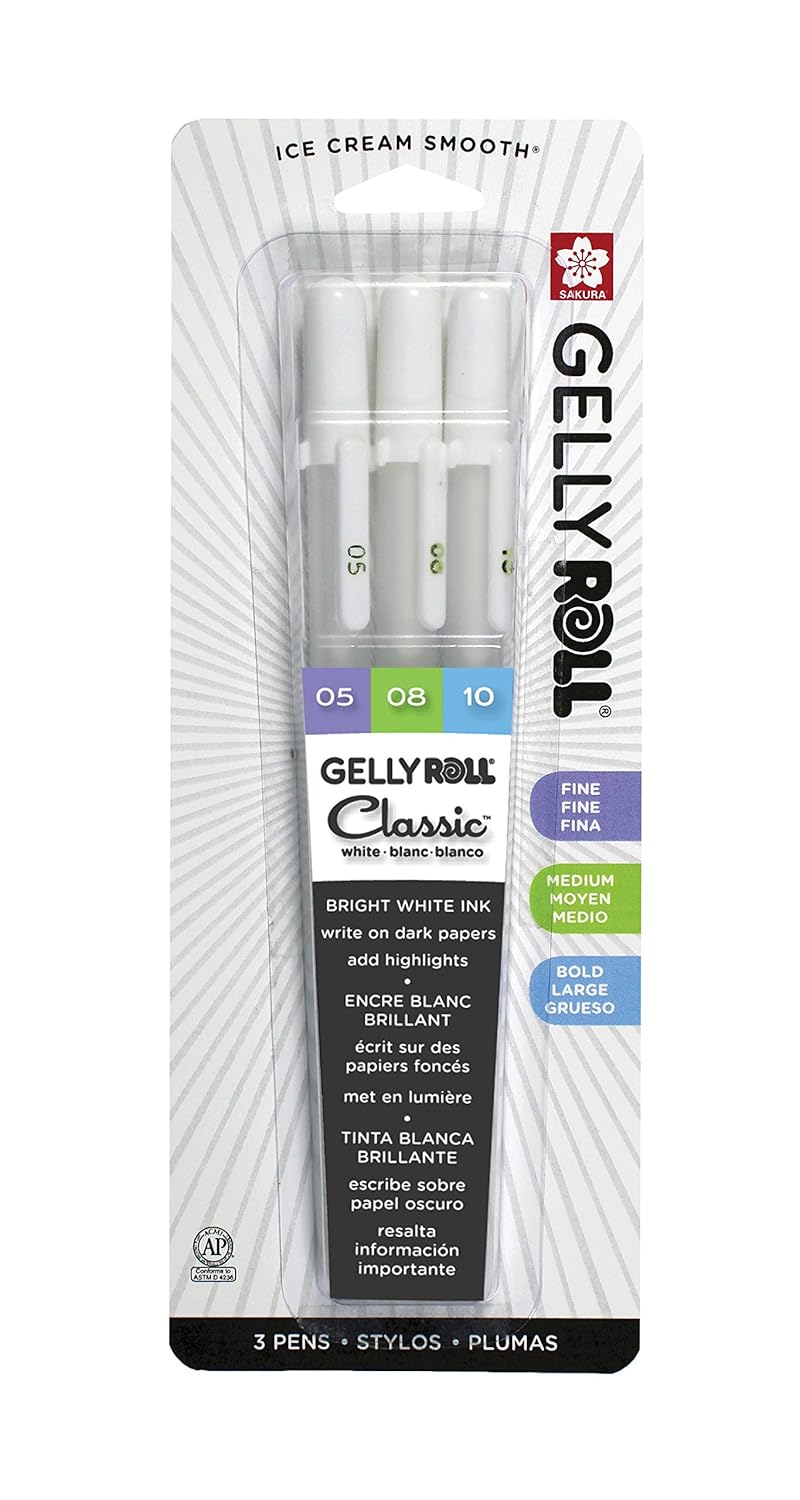
I colored it using COPIC Markers on Express Blending Cardstock - the best one there is - did the final details with colored pencils and white gel pen and finished it up with Judikins MicroGlazé to waterproof it and give it shine.
I left the spaces en the letters blank so you can color them or leave them as they are
The back of the postcard is included in the PDF file so you can print two of them from one Neenah Solar White 110 lb, sheet of Cardstock and glue it to the back of the colored image to give it strength. I used a We R Memory Keepers Corner Chomper to round the corners and avoid damage or ungluing.
The detail on the vertical divider is little hearts and dots.
I also removed the bow and made a different file for those of you who would give this to a boy.
I did not make an SVG file for this project, but if you want, you can upload the jpeg file to Design Space and do Print Then Cut to get perfect s x 1/4 postcards every time.
Enjoy!
 |  |  |  |  |
 |  |  |  |  |
 |  |  |  |  |
 |  |  |


Brilliant Omar.Thank you so much :-)
ReplyDeleteThis is a great inspiring article. I am pretty much pleased with your good work. You put really very helpful information. Keep it up. Keep blogging. Your blog is provides the Interesting information always.Thanks to sharing the great information.
ReplyDeleteThis is amazing stuff. The information shared is very useful.
ReplyDelete