
This is my 3rd Christmas box.

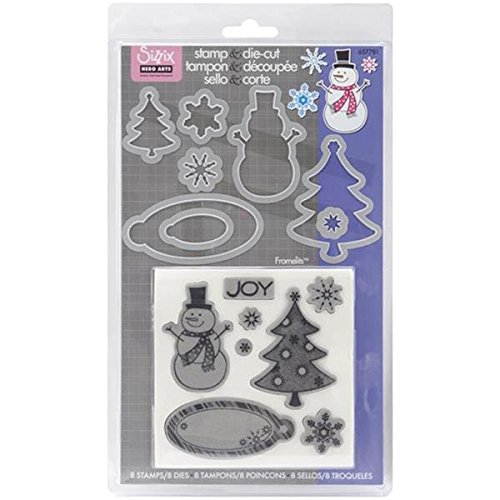
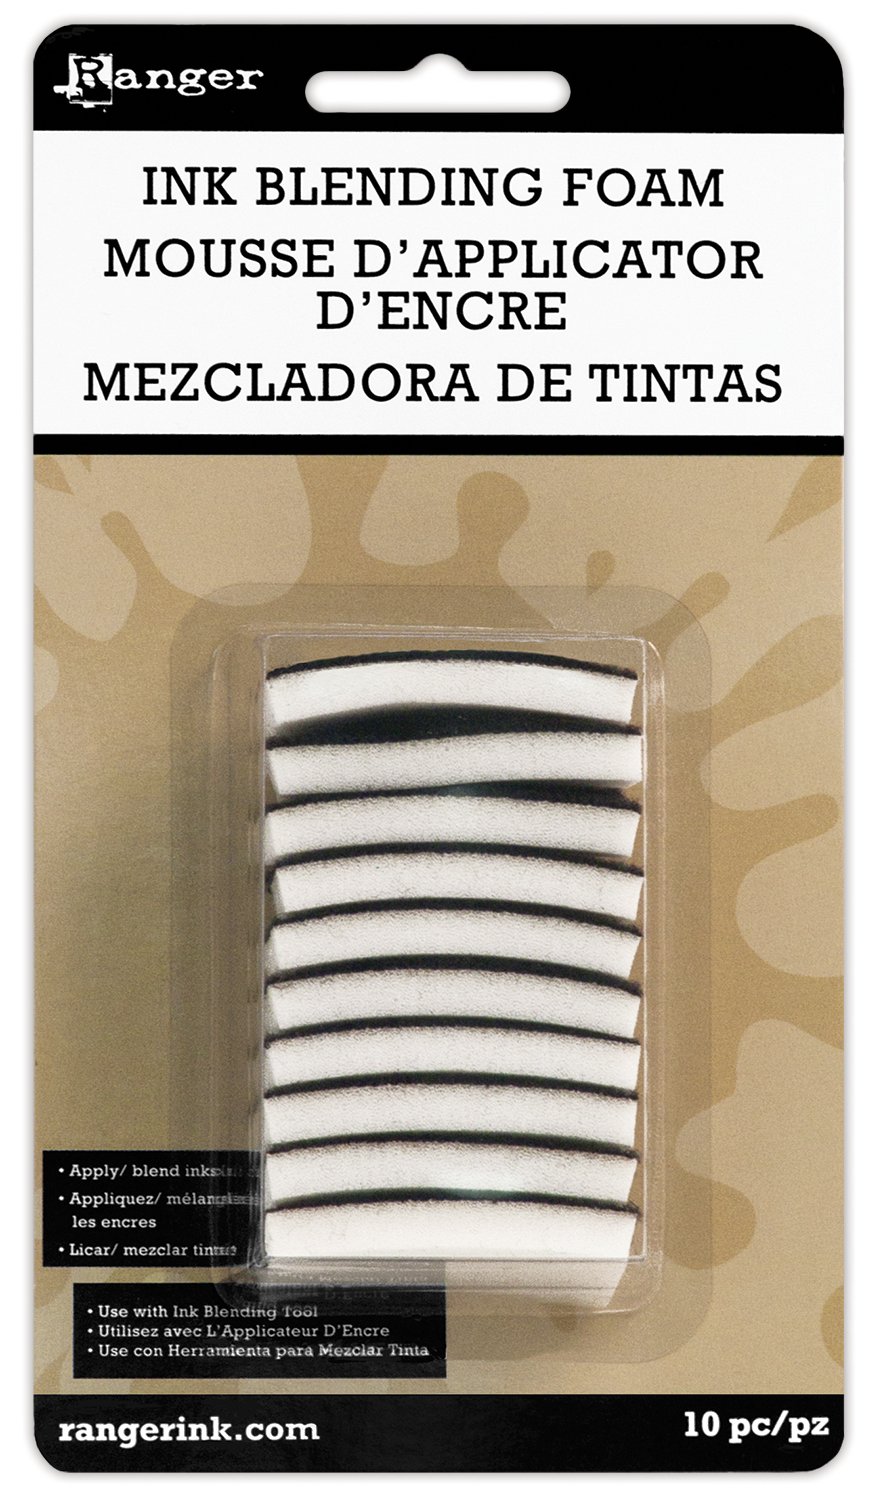
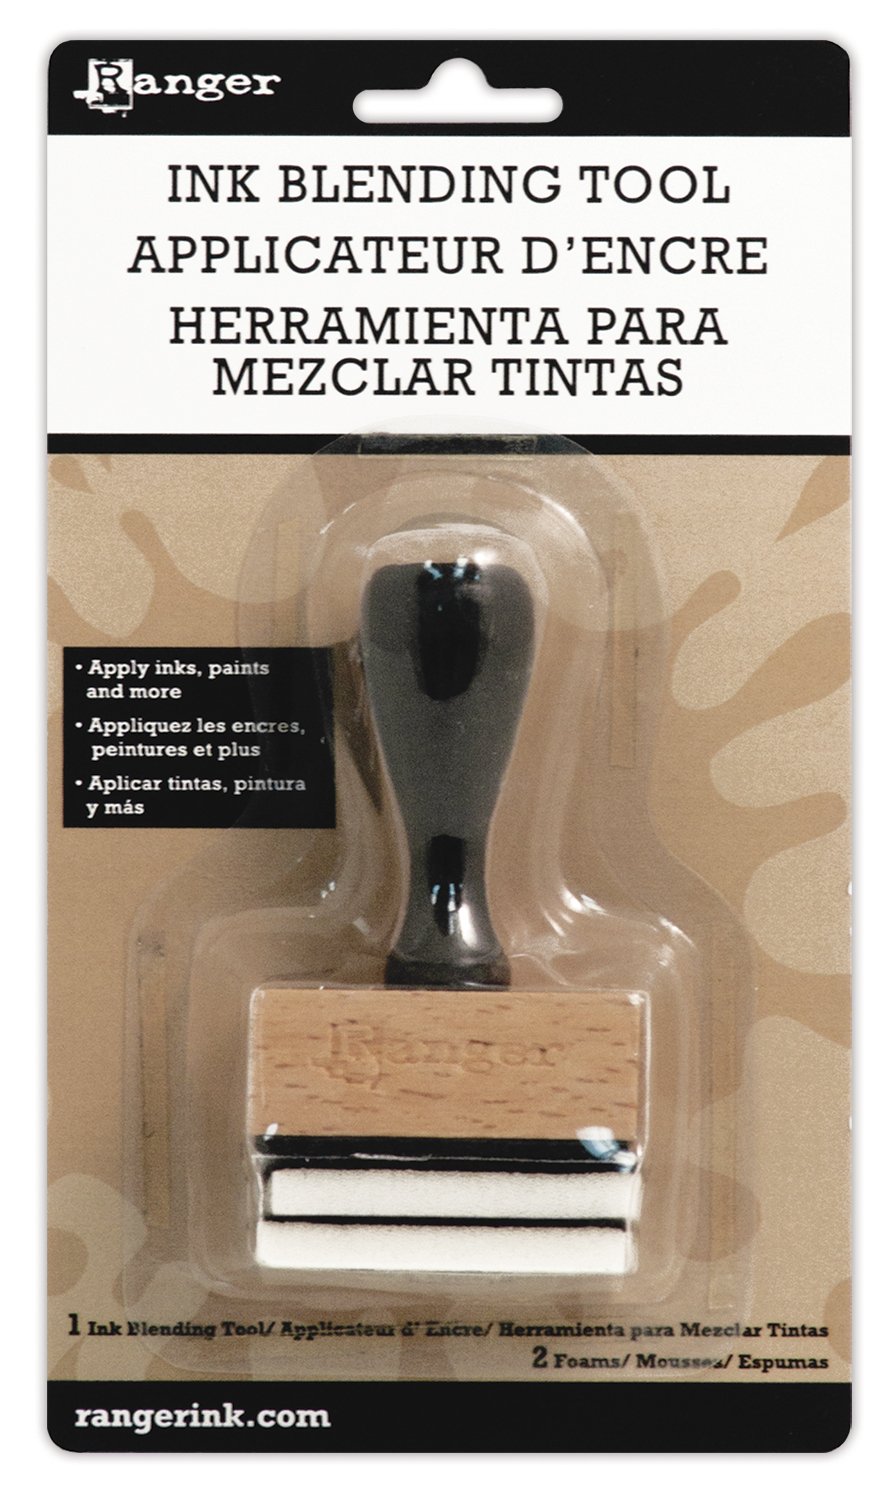
The paper for the base box is white cardstock. I stamped the beautiful snowflakes that come with the Sizzix Snowman Die Stamp Set an Versamark Ink to do a resist technique with Faded Jeans, Salty Ocean and Tumbled Glass Distress Ink on a Blending Tool.

The highlights on the eyes are included on the SVG file, so make sure to change the function to write for this layer.
I applied Spun Sugar Distress Ink on a Tsukineko Dauber on the cheeks to make him blush and for the hair I outlined it using a Ranger Waterbrush with some Vintage Photo Distress Ink.
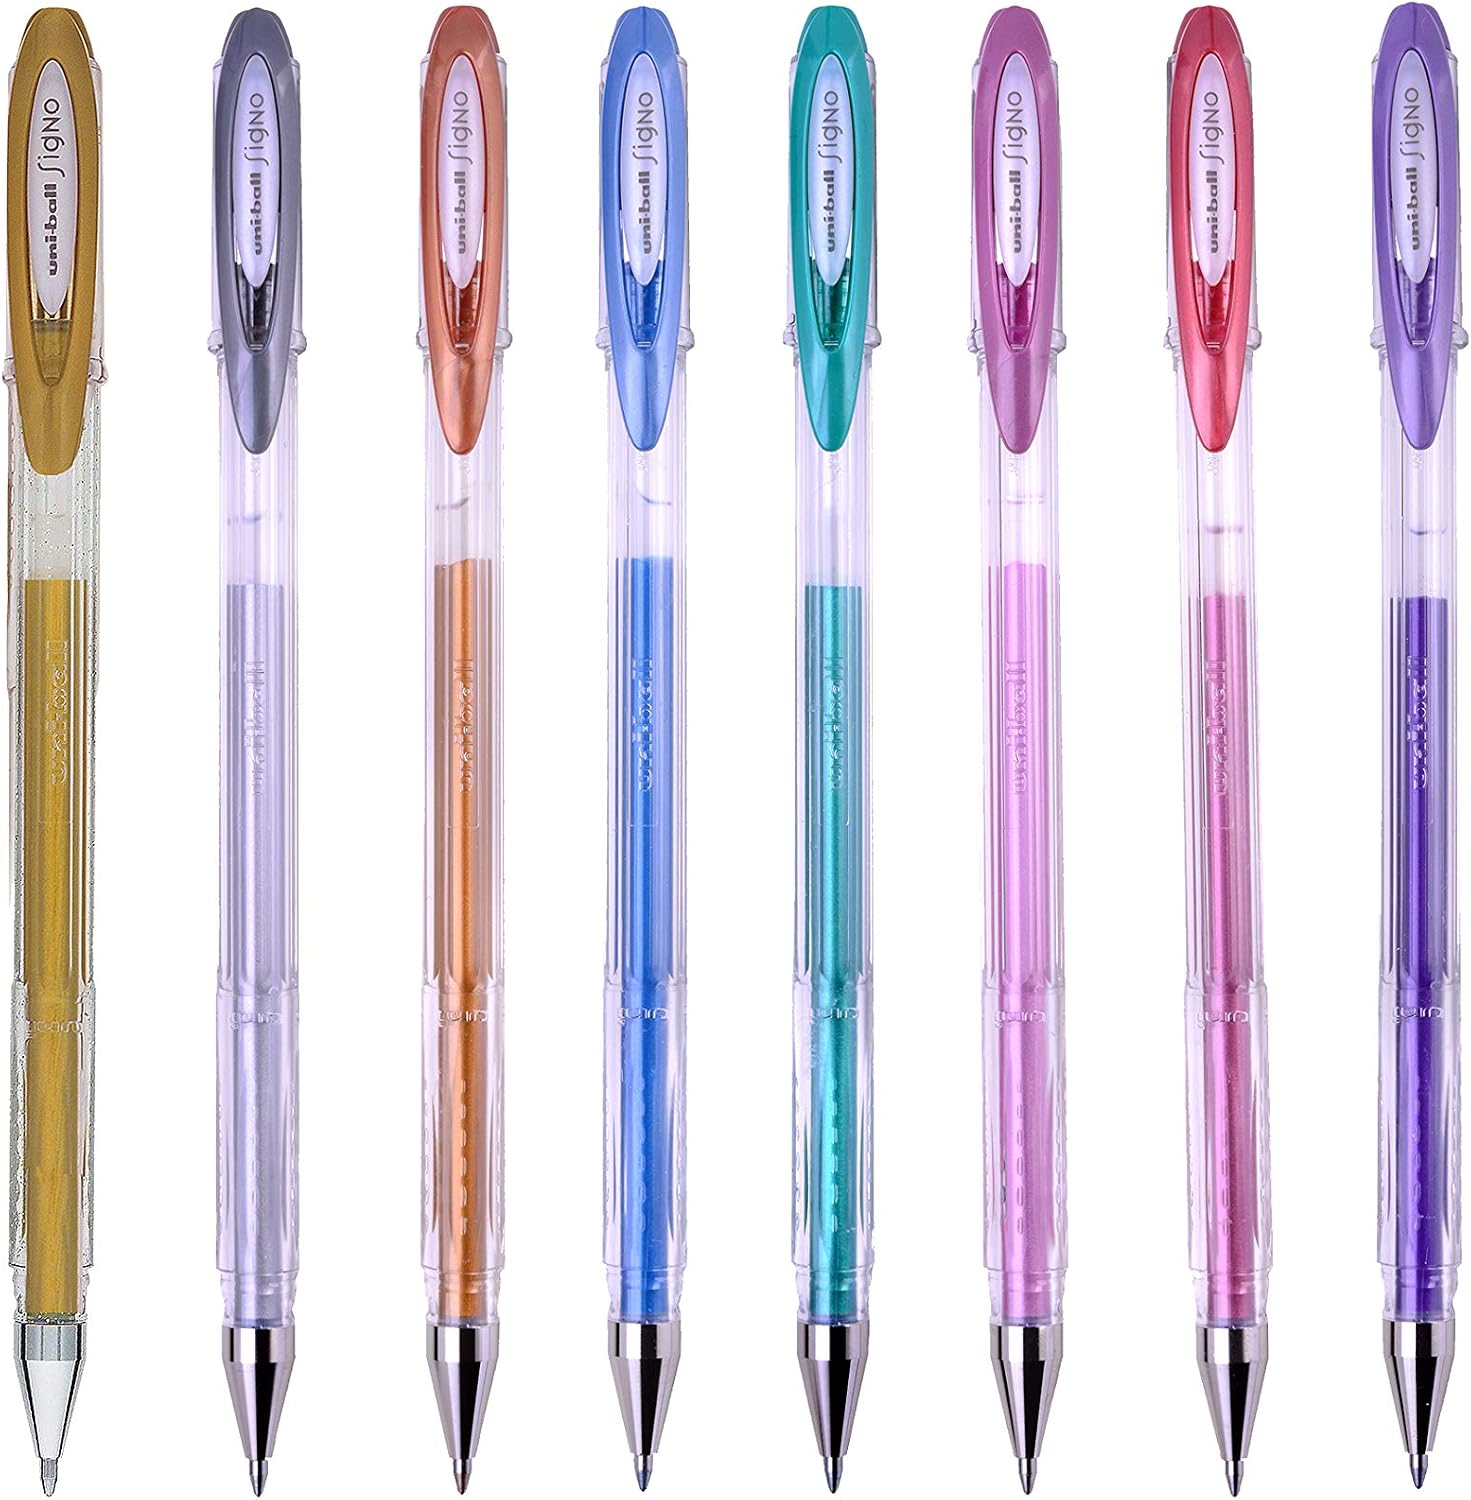
The horns and the headband were originally dark brown cardstock, but I painted over it using a Signo Uniball metallic gel pen to make it stand out. It is so har to find glitter cardstock here in Chile, so I applied a thin coat of Aleene's Tacky Glue to the noses red cardstock and pressed red glitter until dry.

I also glittered up the top ornament using the same technique described above.

The broken ornament was painted using Aged Mahogany and Black Soot Distress Ink on a Ranger Waterbrush - the line is included on the SVG and was made using a fine point sharpie on my brand new Chomas Creations pen adapter. The white highlights were done with my favourite, a Pilot white gel pen, a silky smooth writing every time, I also painted a shadow on the box base using a waterbrush with some Faded Jeans Distress Ink.
I also applied Gathered Twigs Distress Ink on the edges of the costume to give it some dimension.

I assembled everything using my Aleene's tacky glue pen
Finally after trying lots of different colors I put vellum on the side panels to make them look like frosted glass. I tried using an adhesive roller, but i found liquid glue works better here.


The box looks great with a led flickering tea light inside.

Instructions
- Import in DS
- Resize to 10.6 inches wide
- Ungroup
- Change function for the writing layers (Eyes highlights and broke line on the ornaments)
- Attach written layer to corresponding layer. (eyes highlights on the black character base, and broken line to corresponding half of the ornament)
- Cut
- Assemble
- Enjoy!
Supplies List
 |  |  |  |  |
 |  |  |  |  |
 |  |  |  |  |
 |  |  |  |  |
 |  |  |  |  |
No comments:
Post a Comment