
If you are a Cricut user, you may have come across Design Space's (DS) Print then Cut (PTC) feature not using your printer's full resolution. According to Kay from Clever Someday it is due to the software need to lower the resolution of your uploaded images to work better on a browser based environment (or something like that). Designing images is a big thing for me and I like my lines to be as sharp as they possibly can, so I came up with a digital method to get the best printer resolution your machine is capable of delivering.
To see what I mean, here are two images:

The one on the right was printed through DS printer interface and the one on the left, using the method proposed here. As you can see (if not, click on the images to see a larger picture) the edges of the image on the right look jagged or pixelated, as if the image did not have enough resolution. The one on the left is the same image printed using photoshop's print dialog.
To get the out most of your printer, you will need:
- A high resolution image (preferably a 300 ppi or higher image)
- Design Space
- Photoshop or other image editing software that supports opening PDF files.
- A high resolution printer (most modern printers support 600 ppi or higher, my plain brother black only laser printer is 1200 ppi)
- Good quality paper
1. Import your images in Design Space: use basic upload or flatten your favorite SVG (for this example I used a digital pack I designed for OAK Tree Stamps)
2. Layout your images the way you want them printed: it is a good idea to take note of the resizing you are doing to apply it later.


3. Print to PDF: instead of selecting your actual printer, select print to PDF, available on google chrome. You are not actually printing, but saving a PDF file of the document DS generated.


If you have a lot of printers installed, search for SAVE AS PDF
4. Save to a folder on your hardrive: remember the location as you will need to open the file and edit it.


6. Open your PDF file in Photoshop:


8. Use Photoshop print dialog to print your image with the registration marks


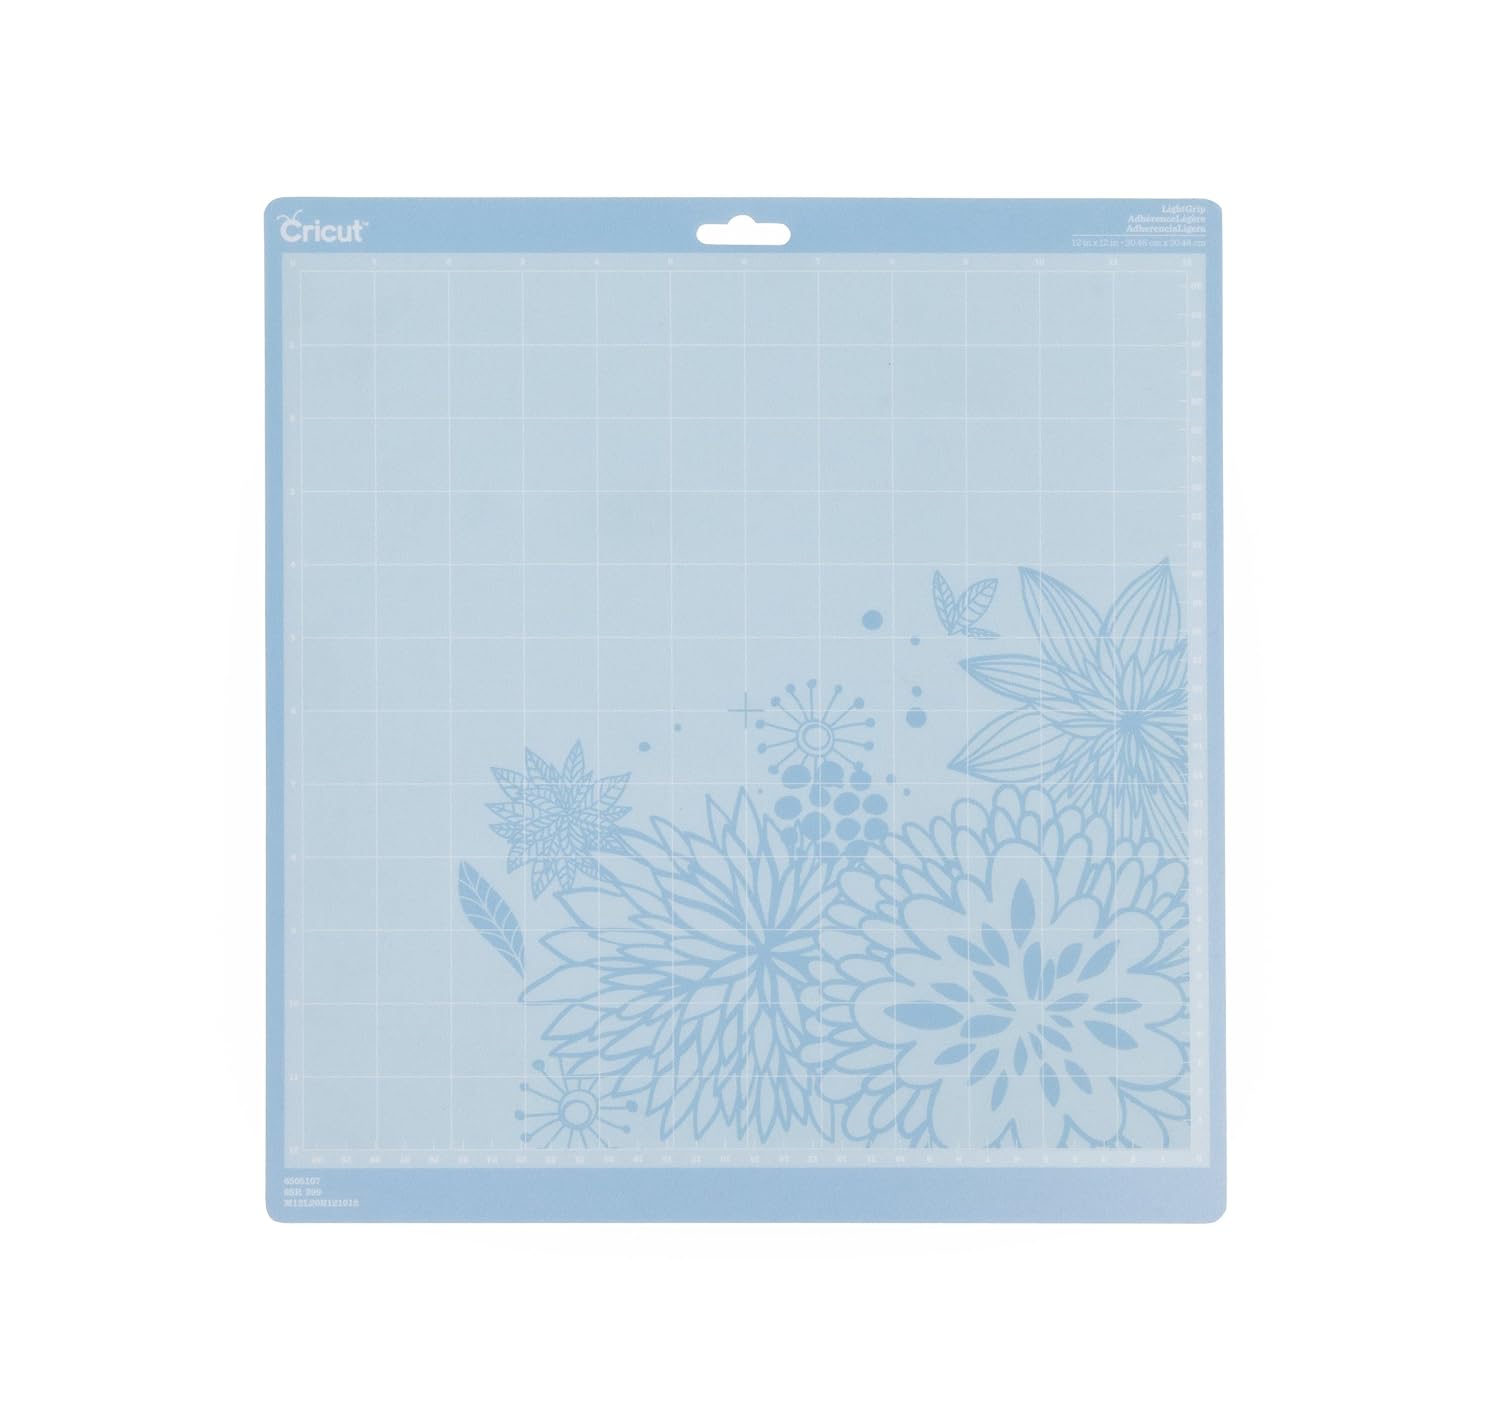
There you have it, stick the printed image in a cutting mat and you are good to go. I would recommend using a light grip mat to avoid ripping the backing of the sticker paper (spoiler alert, I made stickers)

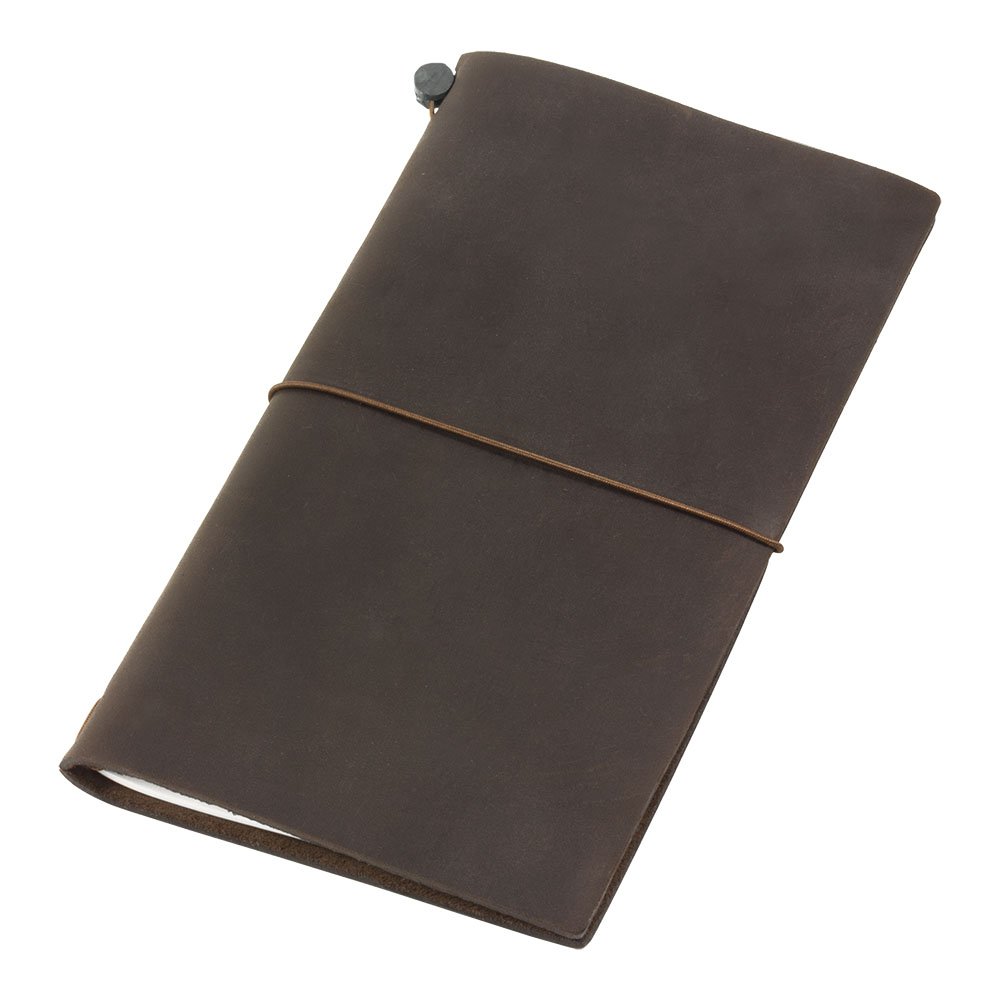
I have a Midori Traveler's Notebook that I use for my trips and these images are perfect for feelings stickers, I print them, cut them and put them in a plastic pouch to carry them and use them whenever.


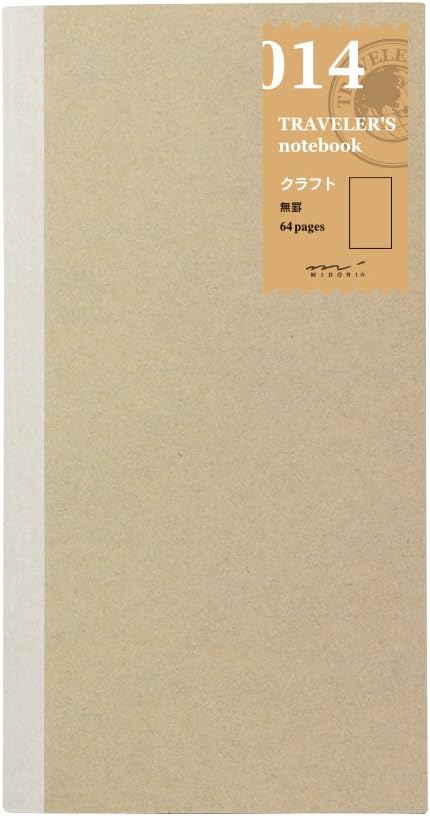
Mi Midori Traveler's Notebook

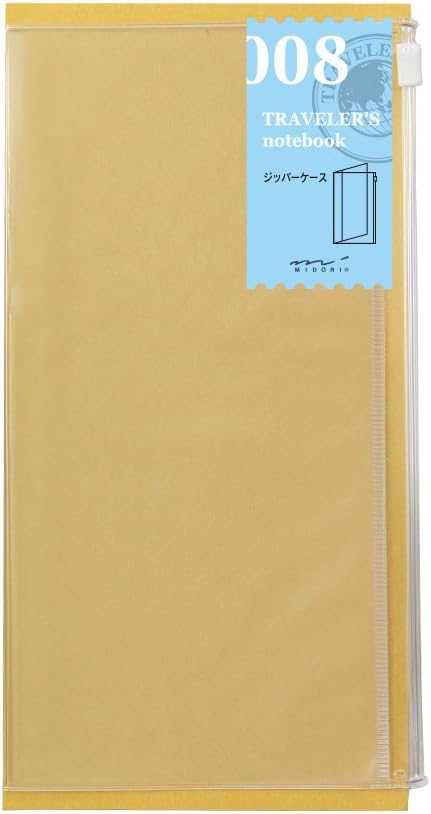
Plastic Pouch

My way of using the stickers
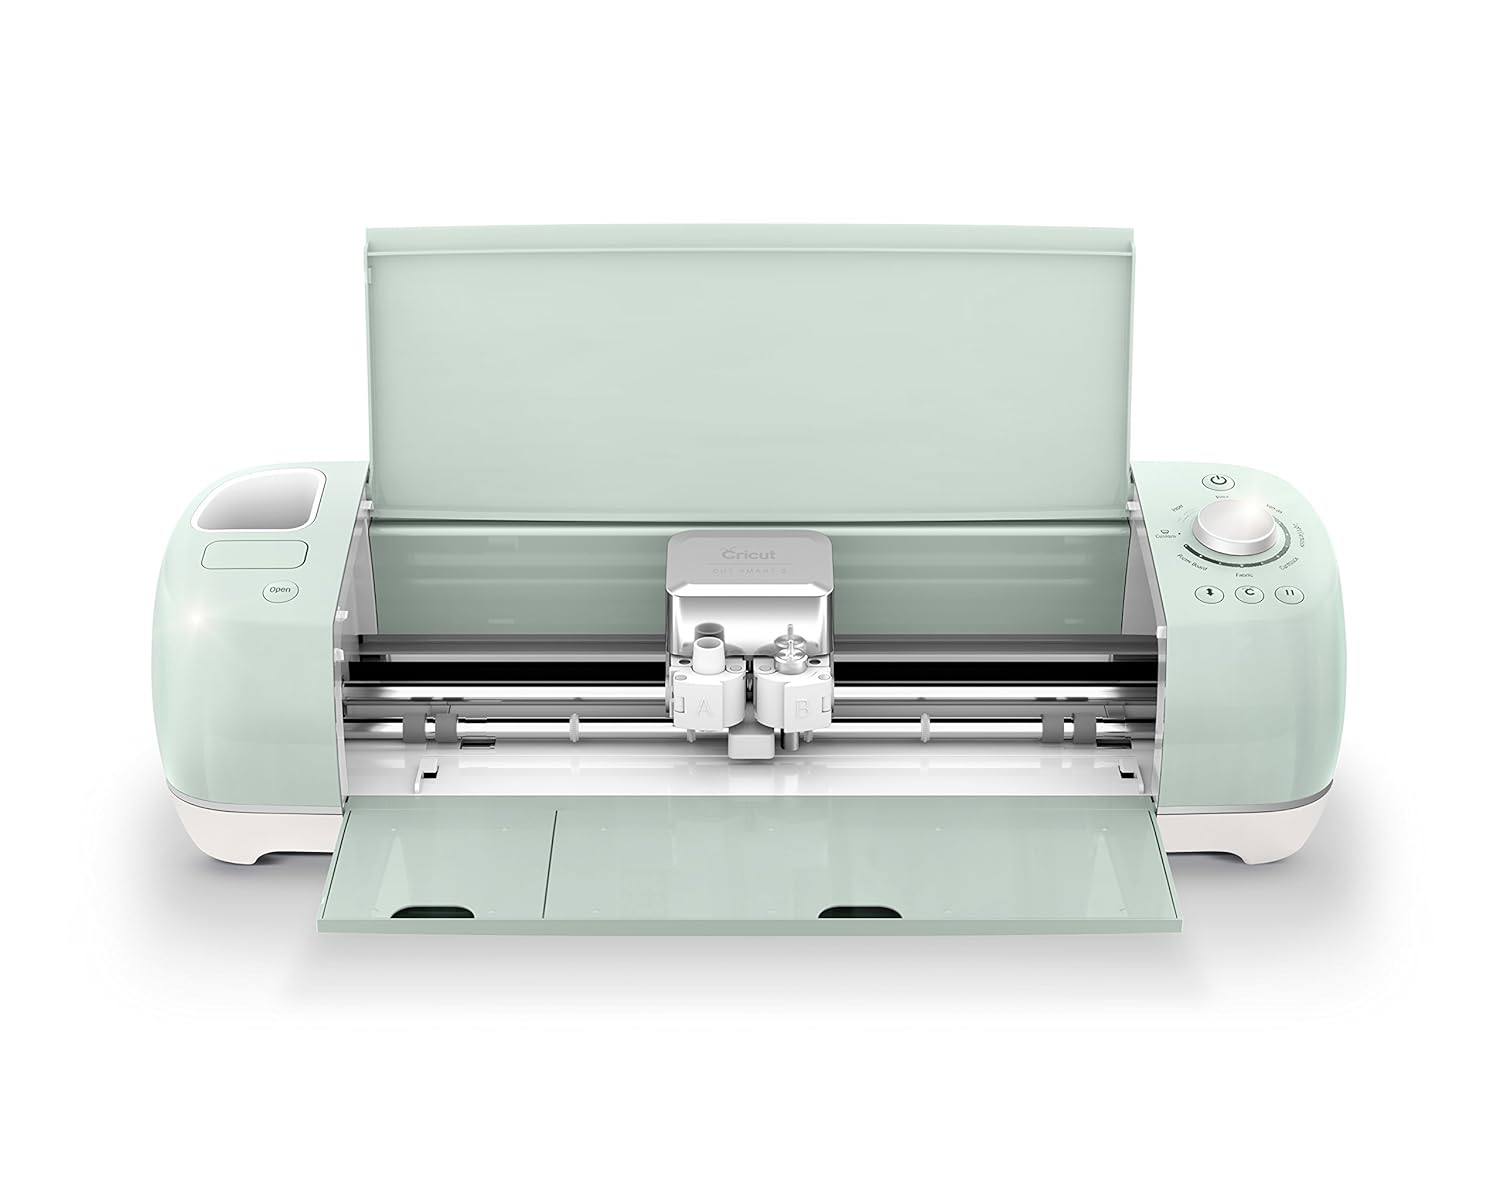
For these stickers I used Avery Sticker Project Paper and did a "kiss cut" with the Paper setting on my Cricut Explore. Kiss cut refers to cutting the top most layer and leaving the backing of the sticker paper untouched.

Enjoy!
Supplies List
 |  |  |  |  |
 |  |  |  |
No comments:
Post a Comment