
Hi there crafters!
I don't do much print then cut, but when I do I want my images to be as crisp as I design them and I think you and I buy printers and paper to match and don't want to waste our money.
Sometime ago I showed you how to get the most out of your printer (click to see previous post), but Cricut has made a few changes to how you print then cut since then, so I decided to update the technique.

The ZIP file you can download at the end of this post, has images created in Photoshop, specifically to make a postcard to send to my niece, so there's a ready to print PDF file. I will also provide 2 different versions of the image in PNG format. Both have transparent backgrounds, but one of them has a white border around that makes it more suitable for print then cut, while the other I wouldn't suggest for this purpose, but for other print jobs instead (cards, postcards, etc).

 |
| Here you can see the difference between the two images, same printer, same paper, a lot more detail on the edited image |
 |
| Browser generated image |
 |
| Edited Image |
 |
| Right: browser generated Left: Edited |
But here some important tips:
- Always make sure you start with high resolution images, in general, anything above 300 ppp is fine. Most sites like Creative Fabrica provide high end images with amazing resolution. Remember that some free images you download are not high res, so this technique is not useful for them. Use discount code OMARTORO20 to get 20% off everything on the site.
 |
| Creative Fabrica |
- Always use the Advanced Options feature to adjust the paper size and resolution - do not skip this step
 |
| After clicking on Send to Printer, go to Advanced Options |
 |
| Make sure doPDF printer is selected and click on Preferences |
 |
| Despite the fact that the paper size is set to Letter, click on the drop down list and select it again. Do the same for the resolution and Scale making sure to set the scale to 100%. For some reason your scale gets messed up if you don't do this. |
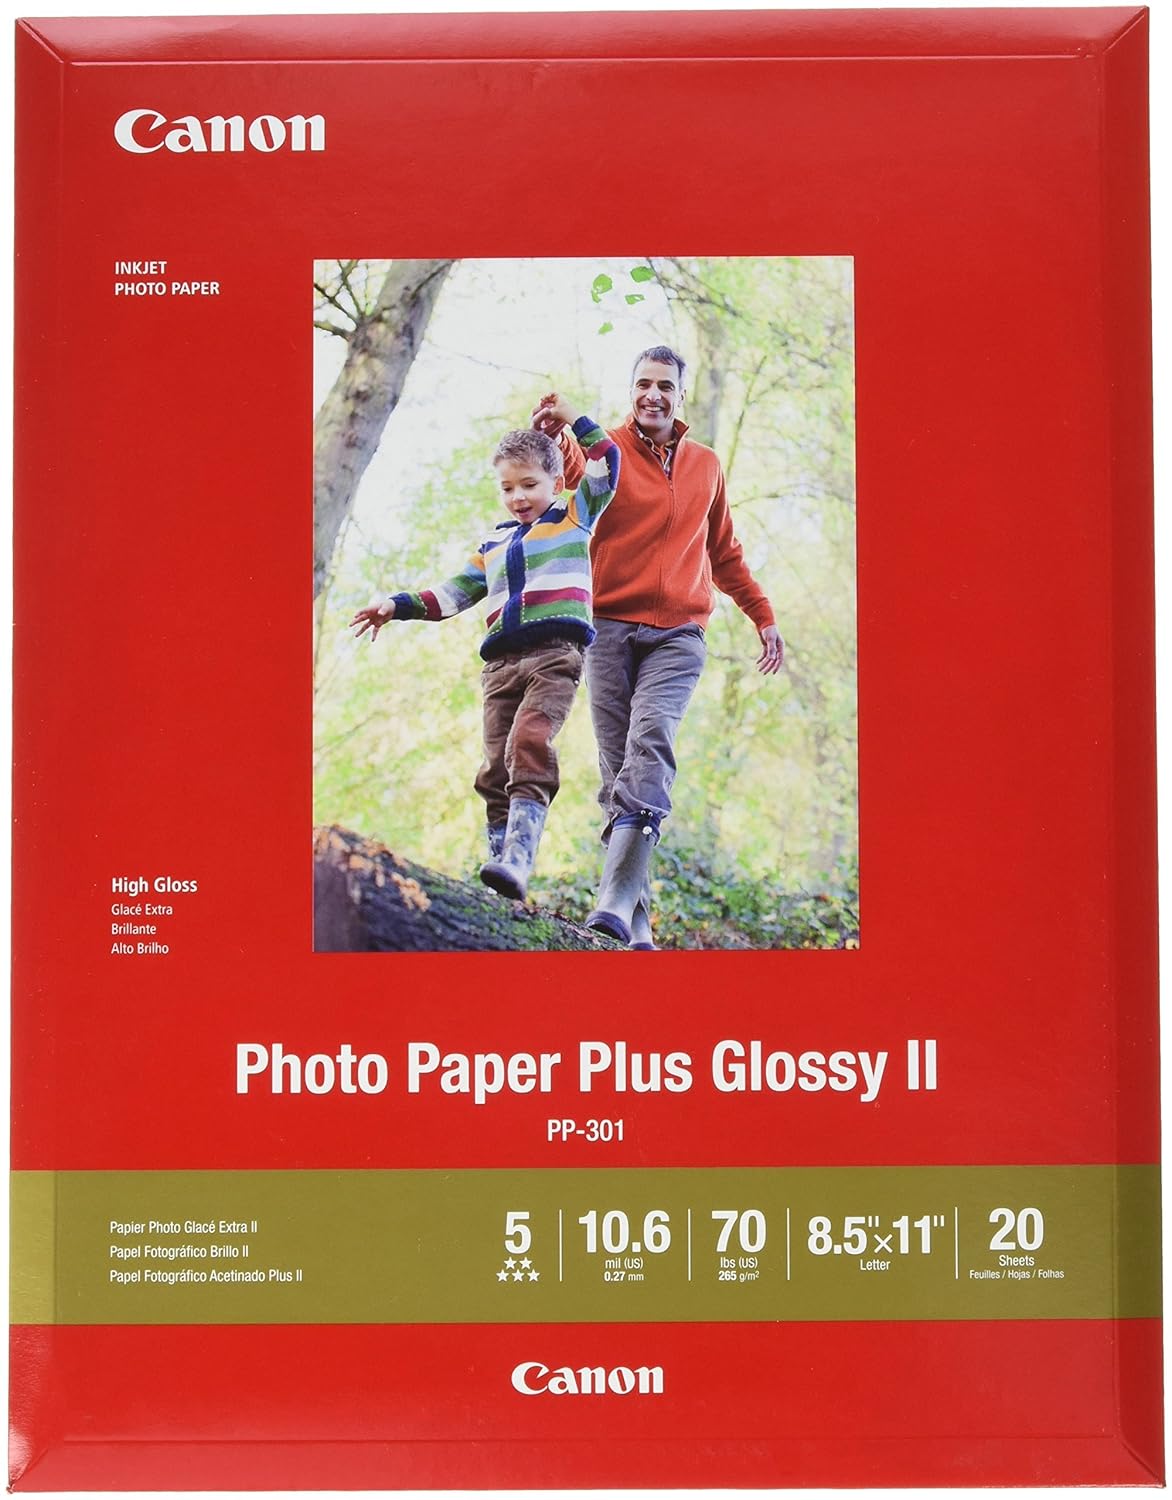
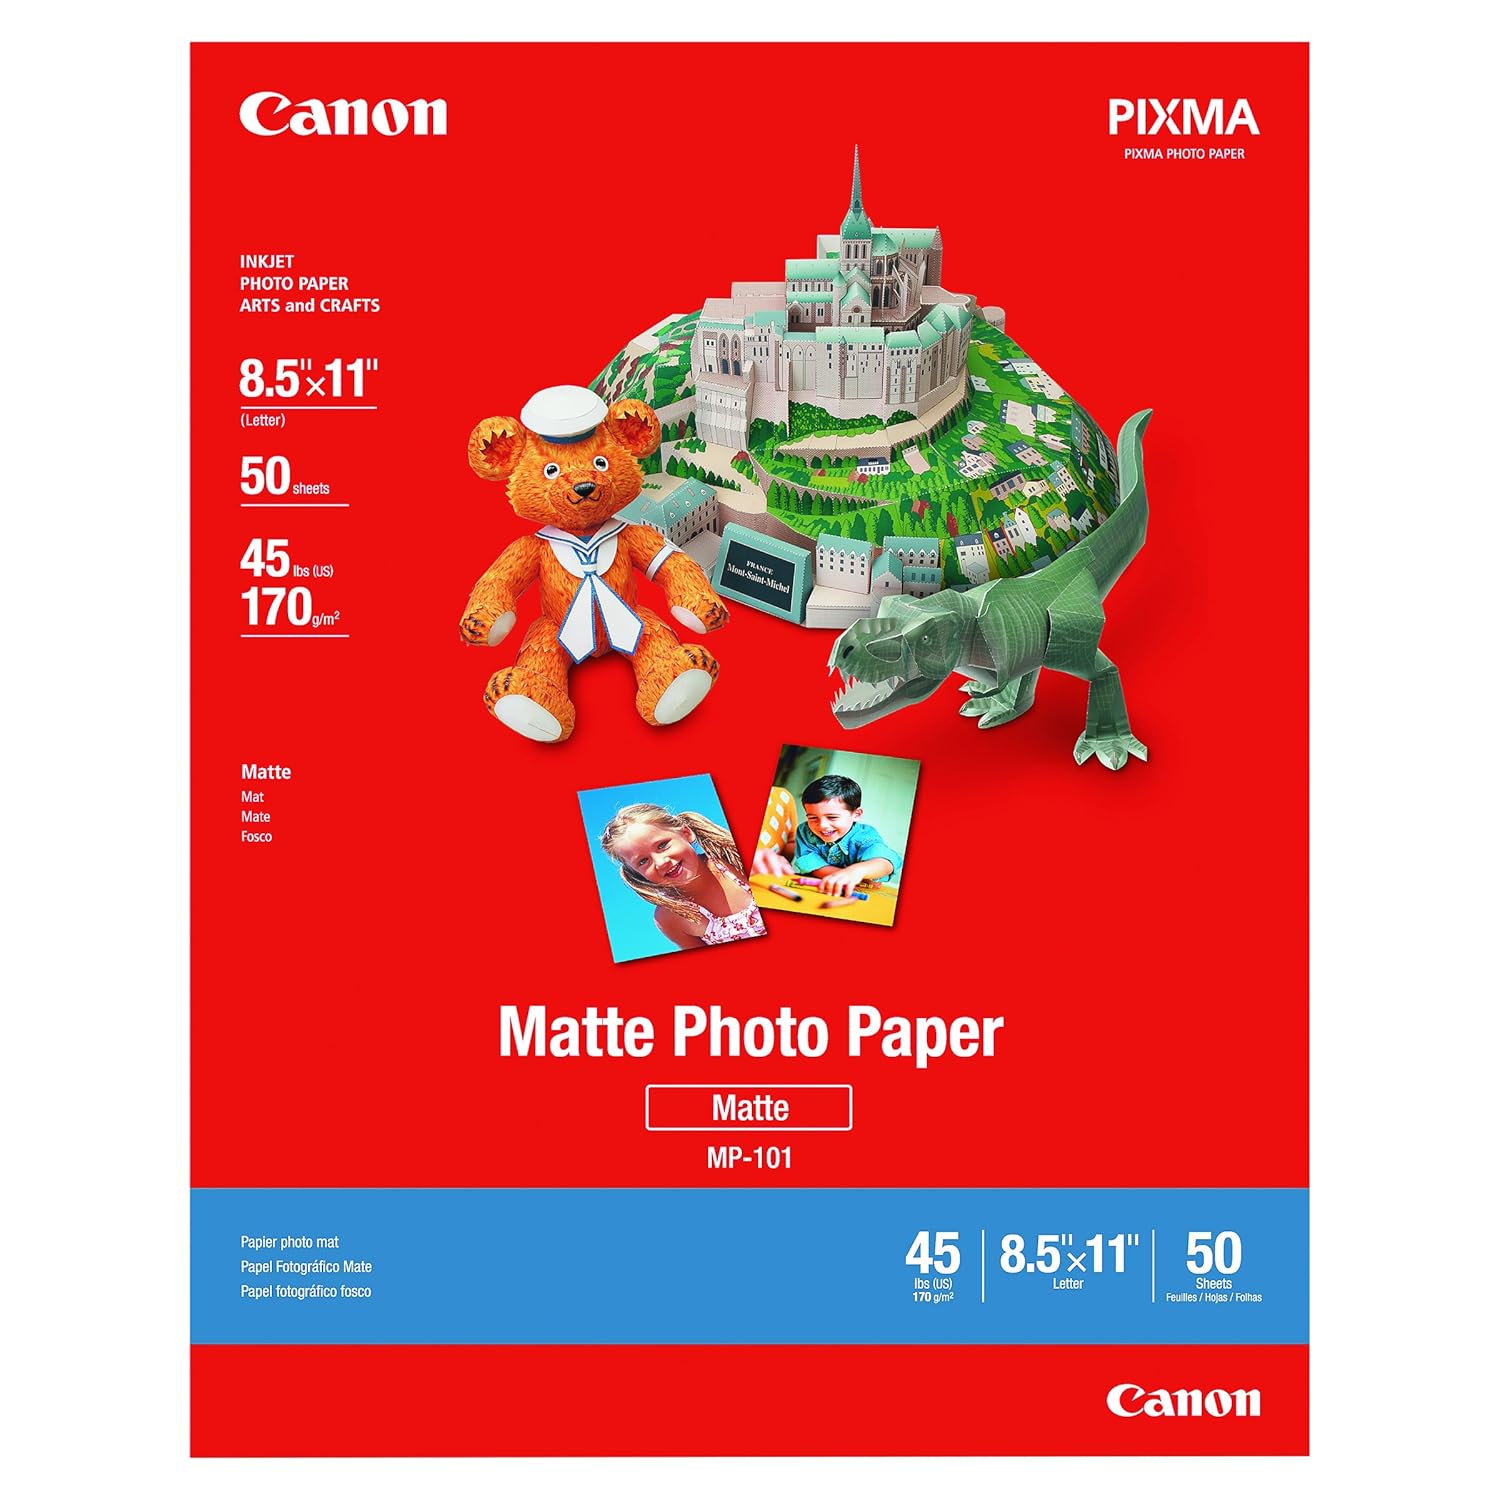
- Use High resolution printing paper. For me Canon paper is the best and most affordable out there.
- Use original inks for your printer, I've realized some alternative inks don't deliver the quality your printer is capable of achieving.
I want to make this download a bit different and also I want to know how many of you guys actually read these long posts, so, the link at the end that usually takes you to the direct download, will take you to the video tutorial on You Tube instead, and you'll find the download link in the description.
If you find this post or the video tutorial useful, don't forget to give it a thumbs up and subscribe!!
 |  |  |  |  |
 |  |  |
Its felling really bad when you have to cut your printing. That is waste of time, money and feeling too. So, its really a good idea to buy a printer for self and then print the design according to your requirement.
ReplyDeleteI have enjoyed your writing and hope you enjoyed much more and more. Your every word gives me enjoy and I understood that, postcard mail is very easy way to presents your opinion to others. Thanks for your nice piece of writing.
ReplyDelete